

Choosing flannel for your quilt back is, hands down, one of the best moves you can make to create a truly special, heirloom-quality piece. It's the secret to a quilt that’s not just beautiful, but also incredibly soft and exceptionally warm. Flannel instantly turns a standard quilt into that cozy, huggable blanket everyone fights over on a chilly night.
That wonderful texture adds the perfect amount of weight and drape, which is why so many experienced quilters turn to it for projects meant to be loved and used for years to come.
Why Flannel is Your Secret to a Cozier Quilt
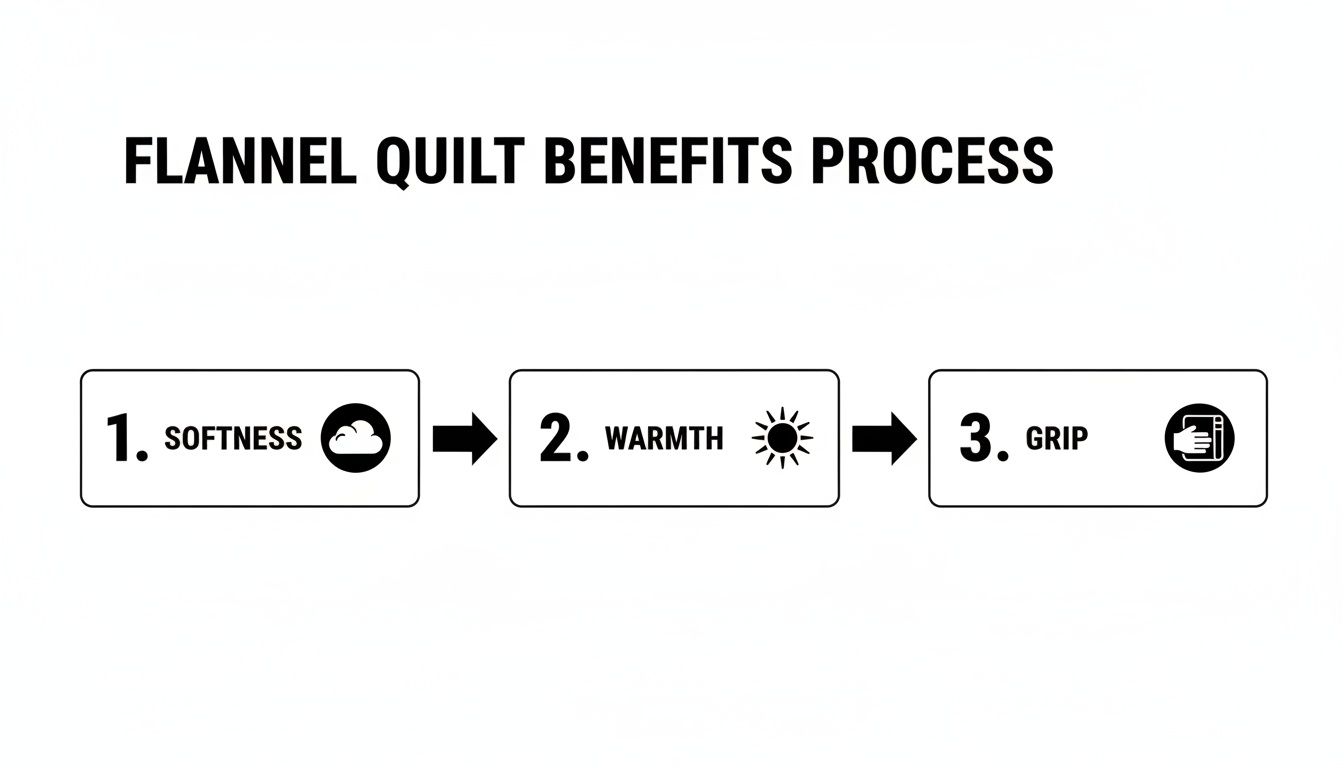
Picture the quilt you want to snuggle up with on the couch. I'm willing to bet it has a flannel back. But the appeal of flannel goes way beyond its famous softness. The real magic is in its practical benefits, which can solve some common quilting headaches while delivering that top-tier comfort.
The slightly fuzzy surface of flannel, what we call its nap, creates a subtle, gentle grip. This is a massive advantage when you get to the basting stage. It helps keep your quilt top, batting, and backing from shifting and sliding around, meaning you'll spend less time fighting with puckers and end up with a much smoother finish. This holds true whether you’re quilting on your home machine or a longarm.
More Than Just a Fabric Choice
Picking flannel isn't just a technical decision; it's about tapping into a long tradition of functional, heartfelt craft. Flannel has a rich history of providing warmth and comfort when it was needed most, and that legacy lives on in the quilts we make today.
You can see just how practical flannel has always been by looking back at history. During the American Civil War (1861-1865), severe fabric shortages made it a critical material. Soldiers' quilts were often backed with twill flannel from old uniforms simply to provide life-saving warmth. This historical reliance really drives home how durable and insulating flannel truly is.
Today, we can achieve that same functional warmth and durability, but with the beautiful, high-quality flannels available to us now.
The Perfect Partnership with Batting
To really unlock flannel's full potential, you have to pair it with the right batting. This is a crucial step. A lightweight, breathable batting is key—it keeps the quilt from becoming too heavy, stiff, or bulky, ensuring it drapes beautifully and stays comfortable. Get this combination right, and you'll create a perfectly balanced quilt that feels just as good as it looks.
Once you understand these unique qualities, you see that flannel is so much more than just another backing fabric. It’s an intentional choice that elevates your project from a simple blanket to a cherished heirloom. For a deeper look at different materials, check out our comprehensive guide to quilting with flannel.
The Essential Prep Work for Flawless Flannel Backing
I’ve seen it happen too many times: a quilter gets excited and jumps straight into piecing their flannel backing, only to end up with a warped, puckered quilt later. Please trust me on this—the extra time you spend prepping your flannel is the best insurance policy you can have against disappointment down the road. Flannel just has its own unique personality, and it demands a little more attention upfront. But the payoff? A perfectly smooth, incredibly cozy, and professional-looking finish you’ll be proud of.
If you remember only one thing, let it be this: prewash your fabric. This is the absolute golden rule of backing a quilt with flannel. Why? Because flannel is notorious for shrinking, sometimes by a whopping 10%! If you skip this, the flannel backing will shrink up in that first wash while your cotton quilt top stays the same size. The result is a bunched-up, distorted mess. Prewashing lets the fabric get all its shrinking out of the way before you ever make a cut.
This step is also your best defense against dye bleeds. It washes out any excess dye, which is especially critical if you're using vibrant or dark-colored flannels that might otherwise stain your beautiful quilt top. The goal is a flawless result, and it all starts right here.
The Right Way to Prewash Your Flannel
To do this right, you want to treat the fabric just like you’ll treat the finished quilt. Wash your flannel yardage in warm water and tumble dry it on a medium setting. This coaxes out all that potential shrinkage before you sew. I always toss a few color catcher sheets into the wash, especially with deep reds or blues, just to be safe and absorb any loose dye.
Once it comes out of the dryer, don’t be alarmed if the edges are a bit frayed and the fabric is no longer perfectly square. That’s completely normal! Your next job is to give it a good press with a hot, steamy iron and then square it up with your rotary cutter and ruler. This process gives you a stable, true-grain foundation to work with, which makes everything that comes next so much easier.
Understanding Nap and Grainline
Another one of flannel's quirks is its distinct nap—that soft, fuzzy texture created by brushing the fibers. This nap usually runs in one direction. For a clean, uniform look on your quilt back, you'll want to make sure the nap on all your backing pieces flows the same way. The easiest way to check this is to simply run your hand over the fabric; it will feel noticeably smoother in one direction.
The little bit of extra work you're doing here is all to preserve the amazing qualities that made you choose flannel in the first place.
As you can see, that softness, warmth, and helpful grip are what we're aiming for, and proper prep is how we get there.
This dedication to cozy, practical quilts actually has deep roots. During the Great Depression, when unemployment hit 25% by 1933, backing quilts with flannel was a hallmark of frugality and resourcefulness. Quilts provided essential warmth when new blankets were a luxury, turning a household necessity into a beloved and enduring craft.
Just like those quilters, we’re preparing our fabric for a long and useful life. Taking the time to prewash, press, and square your material ensures the final quilt is something you can cherish for years. For a deeper dive into materials, check out our guide to different fabrics for quilting.
To make it even easier, here’s a quick checklist you can use every time you work with flannel.
Your Flannel Prep Checklist Before Quilting
| Preparation Step | Why It's Critical | Pro Tip |
|---|---|---|
| Prewash & Dry | Prevents significant shrinkage (up to 10%) and dye bleeding after the quilt is finished. | Use a few color catcher sheets in the wash, especially with dark or vibrant flannels. |
| Press Thoroughly | Removes all wrinkles and stabilizes the fabric, making accurate cuts and seams possible. | A hot iron with plenty of steam is your best friend here. Don't be shy with it! |
| Square Up Fabric | Establishes a true grainline, which is essential for piecing panels that lay flat and don't warp. | Use a large cutting mat and a long quilting ruler to get the most accurate 90-degree angles. |
| Check the Nap | Ensures a consistent look and feel across the entire quilt back by having the nap run in one direction. | Run your hand across the fabric. The "smooth" direction is the direction of the nap. |
Nailing these four steps is your ticket to a beautiful, pucker-free finish every single time.
Choosing the Perfect Batting to Complement Flannel
The partnership between your batting and flannel backing is where the magic really happens. This is the choice that dictates the final feel, drape, and warmth of your quilt. Since flannel is already heavier and warmer than your typical quilting cotton, picking the right batting is key to avoiding a quilt that’s stiff, bulky, or just too darn hot.
Your goal here is to complement flannel’s cozy nature, not compete with it. You're aiming for a comforting hug, not a weighted blanket (unless that's what you're going for!). This usually means reaching for a batting with a lower loft—which is just a fancy term for its thickness and density.
Matching Batting to Your Project
First, think about how the quilt will be used. Is it a cuddly lap quilt for the sofa? A new baby gift?
For projects where you want maximum softness and drape, a lightweight batting is your best friend. An 80/20 cotton-poly blend is a fantastic all-around choice. It gives you the breathability of cotton with just enough polyester to add a little stability and loft, resulting in a quilt that’s soft, durable, and drapes beautifully.
But what if you're making an all-flannel quilt, with a flannel top and back? You’ve already got a good bit of weight and warmth built right in. In that case, I’d steer you toward a thin 100% cotton batting, especially one with a scrim (a thin stabilizer) to keep it from stretching. It adds almost no bulk, letting the soft flannel be the star of the show.
This isn't a new idea, by the way. Back in the late 1800s, Amish quilters often used flannel backings for extra warmth, and some decorative quilts were even made with just flannel backing and no batting at all. We're just applying that same principle of balance. Many modern quilters now swear by a stable, thin 100% cotton batting in a 108" width to go with flannel, because it adds structure without adding unnecessary weight.
A Few Words on Different Batting Types
Every batting material brings something different to the table, and knowing the difference can help you nail the final feel of your quilt. For a deeper dive, you can always explore our detailed breakdown of the different types of quilt batting.
Here’s a quick rundown of my favorites for flannel:
- Wool Batting: If you want ultimate warmth without the weight, wool is pure luxury. It’s incredibly insulating but surprisingly light and breathable. Paired with flannel, it creates a lofty, exceptionally warm quilt that’s perfect for the coldest winter nights.
- Bamboo Batting: I love bamboo for its incredible drape and silky-soft feel. It gives a finished quilt that wonderfully broken-in feeling right from the start. It’s an excellent choice when you want to absolutely maximize the softness and flexibility of your quilt.
- Polyester Batting: While less common with flannel, a high-quality, low-loft polyester can be a good budget-friendly option. It’s lightweight and resists mildew, but just know it won't offer the same breathability you get from natural fibers.
And a quick tip for my fellow longarm quilters: using a wide batting roll (like 108" or 120") is an absolute game-changer with flannel. It means you don't have to piece your batting, which gives you a perfectly smooth, even foundation that behaves beautifully on the frame. No lumps, no bumps.
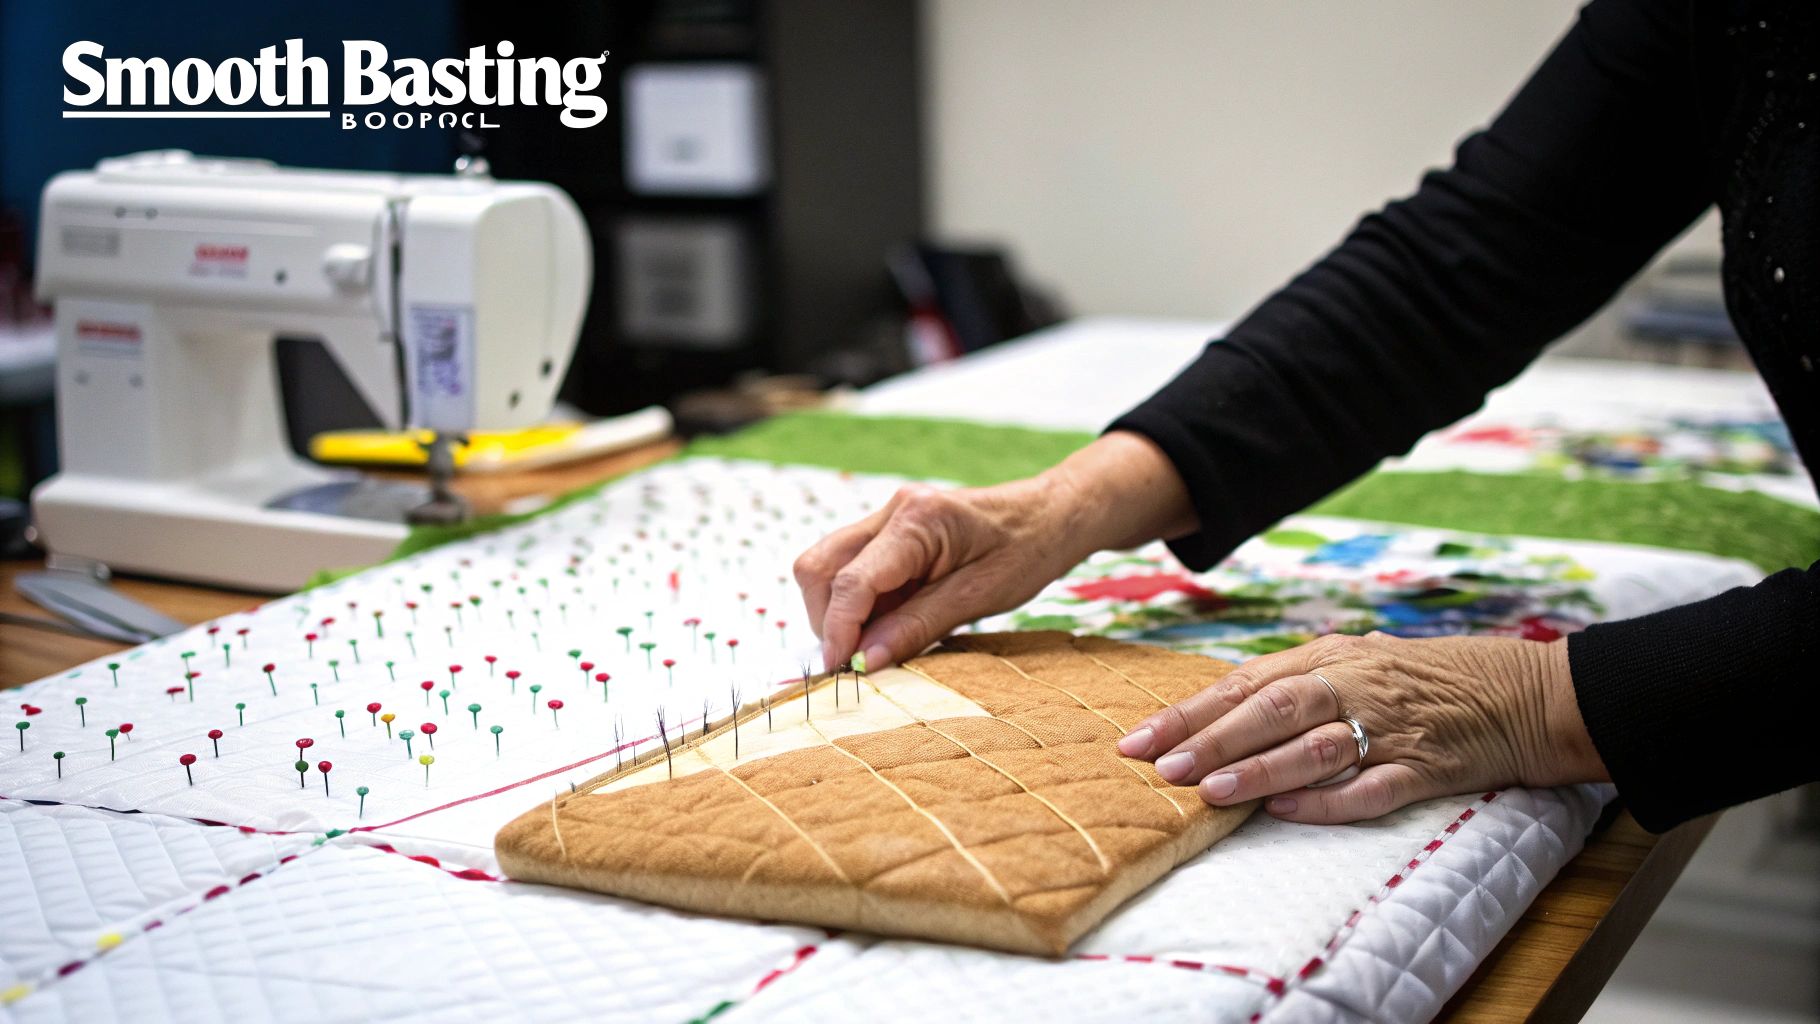
Smart Basting and Quilting Techniques for Flannel
Alright, this is where all that careful prep work really starts to shine. Assembling your quilt sandwich with a flannel back is a game-changer, but the secret to success is managing its subtle stretch. If you get the basting and quilting just right, you'll be rewarded with a gorgeous, pucker-free quilt that’s as smooth as it is cozy.
The whole point of basting is to keep your quilt top, batting, and flannel backing from shifting around while you quilt. Since flannel has a bit more give than regular quilting cotton, you need to be extra thorough to make sure everything stays put.
Choosing Your Basting Method
Every quilter has their favorite basting method, but some work better with flannel than others. Let's walk through the options.
-
Pin Basting: Honestly, this is my go-to for flannel. It gives you a really secure hold that you can see and feel. The trick? Use more pins than you think you need. I place one about every 3-4 inches, or roughly a fist's-width apart, to really lock those layers down. Always start from the center and smooth your way out to the edges. Do yourself a favor and use curved safety pins—they save your fingers!
-
Spray Basting: Basting spray is a fantastic time-saver, but you have to be deliberate with it. The spray needs to get a good grip on the flannel's fuzzy surface. I find it works best if you tackle it in small sections. Give a light, even spray, then smooth the layers from the center out to push out any wrinkles or air bubbles. Make sure you're using a spray made for quilting, otherwise you risk a gummy needle later on.
-
Hand Basting: It's definitely the most time-consuming, but nothing gives you more control than hand basting with long stitches. For an heirloom quilt where you want absolutely zero shifting, this method is unbeatable.
If you want a deeper dive into the whole process, we've got a complete guide on how to properly baste a quilt that covers all the little details.
Machine Quilting With a Flannel Back
With your quilt sandwich securely basted, it's quilting time! If you're quilting on your home sewing machine, a walking foot is an absolute must-have. It’s not optional with flannel. This little wonder has its own set of feed dogs that work with your machine's feed dogs, pulling the thick quilt sandwich through evenly. It’s your number one defense against stretching and puckering.
You’ll also want to play with your stitch length. Flannel is lofty, and a standard stitch can just sink in and disappear.
I've found that bumping up the stitch length to around 3.0 to 3.5 mm makes all the difference. It creates a beautiful, defined stitch that sits right on top of the fabric, ensuring your quilting pattern shines instead of getting lost in the fluff.
Tips for Longarm Quilters
For those of you with a longarm, your main challenge is managing that flannel stretch on the frame. When you load the flannel backing onto the leaders, the key is to get it smooth, but not tight. If you stretch it out on the frame, it’s going to spring back and cause distortion the second you take the quilt off.
Getting your tension just right is also critical here. Flannel adds bulk, so you'll likely need to loosen your top tension a bit to achieve that perfect stitch lock. The golden rule, as always, is to test your settings on a scrap piece of your quilt sandwich first. A few minutes of testing can save you hours of un-picking later.
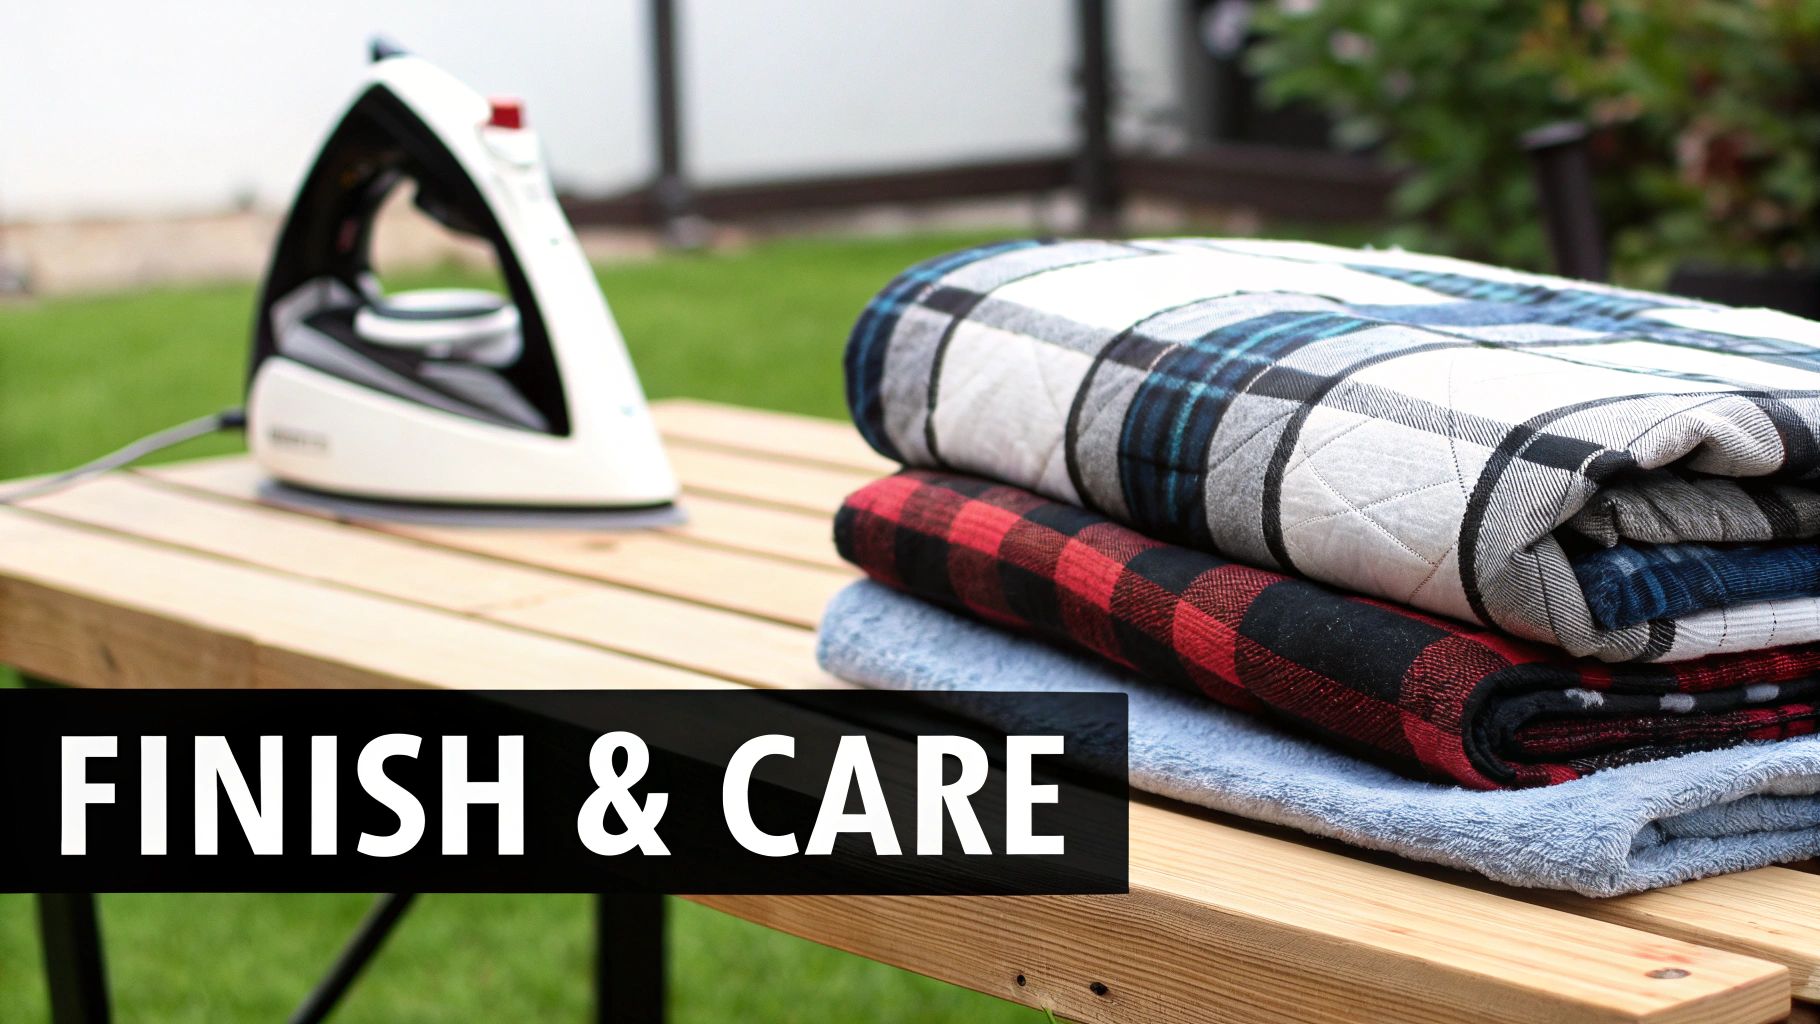
Finishing and Caring for Your Flannel-Backed Quilt
You’ve made it to the home stretch! All the piecing, quilting, and hard work are behind you. Now, it's all about those final details that turn a project into a cherished heirloom. A great binding frames your work perfectly, and knowing how to care for your quilt ensures that cozy flannel backing stays soft for years of snuggles.
Choosing the Right Binding Fabric
The first decision in finishing is the binding fabric. It might seem logical to just use more of your backing flannel, but I'd recommend thinking twice about that. Flannel binding, while soft, creates a lot of bulk, which can make for lumpy, difficult corners. Over time, it also tends to wear out faster than other options.
For a quilt that's built to last, you can't go wrong with classic quilting cotton. It's the go-to for a reason: it's strong, creates beautifully crisp mitered corners, and doesn't add a ton of thickness. If you expect your quilt to be well-loved and frequently washed, a sturdy cotton binding is definitely the way to go.
Pro Tip: When you're stitching the binding down, a walking foot is your best friend. It keeps all those layers—quilt top, batting, and thick flannel backing—from shifting around. Use plenty of clips, take your time on the corners, and try lengthening your stitch to about 2.5 to 3.0 mm.
Long-Term Care for Your Flannel Quilt
You’ve put so much effort into backing a quilt with flannel, so let's make sure it stays perfect. The key is gentle care to keep it soft and prevent any more shrinkage or those annoying little pills.
A few simple rules will keep your quilt in top shape:
- Washing Instructions: Cold water is non-negotiable. Always wash your quilt on a gentle cycle with cold or cool water. This is the single most important step to protect the flannel fibers and keep the colors bright.
- Drying Your Quilt: Low and slow is the motto here. Tumble dry on a low heat setting, as high heat can make flannel feel stiff and cause pilling. I like to throw in a few wool dryer balls to help fluff it up and speed up drying time.
- Pilling Prevention: Friction is the enemy of flannel. Never wash your quilt with heavy, abrasive items like jeans or towels. To be safe, wash it by itself or with other soft blankets.
Follow these simple tips, and your gorgeous flannel-backed quilt will stay just as warm, soft, and inviting as the day you finished it. It's ready for a lifetime of comfort.
Common Questions About Using Flannel Backing
Even with the best instructions, a few questions always come up when you’re trying something for the first time. Let’s dive into some of the most common head-scratchers quilters have about using flannel for their quilt backs. Getting these sorted out will give you the confidence to dive in and avoid some all-too-common mistakes.
Do I Really, Truly Have to Prewash Flannel?
Yes. Absolutely. 100%. If you only listen to one piece of advice from this entire guide, make it this one. Flannel is notorious for shrinking a lot more than standard quilting cotton—we're talking as much as 10% in some cases.
Just picture it: you attach that beautiful, soft, unwashed flannel to your finished quilt top. The first time you wash it, the backing shrinks up tight while the top stays the same size. The result is a puckered, distorted quilt that, frankly, can't be saved.
Think of prewashing as your project's insurance policy. It gets all that shrinkage out of the way before you quilt and rinses out any excess dye that might otherwise bleed all over your hard work. It's a non-negotiable step for a quilt that will last.
What’s the Best Stitch Length for Quilting with Flannel?
This is where a small adjustment makes a huge difference. You'll want to lengthen your stitch just a bit. Because flannel is thicker and has that lovely fuzzy nap, a standard stitch can almost disappear into the fabric. A longer stitch creates a more defined, professional look that sits beautifully on top.
On your home sewing machine, I’d suggest starting with a stitch length of 3.0 to 3.5 mm. If you’re quilting on a longarm, aim for somewhere between 8 and 10 stitches per inch (SPI).
But don't just take my word for it. Always, always test your settings on a small "quilt sandwich" scrap using your actual top fabric, batting, and flannel. It's the only way to know for sure what looks best before you commit to the real deal.
Can I Use Flannel for the Top and the Back?
Oh, you absolutely can! An all-flannel quilt is the pinnacle of cozy. It’s perfect when you want to create an exceptionally warm and comforting project. To make sure it turns out wonderfully, just keep a couple of things in mind.
- Watch Out for Fraying: Flannel frays more than quilting cotton, so handle your cut pieces gently. I often use a slightly wider seam allowance—maybe a scant 1/2 inch—just for a little extra security in the seams.
- Keep the Bulk Down: To prevent your quilt from feeling too heavy or stiff, press your seams open. This really helps distribute the fabric and reduces bulk, especially where multiple seams come together.
- Pick a Lighter Batting: Since you already have so much warmth from the flannel, pair it with a low-loft batting. A thin 100% cotton batting or a lightweight 80/20 blend will give your quilt a lovely drape without making it too heavy.
At Quilt Batting, we know that the right materials are everything. We carry a hand-picked selection of premium low-loft and wide-width batting that perfectly complements any flannel-backed project. Find your ideal match at https://quiltbatting.shop.