

So, you're ready to dive into the world of quilting? It's an incredible journey where simple fabric squares can become treasured heirlooms. If you've ever admired a complex quilt and thought, "I could never do that," I'm here to show you that you absolutely can.
We're going to start with the building blocks of this craft, focusing on five classic, beginner-friendly patterns: the Log Cabin, Nine Patch, Four Patch, Rail Fence, and Churn Dash.
These patterns are the perfect launchpad for any new quilter, and here's why:
- You'll build core skills. These designs are fantastic for mastering the fundamentals—things like precise rotary cutting, sewing a consistent quarter-inch seam, and pressing your blocks so they lay perfectly flat.
- You'll get a quick win. There's nothing more motivating than seeing a project come together quickly. Patterns like the Rail Fence are surprisingly fast, giving you that boost of satisfaction to keep going.
- They're incredibly versatile. A simple Nine Patch block, for example, can be twisted, turned, and combined in dozens of ways to create quilts that look far more intricate than they actually are.
The secret to a beautiful quilt isn't about tackling the most complicated pattern right away. It's all about consistency. Mastering a straight seam and an accurate cut on these simple designs is the single most important skill you can develop as you start your quilting adventure.
Before we get into the nitty-gritty of each pattern, let's talk about your toolkit. You really don't need every gadget out there, but a few items will make your life so much easier. A good rotary cutter, a self-healing mat, and a clear acrylic ruler are the trifecta for making your fabric prep precise and painless. If you want a deeper dive into setting up your sewing space, you'll find some great advice in these essential quilting tips for beginners.
Ready? In the sections ahead, we’ll break down each pattern with clear instructions and cutting lists. I'll explain not just what to do, but why each step is important. From choosing your first fabrics to sewing that final stitch on the binding, my goal is to give you the confidence to create a quilt you’ll be proud of.
Quick Guide to Beginner Quilt Patterns
To give you a bird's-eye view of what's ahead, this table summarizes the five patterns we're about to tackle. It's a handy reference for understanding the skills you'll learn with each one and can help you decide where you want to begin.
| Pattern Name | Primary Skill | Complexity | Best For | Recommended Batting |
|---|---|---|---|---|
| Nine Patch | Sewing straight seams, nesting | Low | Learning block construction, scrap busting | 100% Cotton, Cotton/Poly Blend |
| Rail Fence | Strip piecing, color value | Very Low | Your very first quilt, a quick project | 100% Cotton, Bamboo Blend |
| Churn Dash | Half-square triangles (HSTs) | Low | Practicing HSTs and point matching | Cotton/Poly Blend, Wool |
| Log Cabin | Sewing strips, pressing | Low | Mastering seam allowance, color placement | 100% Cotton, Wool, Polyester |
| Four Patch | Basic block assembly | Very Low | Absolute beginners, checkerboard designs | 100% Cotton, Cotton/Poly Blend |
Each of these patterns offers a unique lesson and a beautiful result. Pick the one that excites you the most, and let's get started on your first quilt
Time to Tackle Two Quilting Hall-of-Famers: The Log Cabin and Nine Patch
Alright, let's roll up our sleeves and get into two of the most iconic and rewarding patterns in the quilting world. If you've ever admired a quilt, you've almost certainly seen a Log Cabin or a Nine Patch. These aren't just patterns; they're foundational building blocks you'll see time and again, and mastering them opens up a whole new world of design possibilities.
The Log Cabin is a quilter’s darling for a reason. It creates this incredible sense of depth and movement, all by playing with light and dark fabrics. The whole thing is built around a single center square—traditionally red to represent the hearth of a home—with fabric "logs" added around it, piece by piece.
This is the fundamental rhythm of quilting: gather your materials, learn the steps, and then enjoy the process of stitching it all together.
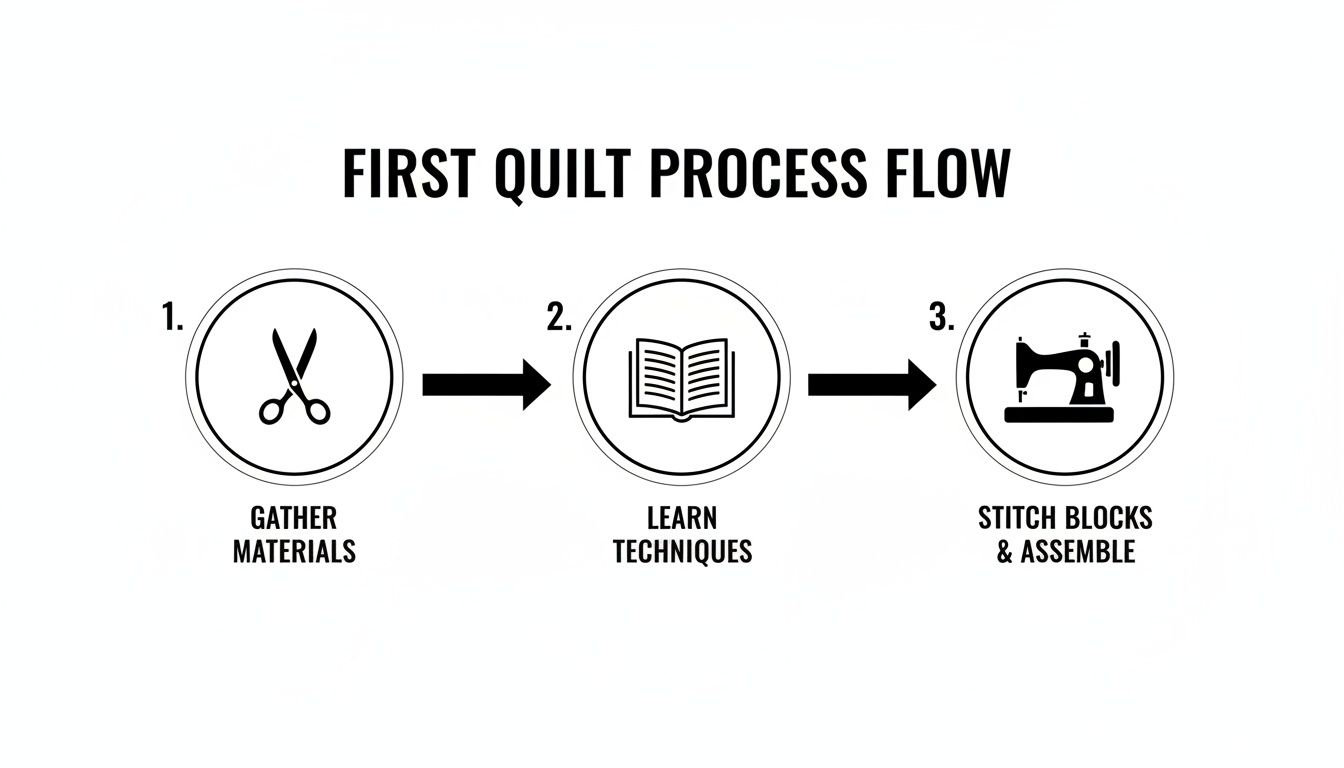
Think of it as your roadmap from a pile of fabric to a finished quilt.
Building Your First Log Cabin Block
To get started on a classic Log Cabin, you just need that one center square and then strips of contrasting light and dark fabrics. The real magic unfolds as you sew these strips, or "logs," around the center, alternating between the light and dark sides. It's this simple rotation that creates that famous design.
Log Cabin Cutting List (for one 9.5" unfinished block):
- Center Square (Fabric A): One 2.5" x 2.5" square
- Light Strips (Fabric B): Cut one 1.5" wide strip from your light fabric.
- Dark Strips (Fabric C): Cut one 1.5" wide strip from your dark fabric.
Here's the trick: you'll trim pieces from these long strips as you go, which is a huge time-saver. Start by sewing a 2.5" long piece from your light strip to one side of the center square. Press that seam, then sew another 2.5" light piece to an adjacent side. Now, you switch over to the dark fabric for the next two logs before coming back to the light. This back-and-forth process builds the block outward.
The Log Cabin isn't just a pattern; it’s a piece of history. It offers endless variations, from the classic "light and shadow" setting to more complex arrangements like "barn raising" and "straight furrow." It's a true quilter's playground.
Its popularity is no joke. One survey found that the Log Cabin is overwhelmingly the most beloved traditional quilt block, with a whopping 37% of quilters calling it their favorite. That puts it leagues ahead of other classics, which really says something about its timeless appeal. You can dig into more survey details on classic quilt blocks to see just how much it stands out.
Tackling the Versatile Nine Patch
Next up is the Nine Patch, a beautifully simple block that acts as the workhorse for countless quilt designs. Just like it sounds, it’s a 3x3 grid made of nine little fabric squares. The beauty is all in its simplicity and how easily it can be adapted.
You can make a straightforward checkerboard quilt, or you can use this block as a small part of a much more intricate pattern. It’s also the absolute best way to use up those smaller scraps of fabric you can't bear to part with.
Nine Patch Cutting List (for one 9.5" unfinished block):
- Light Squares (Fabric D): Five 3.5" x 3.5" squares
- Dark Squares (Fabric E): Four 3.5" x 3.5" squares
To put it together, just lay out your squares in a 3x3 grid, alternating between your light and dark fabrics. First, sew the squares into three separate rows.
Now for the pro tip: press your seams in alternating directions. For instance, press the seams for row one to the right, row two to the left, and row three back to the right. This little trick is called "nesting" your seams, and it helps the seams lock together perfectly when you go to sew the rows together. The result? Crisp, sharp points where all the corners meet. It's a game-changer! Once your rows are pressed, just sew them together to complete your perfect Nine Patch block.
Ready to build some serious quilting skills without pulling your hair out? Let's dive into two of my all-time favorite patterns for new quilters: the simple Four Patch and the wonderfully fast Rail Fence. These designs are proof positive that you don't need a complicated pattern to make a jaw-dropping quilt.
First on the cutting mat is the Four Patch. It might just be the unsung hero of the quilting world. At its heart, it's just a humble 2x2 grid made of four squares, but its potential is absolutely massive. This is where you'll really nail that ¼" seam allowance, which I promise is the most critical skill for making sure all your points and corners meet up just right.
The Four Patch is also an incredible scrap-buster. You know all those little leftover pieces you couldn't bring yourself to toss? They were born for this. A scrappy Four Patch quilt is a vibrant, one-of-a-kind masterpiece just waiting to happen.
Putting Together the Perfect Four Patch Block
The beauty of the Four Patch is in its simplicity. All you really need are two fabrics with a bit of contrast to make the design pop.
Here’s a simple cutting list for one 6.5" unfinished block:
- Fabric A (your light color): Two 3.5" x 3.5" squares
- Fabric B (your dark color): Two 3.5" x 3.5" squares
To start, lay out your four squares in a grid, placing the light and dark fabrics diagonally from each other. Sew one light square to one dark one, creating a pair. Do the same with the remaining two squares.
Now for a crucial tip: press the seams for each pair in opposite directions. This little trick allows the seams to "nest" together when you join the pairs, giving you a perfectly flat, sharp intersection in the center. Once pressed, place the two pairs right sides together, lock those seams in place, and sew them together. That's it—you've made a Four Patch block!
The Four Patch isn't just a block; it's a foundational unit in quilting. Mastering it is like learning the basic chords on a guitar—once you know them, you can play thousands of songs. From checkerboards to intricate secondary designs, it all starts here.
It’s one of those fundamental patterns that secretly shows up in countless other designs, like the classic Bow Tie or Pinwheel blocks. While it's tough to find hard data, just look at how often it appears in beginner tutorials and lists of essential blocks. Its enduring popularity speaks for itself. To see where it fits in the quilting universe, check out this list of the 10 most common quilt blocks.
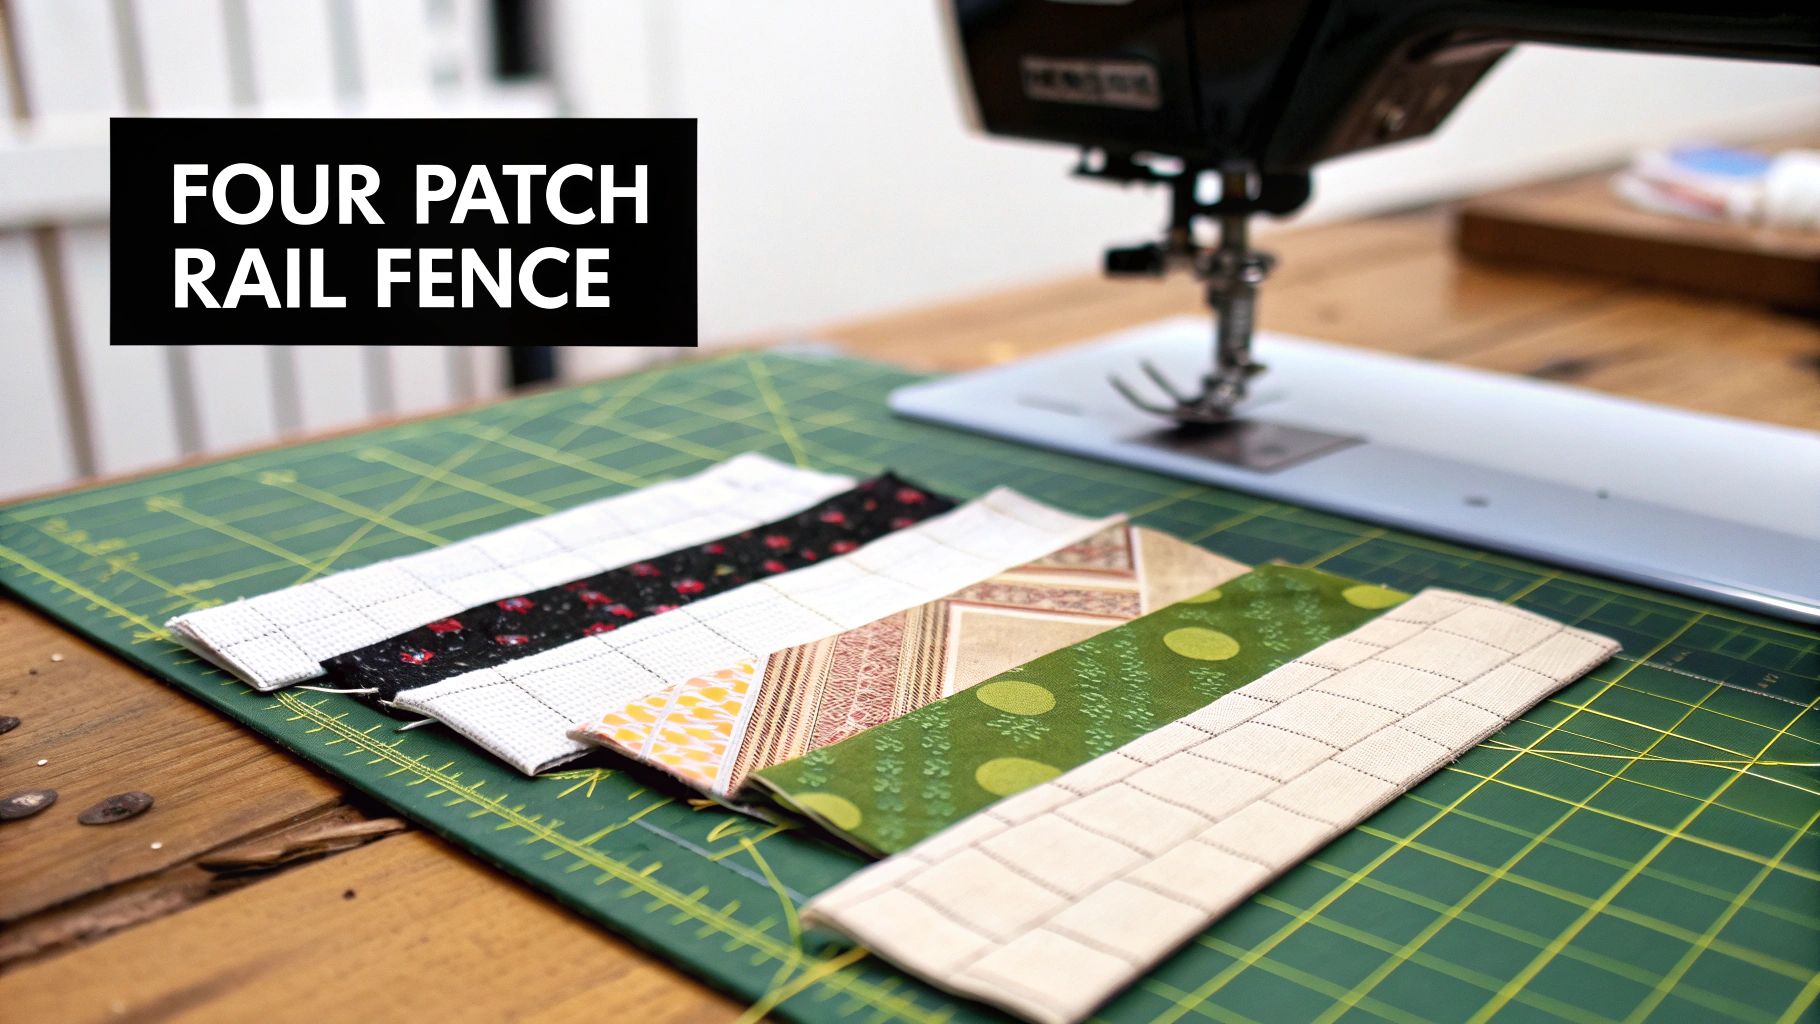
Speed Things Up With the Rail Fence Pattern
Next up is a design I adore for its bold, graphic look and how ridiculously fast it comes together: the Rail Fence. The magic behind this pattern is a technique called strip-piecing. Trust me, this is a total game-changer. Instead of cutting dozens of tiny rectangles, you sew long strips of fabric together first and then slice them into blocks. It saves so much time.
A classic Rail Fence usually features three or four different fabrics, often arranged from light to dark to create a nice sense of movement and depth.
How to Strip-Piece a Rail Fence
Here's how you can fly through making these blocks:
- Cut Your Strips: Grab three different fabrics and cut several strips 2.5" wide by the width of the fabric (which is typically around 42").
- Sew Your Strip Set: Sew one strip of each fabric together along their long edges. This creates a "strip set" that's three fabrics wide. Press all your seams in one direction to keep things neat.
- Slice Into Blocks: Lay your finished strip set on your cutting mat and cut it into 6.5" segments. Every single slice is a finished Rail Fence block!
The real fun with the Rail Fence starts when you lay out your blocks. Just by rotating them, you can create all sorts of incredible secondary patterns. Turn them one way, and you get a classic zig-zag. Turn them another, and you get a cool diamond effect or a modern, boxy design. It’s one of the most versatile and deeply satisfying patterns for a new quilter.
For more layout inspiration, you should definitely check out this fantastic free fence rail quilt pattern.
Tackling the Classic Churn Dash Block
Ready to try your hand at one of quilting’s most cherished designs? The Churn Dash block has a timeless charm that looks intricate but is surprisingly simple to piece together. It's the perfect project for a quilter who's comfortable with the basics and wants to dip their toes into working with triangles.
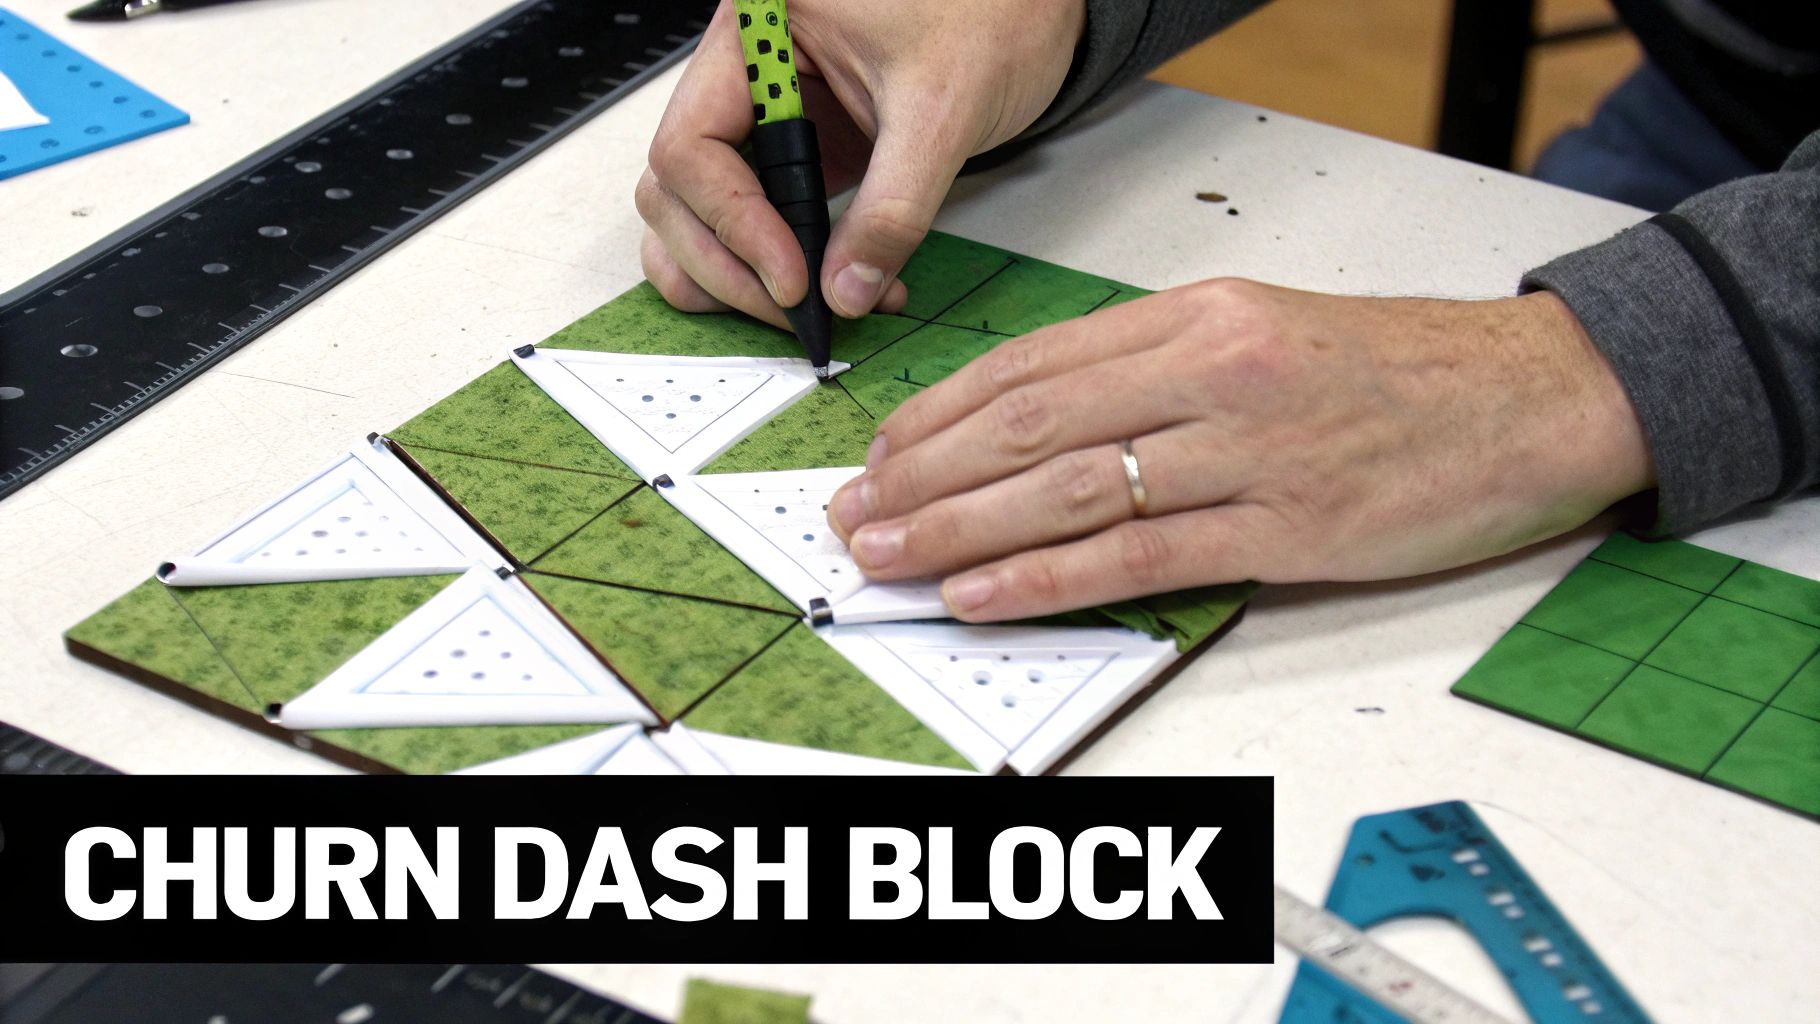
This block is a fantastic skill-builder. We're going to focus on making flawless half-square triangles (HSTs) using a slick, no-waste method that will give you crisp points every time. Honestly, once you nail this technique, you'll start seeing HSTs everywhere and feel confident you can tackle them.
Your Fabric Cutting List
For one 9.5" unfinished Churn Dash block, you'll need two fabrics that pop against each other—a light and a dark. Take your time with the cutting; accuracy here will make sewing a breeze.
Here’s what you’ll need to cut:
-
From your light fabric:
- One 3.5" x 3.5" square (this will be your center)
- Four 3.5" x 2" rectangles
- Two 4" x 4" squares (for the HSTs)
-
From your dark fabric:
- Four 3.5" x 2" rectangles
- Two 4" x 4" squares (for the HSTs)
This combination of pieces creates that wonderful spinning motion the Churn Dash is known for.
Putting the Churn Dash Together
Think of this block as a simple nine-patch grid. We'll make nine little units first and then stitch them all together. The corner units—the HSTs—are where the magic happens.
Let's start there. Grab one light and one dark 4" square and place them with their right sides facing each other. Draw a single diagonal line from corner to corner. Now, you’ll sew a 1/4" seam on both sides of that line you just drew.
This two-for-one method for making HSTs is a total game-changer. Sewing on both sides of the line before you cut means you get two perfect units from two squares, with absolutely no wasted fabric. The seams are also wonderfully stable. It’s a trick every quilter should have up their sleeve.
After sewing, take your rotary cutter and slice right down the marked line. You’ve just made two HST units! Press the seams toward the darker fabric (this helps reduce bulk) and then trim them down so they measure exactly 3.5" x 3.5". Do this again with the other set of 4" squares, and you’ll have your four corner HSTs ready to go.
Next up are the four side units, which I call the "dashes." Just sew a light 3.5" x 2" rectangle to a dark 3.5" x 2" rectangle along the long edge. Press the seam toward the dark fabric again.
Now for the final assembly! Lay out all nine pieces in a 3x3 grid. You'll have the HSTs in the corners, the "dash" units on the sides, and that 3.5" light square right in the middle.
Sew the pieces into three rows. A great tip is to press the seams of the top and bottom rows in one direction, and the middle row in the opposite direction. This helps the seams "nest" together for a perfect finish when you join the rows. Sew the rows together, and you've just made a beautiful Churn Dash block
Putting It All Together: From Blocks to Quilt Top
You've done all the precision cutting and piecing, and now for the really fun part—watching your quilt top finally emerge! This is the moment when all those individual blocks join forces to become the beautiful, cohesive design you had in your head.
Before you even think about sewing another seam, lay all your finished blocks out. A clean floor is perfect for this, but if you have a design wall, even better. This is your playground. Move blocks around, swap them, turn them upside down. Step back and squint a little—it helps you see the overall color flow and pattern without getting lost in the details. Keep shuffling things around until you land on an arrangement that just feels right.
Once you’ve settled on a layout you love, it’s time to build your rows. You’ll sew the blocks together one row at a time, and then join those rows to create the quilt's center. Remember that seam-nesting trick we talked about earlier? It’s just as crucial here. By pressing the seams of your first row to the right and your second row to the left, you'll get those perfect points where your corners meet.
The Finishing Touches: Sashing and Borders
Sometimes, your blocks need a little breathing room. That’s where sashing comes in. These fabric strips act as a framework between your blocks, making each one pop. Sashing is completely optional, but it's a fantastic tool for unifying a busy, scrappy quilt or adding a bold splash of color.
Borders are what frame your entire piece, giving it a polished, finished look. They also provide a nice, stable edge that makes the final quilting and binding so much easier. But, and this is a big one, borders are where so many quilters get tripped up by frustrating, wavy edges.
The absolute key to flat, professional-looking borders is not to measure the outside edge of your quilt top. The edges have stretch and give, and measuring them is a surefire way to get ruffles. Instead, you need to measure through the center of the quilt.
Here’s how you do it: measure the length of your quilt right down the middle and cut your two side border strips to that exact length. Pin the border to the quilt top, gently easing the fabric to fit if you need to, and then sew it on. Do the exact same thing for the top and bottom borders, but this time, measure the quilt's width through the center. I promise, this one small step will elevate the look of your quilt instantly.
With your quilt top fully assembled, you’re ready to build your "quilt sandwich." For a step-by-step tutorial on this essential process, you'll want to read our guide on how to baste a quilt. This sets you up for the final quilting and binding, getting you that much closer to cuddling up with your new creation.
Choosing the Right Batting for Your Quilt
The batting is the hidden heart of your quilt. It’s that secret ingredient sandwiched between the top and back that truly determines how your finished quilt will look, feel, and even drape. All those terms like "loft" and "drape" can sound intimidating at first, but picking the right one is simpler than you might think.
This middle layer is what gives your quilt its warmth, its weight, and its unique character.
Think of it this way: a fluffy, high-loft polyester batting will give you a thick, puffy quilt—perfect for snuggling up on a bed. On the other hand, if you choose a thin, low-loft cotton batting, you'll get that classic flat, crinkly look after washing. This is fantastic for wall hangings or table runners where you want your quilting stitches to really pop.
Your choice of batting should always start with the quilt's final purpose. A soft, breathable cotton or bamboo blend is a no-brainer for a baby quilt, while a luxurious wool batting offers incredible warmth for a special heirloom throw.
Getting to Know Your Batting Fibers
For the beginner-friendly patterns we're covering, you really can't go wrong with a quality cotton or an 80/20 cotton-poly blend. These are the go-to choices for quilters everywhere for a reason. Brands like Hobbs and Pellon are shop favorites because their quality is incredibly consistent—they won't bunch up or "beard" (when pesky fibers poke through your fabric) after you wash them.
Here's a quick rundown of the most common options:
- 100% Cotton: A wonderful natural fiber that’s both breathable and soft. It’s what creates that classic, slightly puckered look that so many of us love after that first wash.
- 80/20 Cotton/Poly Blend: This is the true workhorse of the quilting world. You get the best of both worlds: 80% cotton for softness and breathability, plus 20% polyester for a touch of stability and loft, which also helps reduce shrinkage.
- Wool: Exceptionally warm but surprisingly lightweight. Wool has a beautiful, springy loft that makes quilting stitches look absolutely divine. It’s a premium choice that’s worth it for those extra-special projects.
To help you visualize what works best for different projects, here is a handy guide.
Batting Selection Guide by Project Type
| Batting Type (Fiber) | Ideal Loft | Best For Projects Like... | Key Feature |
|---|---|---|---|
| 100% Cotton | Low to Med | Baby quilts, wall hangings, table runners, traditional quilts | Creates a classic, flat, crinkly "antique" look |
| 80/20 Cotton/Poly | Medium | Everyday quilts, charity quilts, bedspreads, t-shirt quilts | Versatile, durable, and reduces shrinkage |
| 100% Polyester | Med to High | Puffy comforters, tied quilts, kids' play mats | High loft, lightweight, and non-allergenic |
| Wool | Med to High | Heirloom quilts, show quilts, warm lap throws | Exceptional warmth without the weight |
| Bamboo Blend | Low | Modern quilts, summer throws, baby blankets | Silky soft drape and naturally antibacterial |
Ultimately, the best way to learn is by trying different types to see what you love working with.
If you want to dig a little deeper into all the options out there, our complete guide explores the different types of quilt batting and their specific uses.
And a little pro-tip for when you really catch the quilting bug: buying batting by the roll is a total game-changer. It saves a significant amount of money in the long run and means you always have the perfect foundation ready for your next flash of inspiration. Plus, no more fighting with those stubborn wrinkles from the packaged folds
Common Questions About Basic Quilt Patterns
Let's face it, even with the simplest patterns, questions always come up. That's a completely normal part of the process! Getting those questions answered is what builds your skills and keeps you from getting stuck. Think of this section as having a seasoned quilter sitting right beside you, ready to help.
What Is the Easiest Quilt Pattern for a Total Beginner?
If you're brand new to quilting, my top recommendation is almost always the Rail Fence. It’s a fantastic first project because it’s built on strip piecing. You just sew long fabric strips together and then slice them into blocks.
It’s all straight seams, so you get a feel for your machine without any tricky bits. Plus, it comes together so quickly, giving you that wonderful "I made this!" feeling right away.
Another great starting point is a simple Four Patch. It’s a small, manageable block that's perfect for really nailing your cutting accuracy and mastering that all-important quarter-inch seam.
How Do I Keep My Quilt Blocks the Same Size?
Ah, the million-dollar question! Getting consistent blocks isn't magic; it's about building a few good habits. There are really three things that make all the difference:
- Cut Carefully: Always use a sharp rotary cutter, a good acrylic ruler, and a self-healing mat. The old "measure twice, cut once" saying is gospel in quilting.
- Master Your Seam Allowance: This is huge. Investing in a dedicated 1/4" quilting foot for your machine will change your life. It makes sewing a perfect seam almost automatic.
- Press, Don't Iron: Press your seams open or to one side after each step. Use an up-and-down motion with your iron. If you wiggle it back and forth, you risk stretching the fabric and distorting your beautiful block.
The real secret to perfectly uniform blocks isn't some expensive gadget. It's just muscle memory. The more you practice sewing a consistent 1/4" seam, the more your hands just know how to guide the fabric. It becomes second nature.
Should I Pre-Wash My Fabric?
You've stumbled upon one of the great debates in the quilting world! There are strong opinions on both sides.
Pre-washing gets rid of any factory finishes and, more importantly, pre-shrinks the fabric so your finished quilt doesn't pucker after its first wash. On the other hand, modern quilting cottons have very little shrinkage, and many quilters love the crispness of unwashed fabric for cutting.
Here's my rule of thumb: If you're mixing different types of fabric or using bold, saturated colors (especially reds and dark blues), pre-washing is your best friend. It can prevent a heartbreaking color bleed. A little extra time at the beginning can save you a world of frustration later on.
Ready to give your quilt the perfect foundation it deserves? At Quilt Batting, we offer premium, high-quality batting by the roll, ensuring every project you create has a beautiful, lasting finish. Come explore our selection and find the ideal heart for your next quilt.