

Straight line quilting is so much more than just stitching in a line. It’s the secret weapon for adding incredible texture and a clean, modern finish to any quilt you make. This simple approach has remained a favorite for both new and seasoned quilters for a reason—it builds a fundamental skill that opens the door to countless other designs. Trust me, professional, stunning results are completely within your reach.
The Timeless Appeal of Straight Line Quilting
There's a special kind of magic in straight line quilting. It strikes that perfect balance between simplicity and sophistication, creating a visual rhythm that can either blend quietly into the background or stand out as a major design feature. That versatility is its greatest strength. You can use it to create anything from minimalist grids to the dense, delicious texture of matchstick quilting.
What's great is how accessible this method is, making it the perfect starting point if you're new to machine quilting. With just a handful of basic tools, you can finish your quilts beautifully and confidently on your home sewing machine. For more on getting started, our essential quilting tips for beginners will help you build a solid foundation.
A Modern Look with Deep Roots
While it feels incredibly modern, straight line quilting has a rich history. The technique really took off during the Industrial Revolution as sewing machines started finding their way into homes. When the Singer company introduced an installment plan in 1856, it made machines widely available by the 1870s. Suddenly, quilters could stitch up a quilt in days instead of weeks. You can dive deeper into this fascinating shift in quilting history on Wikipedia.
This history shows why straight lines are so fundamental—they were what the machine did best! Today, we choose this technique not just because it's efficient, but because of its powerful, clean aesthetic.
The real beauty of straight line quilting is its ability to transform a quilt top through pure texture. The lines themselves become a secondary pattern, adding depth and a professional finish that complements, rather than competes with, your piecing.
Think of this guide as your go-to resource. We’re going to walk through everything you need to know to get it right.
- Essential Tools: From walking feet to rulers, we’ll cover what you actually need.
- Machine Setup: Learn to dial in your tension and stitch length for perfect-looking results.
- Marking Strategies: Discover foolproof methods for achieving flawless, evenly spaced lines.
- Troubleshooting: Get practical fixes for common frustrations like puckers and skipped stitches.
By the time you're done here, you'll have the skills to tackle straight line quilting on any project with total confidence.
Your Essential Toolkit for Perfect Straight Lines
Let’s be honest: the right tools are what separate a frustrating quilting session from one where you get into a perfect flow. When you’re chasing those crisp, even lines, investing in a few key pieces of gear will save you from countless headaches and deliver the professional results you’re after. This isn't about buying every gadget on the shelf; it's about strategically choosing the tools that solve real-world quilting problems.
For a lot of us, the decision to quilt with straight lines is all about the final look. Are you adding a subtle, crinkly texture to let the piecing shine? Or are you creating a bold, modern grid that becomes a major design element? This simple choice can lead to two very different, but equally beautiful, outcomes.
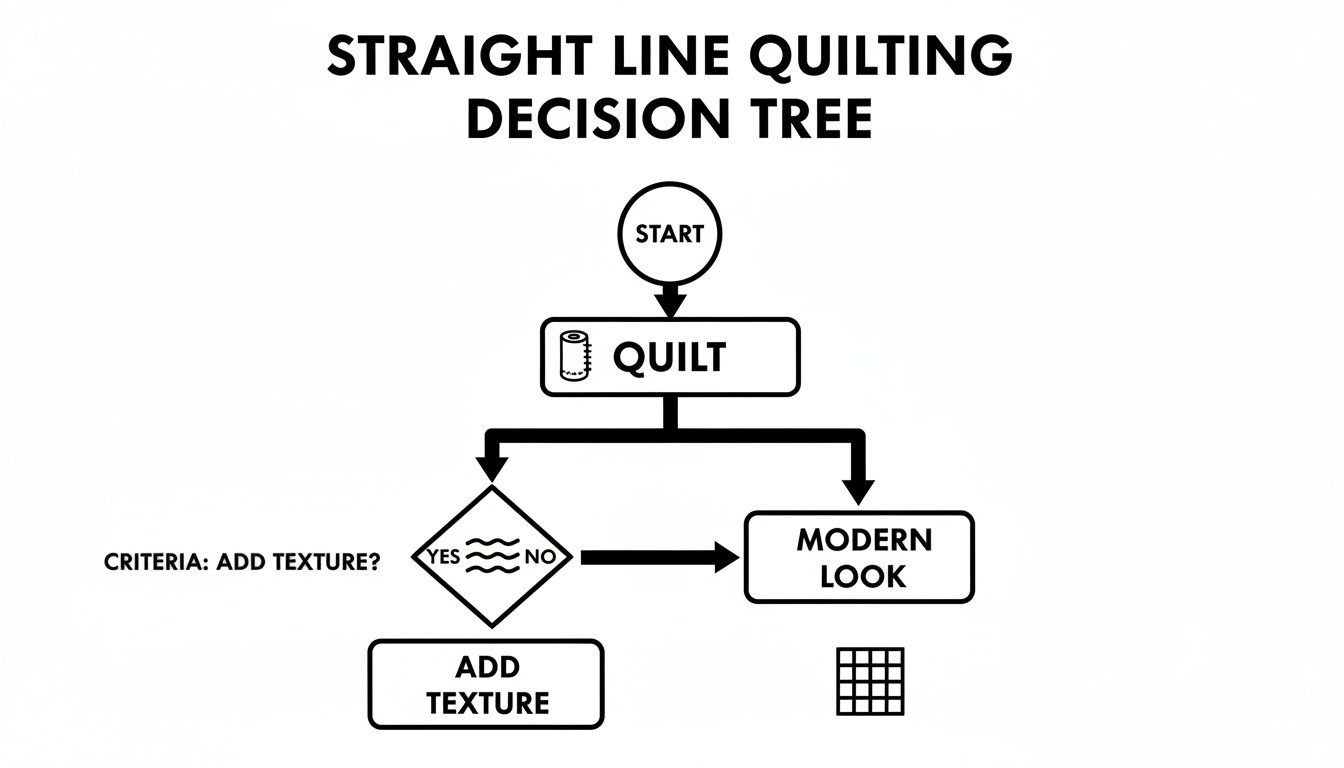
As you can see, the path you take—whether you’re going for that soft, textured finish or a clean, graphic look—is what gives your quilt its final personality. And it all starts with the same foundational technique.
To help you decide which tool is right for your machine and your project, here’s a quick breakdown of the most common options.
Tool Comparison for Straight Line Quilting
This table lays out the go-to tools for quilters on both domestic and longarm machines, so you can see at a glance which one fits your needs best.
| Tool | Machine Type | Primary Function | Best For |
|---|---|---|---|
| Walking Foot | Domestic | Evenly feeds all three quilt layers | Preventing puckers, simple parallel lines, gentle curves |
| Ruler Foot & Rulers | Domestic & Longarm | Guides the needle along a ruler's edge | Stitching-in-the-ditch, crosshatching, complex grids |
| Channel Locks | Longarm | Restricts machine movement to one axis | Flawless horizontal or vertical lines, piano key borders |
Each tool has its place, and many quilters use a combination depending on the quilt. Now, let’s dig into what makes each one tick.
The Walking Foot: Your Domestic Machine's Best Friend
If you're quilting on a domestic machine, the single most essential tool you can own is a walking foot. This isn't just a nice-to-have accessory; it’s a non-negotiable for avoiding frustrating puckers, tucks, and fabric drag.
So, how does it work? A walking foot has its own set of feed dogs on the bottom that move in perfect sync with your machine's built-in feed dogs. This creates a brilliant "even-feed" system that pulls the top and bottom layers of your quilt sandwich through at the exact same rate. Without it, the top fabric almost always gets pushed ahead of the bottom, creating those dreaded waves.
When you're shopping for one, look for a model that includes an attachable guide bar. This simple metal arm lets you set a specific distance from your last line of stitching, making it a breeze to quilt perfectly spaced, parallel lines without having to mark your entire quilt top.
Get Unbeatable Accuracy with Ruler Work
When absolute precision is what you’re after, it’s time to embrace ruler work. This technique pairs a special ruler foot—which has a high, circular collar—with thick acrylic quilting rulers.
You simply guide the ruler foot along the edge of the ruler, which acts like a fence to keep your stitches perfectly straight. It's an amazing technique for:
- Stitching in the ditch with unmatched accuracy.
- Creating complex grids and crosshatching patterns.
- Outlining appliqué shapes with crisp, straight borders.
The trick is to use rulers specifically designed for quilting, which are typically 1/4-inch thick. This height is crucial because it prevents the needle from hopping over the ruler's edge and breaking. You can find a fantastic selection of high-quality quilting templates and rulers designed to make this job easy and safe.
The Go-To Gear for Longarm Quilters
On a longarm, quilting straight lines is generally easier, but a couple of tools make it absolutely foolproof. The most valuable of these are channel locks.
Channel locks work by engaging the machine’s horizontal or vertical wheels, which physically restricts its movement to a single axis.
With the channel locks on, you can glide the machine across the quilt knowing it can only move in one perfectly straight line. It completely removes the chance of a stray wiggle or bump, making it the ideal tool for perfect grids or piano key borders.
Another longarm essential is a good ruler base. This is a flat acrylic table that attaches around the machine’s hopping foot, creating a broad, stable surface for using longarm rulers. It stops the rulers from tipping or slipping under the needle, giving you the same kind of precision you get with ruler work on a domestic machine, just on a much grander scale.
Getting Your Quilt and Machine Ready for Success
Great quilting starts long before your needle ever hits the fabric. I like to think of this stage as a pre-flight checklist. Taking a few minutes to get everything just right can save you from nearly all the common headaches that ruin an afternoon of sewing. If you skip these steps, you’re just asking for frustration, but getting them right? That sets you up for a smooth, enjoyable quilting session.
Let's start with your sewing machine. Before you even think about threading it, give it a quick clean. Get all that lint out, especially around the bobbin case and under the needle plate. You’d be surprised how many thread-related disasters are caused by a simple bit of fluff.
Next, and I can't stress this enough, always start with a fresh needle. A dull or slightly bent needle is the number one cause of skipped stitches and shredded thread. For most quilting projects, a 90/14 needle is my go-to. It’s got the strength to punch through all those layers without bending or breaking. Finally, wind a fresh bobbin. Make sure the thread winds on smoothly and evenly—a wobbly, messy bobbin is a tension nightmare waiting to happen.
Building a Rock-Solid Quilt Sandwich
With your machine tuned up, it's time to assemble your quilt sandwich. This isn't just about layering your quilt top, batting, and backing; it's about making them a single, stable unit. Your goal is to get everything perfectly smooth and secure to eliminate any chance of puckers or shifting while you quilt.
This securing process is called basting. You've got a few ways to tackle it:
- Pin Basting: This is the old-school, super-secure method. You’ll use curved safety pins every four to five inches across the entire quilt. It's fantastic for dense quilting where you need zero movement.
- Spray Basting: A temporary adhesive spray that glues the layers together. It’s incredibly fast and works really well, but be sure to use it in a well-ventilated space.
- Thread Basting: Using large, hand-sewn stitches to hold the layers in place. It's a favorite among hand quilters but works just as well for machine quilting if you prefer to avoid pins or sprays.
Everyone has their favorite method, and what you choose often comes down to personal preference and the project itself. If you want to dive deeper, we have a complete guide on how to baste a quilt that covers all three techniques.
Nailing Your Tension and Stitch Length
This is the final—and most critical—step before you start quilting for real. Please, never start quilting directly on your beautiful quilt top without doing a test run first. Grab some scraps from your quilt top and backing, and a piece of the same batting you're using, to create a little "mini-sandwich."
This small test piece is your playground. Use it to dial in the perfect stitch length and thread tension before you take a single stitch on your actual quilt. This five-minute step can save you hours of seam ripping.
On this practice piece, play around with your stitch length. For straight lines, I find a slightly longer stitch—somewhere between 2.8 to 3.5 mm—looks much cleaner and more professional. Sew a few lines and then stop to inspect your work. Flip it over. The stitches should look identical on the top and the bottom. If you see little loops or knots of thread (we call them "eyelashes"), your tension is off. Keep adjusting your top tension and sewing test lines until the stitches are perfect.
Once you’re happy with how it looks, you can move over to your actual quilt with total confidence.
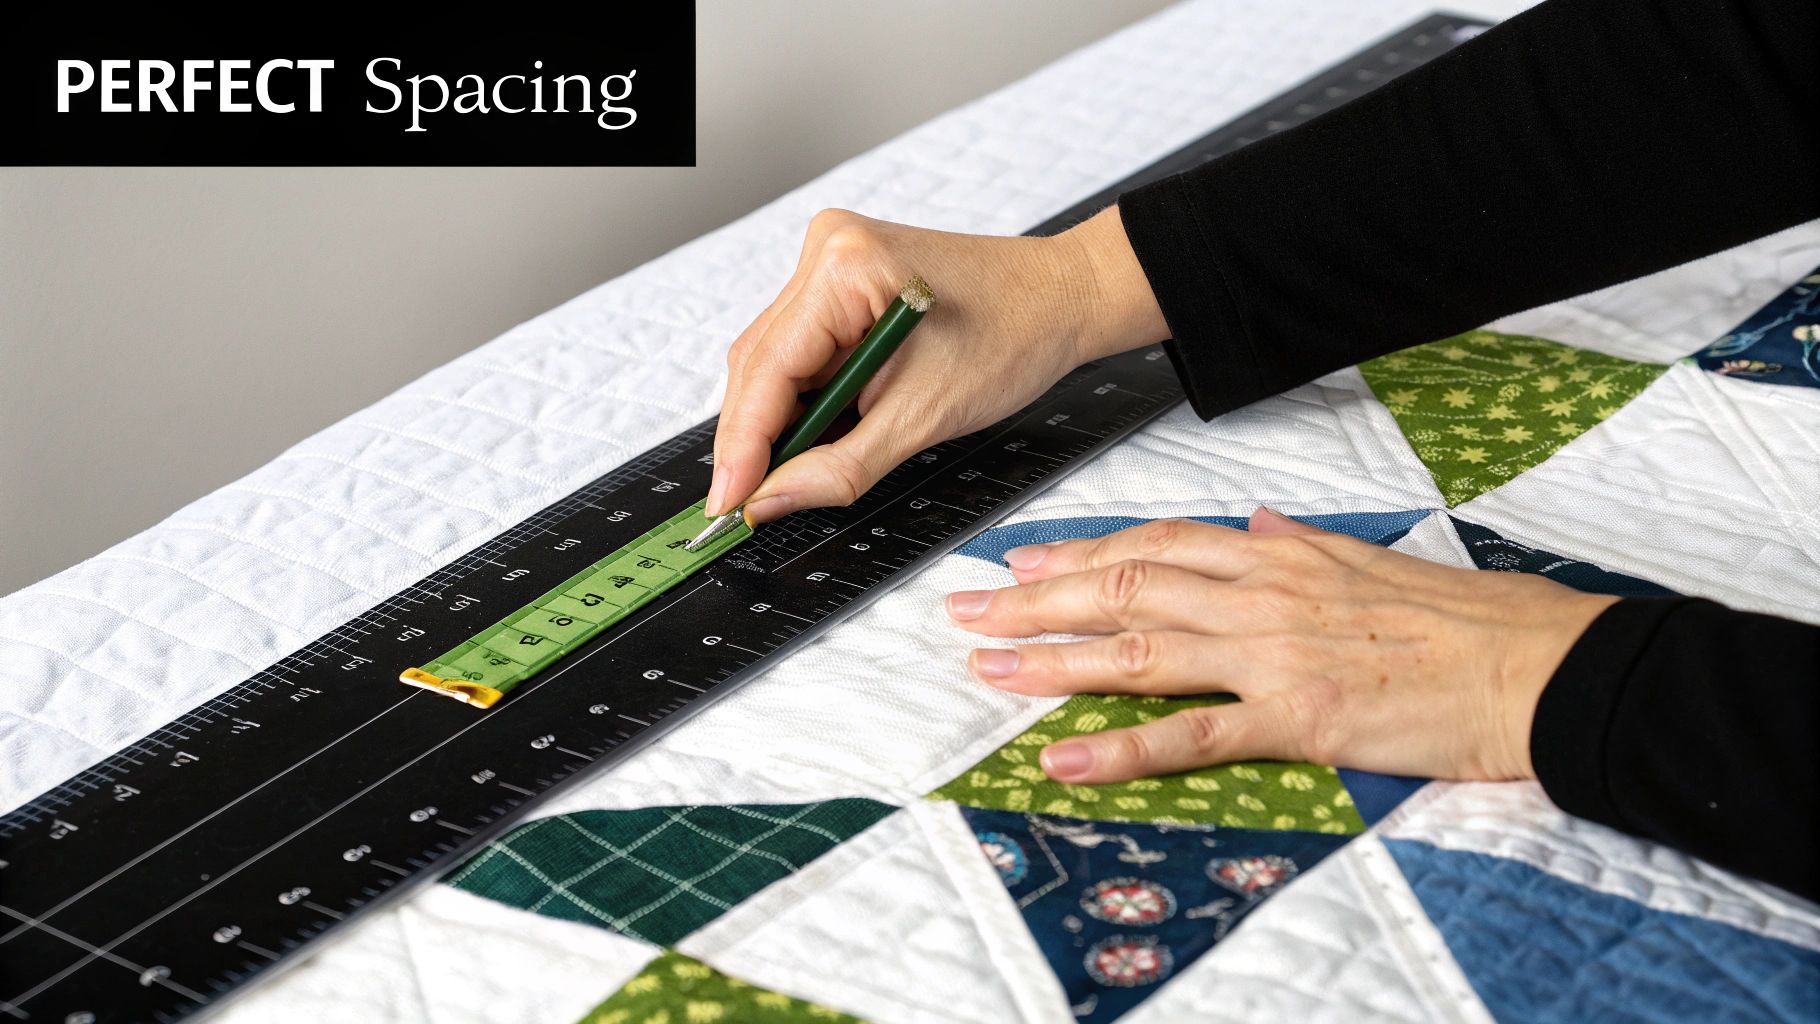
Marking and Spacing Strategies for Flawless Grids
Perfectly spaced lines can take a simple quilt and turn it into something truly special. It’s what transforms a cozy blanket into a piece that looks polished and professional. Getting that kind of precision isn't about luck; it’s all about having a solid strategy. So, let's get into the nitty-gritty of creating flawless grids, whether you're a planner who likes to mark everything first or someone who prefers to dive right in.
First things first, you need to decide on your approach. Are you going to draw guidelines directly onto your quilt top, or would you rather use a tool that guides you as you sew? Both methods work beautifully. Your choice will likely come down to what feels most comfortable for you and how complex your quilting design is.
Choosing Your Marking Tool
If you're going the route of marking your quilt, picking the right tool is absolutely critical. You need something that will disappear completely when you're done. I can't tell you how many horror stories I've heard from quilters who used a pen that was supposed to wash out but left permanent ghost lines behind.
Always, and I mean always, test your marking tool on a scrap of your project fabric before you even think about touching your quilt top.
Here are a few of my tried-and-true favorites:
- Water-Soluble Pens: These are fantastic. They create a clear blue or purple line that vanishes with just a spritz of water. They’re my go-to for light-colored fabrics where I need a high-contrast guide. One big tip: make sure you remove the marks before pressing your quilt with a hot iron, as heat can sometimes set the ink for good.
- Hera Marker: This is probably my all-time favorite tool for when I don't want to use any ink at all. A Hera marker is a simple plastic tool that you press along a ruler to create a temporary crease in the fabric. It’s subtle but surprisingly easy to see, and it’s guaranteed to leave no trace.
- Chalk Pencils or Wheels: The classic choice for a reason. Chalk gives you a crisp line that just brushes away when you're finished. It works especially well on dark fabrics where other markers might not show up clearly.
Quilting Without Drawing a Single Line
Now, for those of you who cringe at the very thought of drawing all over your beautifully pieced top, don't worry. There are some clever ways to get perfect spacing without making a single mark. This is my preferred method for most of my simple, parallel-line quilting.
The secret weapon here is often a tool you already own: the guide bar for your walking foot. It’s that little L-shaped metal rod that slides into a slot on the foot. You can adjust it to set your desired line spacing. After you stitch your first line, you just align the guide bar with that row of stitching, and it keeps your next line perfectly parallel. It’s that easy.
Another brilliant (and wonderfully low-tech) option is using painter's tape. Just lay down a strip of tape to guide your first line of stitching right along its edge. Once that line is stitched, you can either peel up the tape and move it, or simply use the edge of your presser foot to echo that first line.
How Spacing Transforms Your Quilt
The distance between your quilting lines has a massive impact on the final look and feel of your project. You can take the exact same quilt top and give it a completely different personality just by changing the quilting density.
Think about these two common approaches:
- Classic Crosshatch: When you space your lines 1 to 2 inches apart, you create a classic, gentle texture. This secures the layers beautifully while allowing the quilt to stay soft and drapey—perfect for a cozy throw.
- Dense Matchstick Quilting: For a much more modern, graphic look, try spacing your lines just 1/8 to 1/4 inch apart. This technique creates a stiffer, more textured finish that really makes the piecing pop. It adds incredible visual interest.
By choosing your method and spacing with intention, you have total control over the finished texture of your quilt.
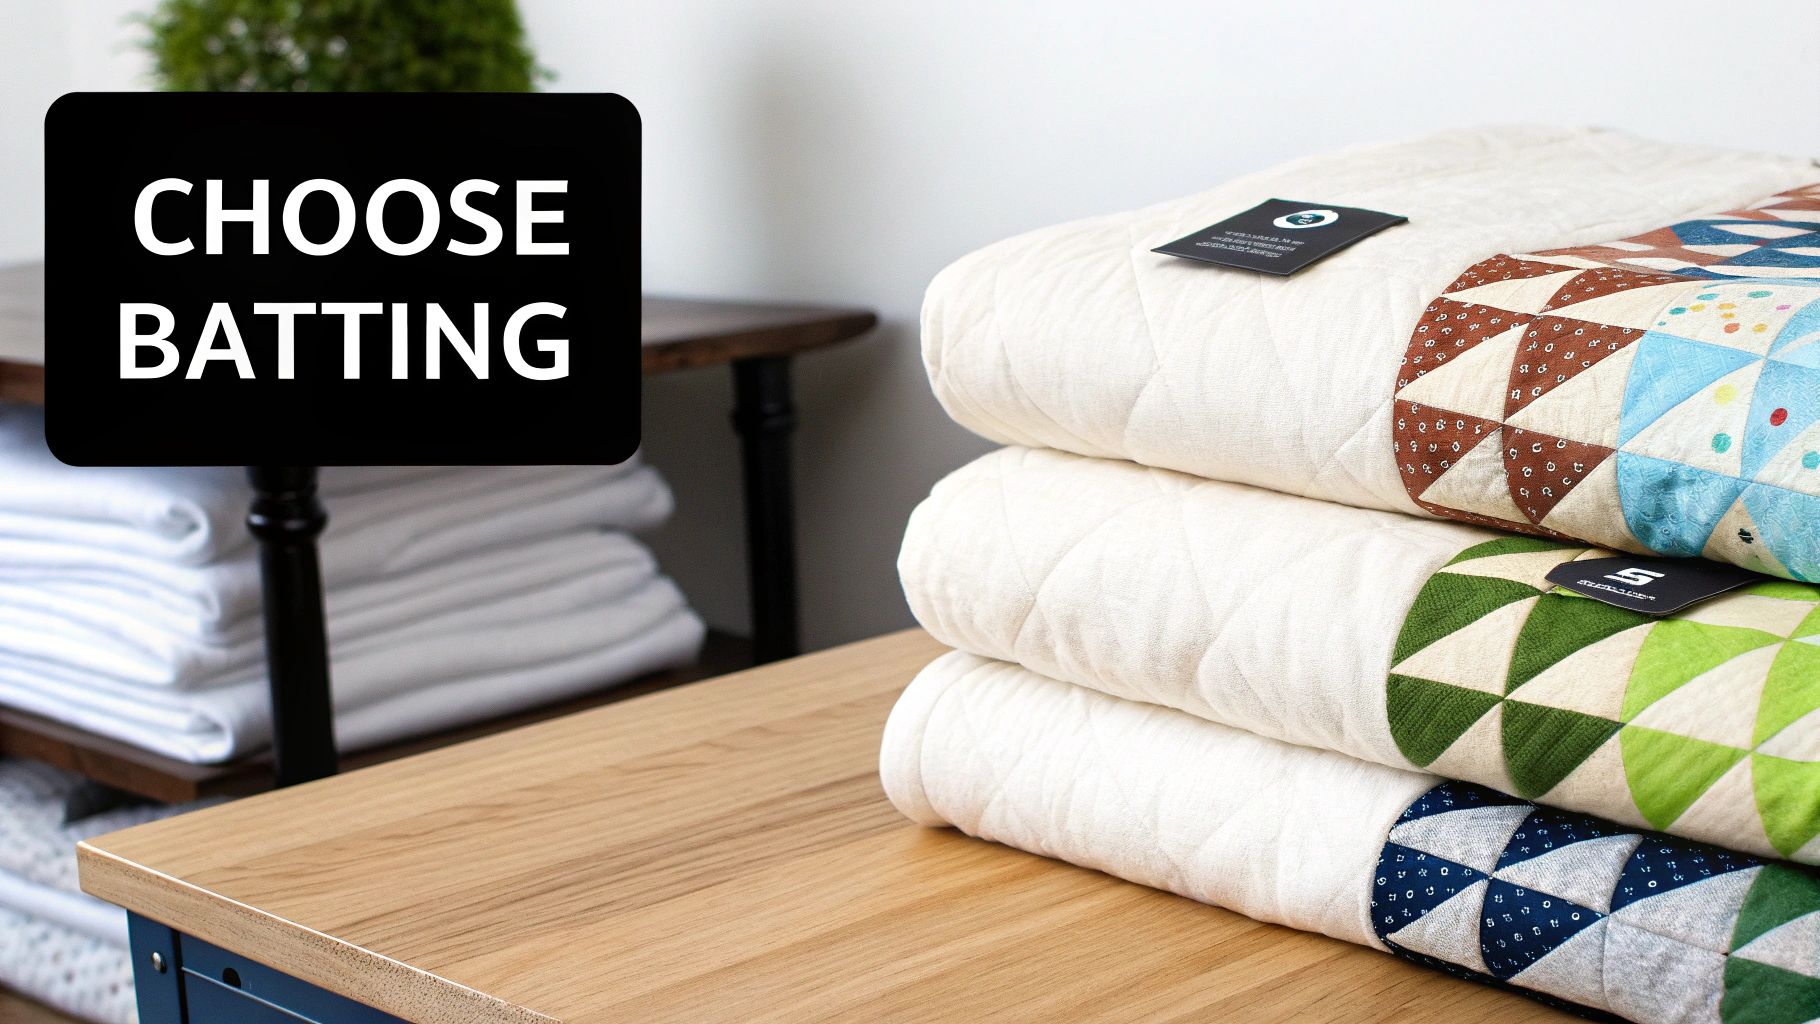
Choosing the Right Batting for Straight Line Designs
The batting you choose is really the unsung hero of your quilt. It’s the stuff on the inside that quietly dictates the final drape, texture, and warmth. For straight line quilting, this choice becomes even more critical because the batting directly influences how your stitched lines will either pop with definition or create that flat, modern surface you might be after.
Think of batting as the foundation—get it right, and your quilting will absolutely shine.
Your first big decision comes down to the fiber content. Each type of batting interacts with your stitches differently, creating a totally distinct feel. Once you get a handle on these differences, you can pick the perfect one to bring your vision to life.
The Best Batting for Crisp, Flat Lines
If your goal is a sleek, modern quilt with sharp, clean lines, you’ll want a batting with a low loft and a stable structure. This is where cotton and cotton blends truly excel, and I find myself reaching for them time and time again for this look.
My personal go-to is an 80/20 cotton-poly blend. This batting really offers the best of both worlds. You get the soft, natural feel of cotton, but the polyester adds a bit of strength and stability. It resists bunching, drapes beautifully, and lets your stitches sink in just enough for a subtle, flat texture that’s perfect for grid work.
A 100% cotton batting with a scrim is another fantastic choice. The scrim is just a thin, non-woven stabilizer layered onto one side, and it works wonders to prevent the batting from stretching or distorting while you quilt. That added stability is a game-changer for dense straight line quilting, ensuring your lines stay perfectly parallel and you don't end up with frustrating puckers.
When to Choose Wool for Puffy Definition
But what if you want the opposite effect? What if you want your straight lines to have a soft, puffy definition between them? This is where wool batting steals the show. Wool naturally has a higher loft and a springy, resilient nature that resists being compressed.
When you quilt straight lines on wool, the areas between your stitches puff up, creating a gorgeous, cloud-like texture. This adds incredible dimension and a luxurious, cozy feel to the finished quilt. It’s my top pick for a warm bed quilt where you want the quilting to create both a dramatic visual and a wonderful tactile experience.
To really nail the right choice for your next project, it helps to understand all the options out there. If you're curious, you might want to check out our detailed breakdown of the different types of quilt batting to see how each one can serve your creative vision.
Troubleshooting Common Straight Line Quilting Issues
Let's be honest, even the most carefully planned quilting session can hit a snag. One minute you're in the zone, the next you're staring at a mess of puckers or skipped stitches. It’s incredibly frustrating, but don't reach for the seam ripper just yet.
Most of these headaches have surprisingly simple solutions. I've spent countless hours troubleshooting these exact problems, and I'm here to walk you through the fixes so you can get back to the fun part.
Fixing Puckers and Fabric Waves
Puckered fabric and wavy lines are probably the most common frustrations I hear about, especially when working on bigger quilts. Before you start fiddling with your machine's settings, take a hard look at your quilt sandwich. Nine times out of ten, the problem starts there.
If you see a little wave of fabric building up in front of your walking foot as you sew, your basting is almost certainly the culprit. The layers are shifting because they aren't secured well enough. For dense straight-line quilting, you need to be really thorough—either with a quality spray baste or by placing a safety pin every 4-5 inches. You want that quilt top locked down.
The other major cause is simply gravity. If half your quilt is dangling off the edge of your sewing table, its weight will pull and distort the fabric, resulting in wavy, dragged-out lines.
My best advice: Let the machine do the work of feeding the quilt through. Your only job is to guide it. Support the quilt's full weight by rolling up the sides or investing in an extension table. You need a large, flat surface to keep everything moving smoothly.
Solving Skipped Stitches and Thread Issues
There's nothing quite like the sound of shredding thread or the sight of skipped stitches to kill your quilting momentum. When this happens, stop what you're doing immediately. It's your machine's way of telling you something isn't right.
Instead of guessing, run through this mental checklist. I've found it solves the vast majority of stitch-related meltdowns.
- Swap Out Your Needle: This is always my first step. A dull or slightly bent needle is the number one cause of stitch problems. I start every quilting project with a fresh 90/14 needle. It’s strong enough to punch through all three layers without bending or causing issues.
- Rethread Everything: It sounds too simple, but you'd be amazed how often a thread has just slipped out of a single guide. Unthread your machine completely—top thread and bobbin—and rethread it slowly and carefully, making sure you hit every single point in the path.
- Give it a Quick Clean: Lint is the enemy of a happy sewing machine. A surprising amount of fuzz can build up in the bobbin area and around the feed dogs, which can seriously mess with your stitch formation. A quick sweep with a brush can work wonders.
Seriously, by methodically checking these three things first, you can fix over 90% of common stitch issues. It’s a simple diagnostic that will save you a world of frustration and help you achieve those crisp, perfect lines you're after.
At Quilt Batting, we know from experience that a great quilt starts with a great foundation. Explore our collection of premium, bulk-friendly batting to make sure your next straight-line project is beautiful from the inside out. Find the perfect roll for your needs at https://quiltbatting.shop.