

Tired of guessing which batting size to buy? Let's end the confusion right now. The one "secret" every experienced quilter lives by is the ‘4-inch rule’.
It’s simple: always add at least four extra inches of batting to every single side of your quilt top. That means your batting should be a total of eight inches wider and eight inches longer than your finished top. This little bit of overage is your safety net, and it's the key to a perfectly finished quilt.
A Quilter’s Guide to Perfect Batting Sizes
Picking the right batting can feel like a make-or-break moment, but it’s actually pretty straightforward once you get the hang of it. Think of that extra four inches on each side as your project's insurance policy. It’s there to give you wiggle room and account for all the little things that happen during the quilting process.
This buffer is non-negotiable, especially if you're sending your quilt to a longarmer. They need that extra fabric to properly load the quilt onto their machine's frame. It also accommodates the natural shifting and pulling that occurs as you stitch the layers together and, just as importantly, allows for any shrinkage from natural fibers like cotton after that first wash.
Trust me, running out of batting before you run out of quilt top is a quilting nightmare you can easily avoid.
The Famous 4-Inch Rule Explained
The 4-inch rule isn't just a friendly suggestion; it's the industry standard for a reason. It builds in room for error and is your ticket to a professional finish, whether you’re quilting on your home machine or outsourcing to a pro. Following this rule makes assembling your quilt sandwich—the top, batting, and backing—so much smoother.
This graphic really helps visualize why those few extra inches are so critical.
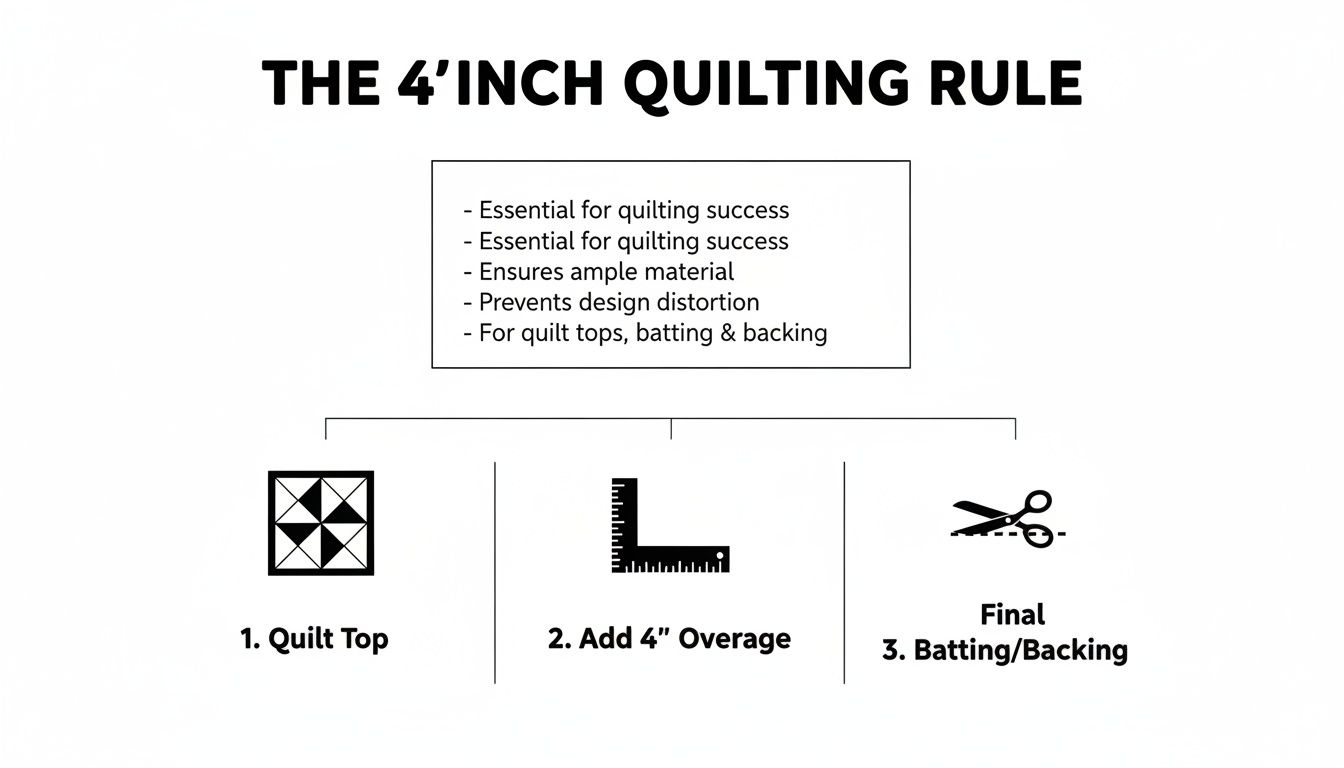
As you can see, starting with your quilt top, adding that generous overage for both the batting and backing, and then trimming it all down at the end is the foolproof path to a stress-free finish.
To put it into action, just take your quilt top's measurements and add eight inches to the length and another eight inches to the width.
For example, if your quilt top measures 60 inches by 70 inches, you'll want batting that is at least 68 inches by 78 inches. This simple math will save you a world of frustration.
Your Quilt Batting Size Cheat Sheet
To make things even easier, I've put together a handy cheat sheet. It lines up the most common quilt sizes with the pre-cut packaged batting you'll find at the store, so you can shop with total confidence. Bookmark this and you'll never have to second-guess your batting purchase again.
| Quilt Type | Approx. Quilt Top Size (Inches) | Recommended Packaged Batting Size | Minimum Batting Dimensions (Inches) |
|---|---|---|---|
| Crib | 36" x 52" | Craft (45" x 60") | 44" x 60" |
| Throw | 50" x 65" | Twin (72" x 90") | 58" x 73" |
| Twin | 70" x 90" | Twin (72" x 90") | 78" x 98" |
| Full / Double | 85" x 108" | Full (81" x 96") or Queen | 93" x 116" |
| Queen | 90" x 108" | Queen (90" x 108") | 98" x 116" |
| King | 110" x 108" | King (120" x 120") | 118" x 116" |
| California King | 104" x 112" | King (120" x 120") | 112" x 120" |
Just find your quilt top's dimensions on the left, and the chart will tell you exactly what to look for on the label. Easy as that
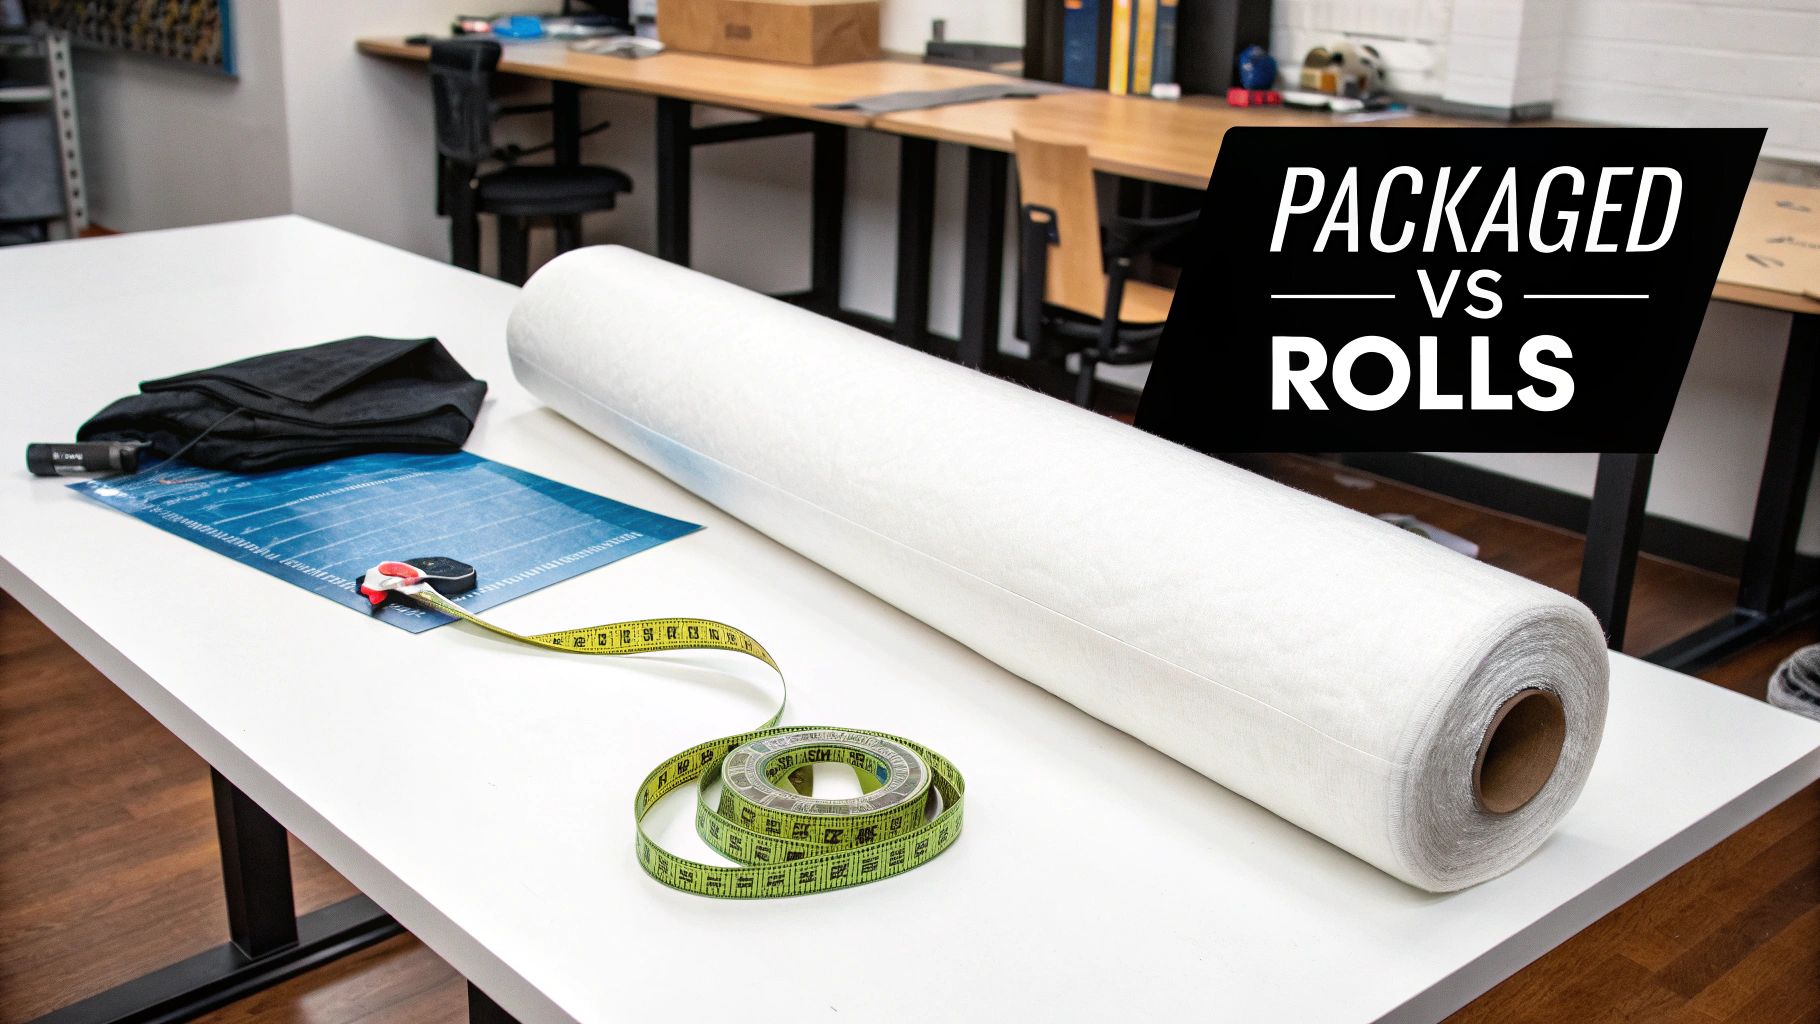
Choosing Between Packaged Batting and Rolls
Walking into a quilt shop and seeing the batting options can feel a lot like standing at the cutting counter. Do you grab a convenient, pre-cut fat quarter, or do you have them cut a custom length of fabric right off the bolt? The same choice exists for batting, and it’s a decision that can really shape your budget, your workflow, and even how you approach your projects.
Packaged batting is all about grab-and-go convenience. Think of it as a ready-made meal kit for your quilt—it’s pre-cut, clearly labeled for a specific size like "Queen" or "King," and takes all the guesswork out of the equation. If you’re someone who makes a quilt or two a year, this is a fantastic, no-fuss solution. You get exactly what you need for that one project, and you’re ready to baste.
But, as with most things, that convenience comes with a higher price tag per inch. It’s perfect for a one-off project, but if you find yourself quilting more and more, relying on packaged batting can start to add up. It’s a great starting point, but it might not be the most economical path as your passion grows.
The Strategic Value of Batting Rolls
On the other side of the aisle are the big, beautiful rolls of batting. This is the quilter’s version of buying in bulk—a bigger investment upfront, but one that pays off with some serious long-term savings. For anyone who tackles multiple projects a year or loves creating quilts with custom dimensions, buying a roll is a secret weapon for maximizing both value and flexibility.
The most obvious win here is the cost. The price per yard drops significantly when you buy a whole roll, letting you stretch your quilting budget a whole lot further. This is exactly why longarm studios and prolific quilters almost exclusively stock up on 30-yard rolls in workhorse widths like 96" or 120".
Buying by the roll also cuts down on waste in a big way. You just unroll and cut the exact amount you need, whether you're working on a tiny wall hanging or a sprawling California King. No more trying to Frankenstein leftover pieces together or forcing a pre-cut package to work for your unique vision. You can dive deeper into the benefits of this approach by learning more about cotton batting rolls and how they can really streamline your quilting life.
Making the Right Choice for Your Needs
So, which path is right for you? It really comes down to your quilting frequency, how much storage space you have, and your budget.
- The Occasional Quilter: If you finish fewer than three quilts a year, packaged batting is probably your best friend. It’s simple, efficient, and you won’t have to worry about storing a giant roll.
- The Avid Hobbyist: Is quilting your main creative outlet? Do you always have another project lined up? Investing in a roll is a total game-changer. The savings add up fast, and you’ll love the freedom of having batting on hand whenever inspiration strikes.
- The Professional or Studio: For longarmers and anyone quilting for others, buying by the roll is a no-brainer. It's a fundamental business decision that directly impacts your profitability and efficiency.
The growing demand for both convenient packages and economical rolls is clear. The global quilt batting market was valued at USD 1.2 billion and is expected to soar to USD 2.5 billion by 2034, growing at a steady clip of 7.5% annually. This shows just how much quilters at every level are investing in their craft.
Ultimately, choosing between a pre-cut package and a full roll is a simple trade-off: immediate convenience versus long-term value. As you get deeper into your quilting journey, graduating to a roll is a natural next step that empowers you to create more, waste less, and save some money for more fabric.
Connecting Batting Materials to Widths
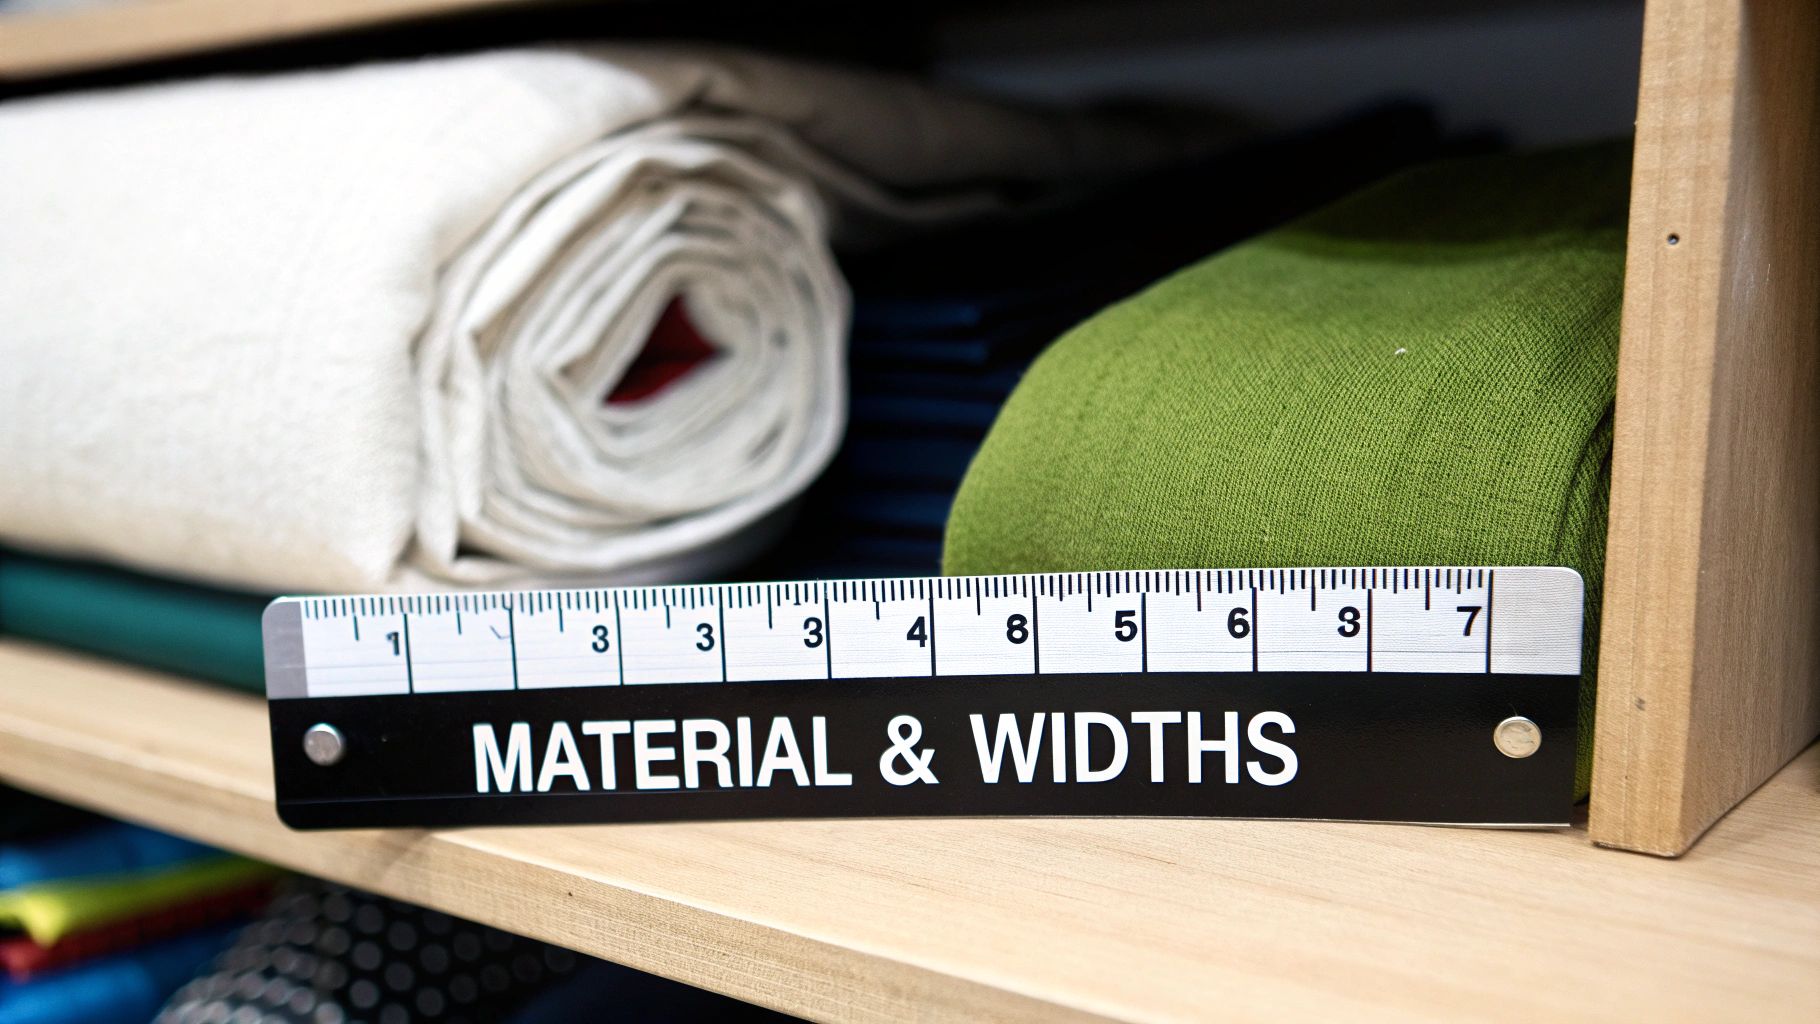
The batting you choose is so much more than just a filler layer. It’s the soul of your quilt, the hidden element that dictates its drape, weight, and warmth. Making the right creative choice here is directly tied to the practical world of batting sizes for quilts, because different fibers are often produced in specific roll widths. Understanding how these two things connect is the secret to buying smarter and quilting better.
Think of it like choosing the right flour for baking. You wouldn't use heavy bread flour for a delicate cake, right? It's the same with batting. The fiber you select—be it breathable cotton, lofty wool, or a durable blend—is what will ultimately define your quilt's personality.
How Fiber Type Influences Your Quilt's Look
When you're standing in front of all those rolls, two characteristics matter most: loft and fiber content. Loft is simply the thickness and puffiness of the batting, while the fiber itself determines everything from how much it shrinks to how well it breathes.
- Low-Loft Cotton: This is your ticket to that flat, traditional drape so many of us love. It shrinks just a little after washing—typically 3-5%—creating that classic crinkled, well-loved texture. It’s perfect for quilts where you want your intricate piecing to be the star of the show.
- High-Loft Polyester: Want your quilting stitches to pop? This is what you need. It gives you incredible definition, is lightweight, resists shrinkage, and provides a ton of warmth. It's fantastic for cozy comforters or quilts where the quilting pattern itself is the main attraction.
- 80/20 Cotton/Poly Blends: Ah, the beloved workhorse of the quilting world. This blend truly offers the best of both worlds: the soft, natural feel of cotton with the stability and lower shrinkage of polyester. It's a wonderfully versatile choice for just about any project you can dream up.
The material doesn’t just change the feel; it changes the rules. For example, some battings have a "scrim"—a very thin stabilizer needle-punched right into the fibers. This little addition lets you space your quilting stitches much farther apart (up to 8 inches!) without the batting shifting or coming apart.
Of course, there are other amazing options out there like wool and bamboo, each with its own special qualities. Wool is unbelievably lightweight yet warm and resists creases like a champ, while bamboo offers a silky-smooth drape and is naturally antimicrobial. As you can see, your creative choice of material has some very real, practical implications. To dive deeper, check out our comprehensive guide on the different types of quilt batting.
Matching Materials to Common Roll Widths
Let's bridge the gap between these creative choices and the practical side of actually buying the batting. Manufacturers produce batting in standard widths for a reason: to accommodate the most common quilting projects and save you the headache of piecing batting together.
When you're buying by the roll, you'll primarily see two dominant widths: 96 inches and 120 inches.
Here's a quick look at how different materials and their common widths line up with typical quilting needs.
Batting Material and Width Selection Guide
| Batting Material | Primary Use Case | Loft/Drape | Shrinkage % | Common Bulk Widths (Inches) |
|---|---|---|---|---|
| 100% Cotton | Traditional quilts, wall hangings | Low / Flat Drape | 3-5% | 96", 120" |
| Polyester | Comforters, kids' quilts, high-definition quilting | High / Puffy Drape | 0-2% | 96", 120" |
| 80/20 Cotton/Poly | All-purpose, bed quilts, throws | Low-Medium / Soft Drape | 2-3% | 96", 120" |
| Wool | Lightweight bed quilts, show quilts | Medium / Bouncy Drape | 3-5% | 96" |
| Bamboo Blend | Garments, modern quilts, baby quilts | Low / Silky Drape | 2-3% | 96" |
As you can see, your project's end goal heavily influences which material and width make the most sense.
A 120-inch wide roll is the undisputed champion for big quilts. If you're tackling a massive King or California King quilt top, this width is a lifesaver. It’s wide enough to cover quilt tops up to 110 inches wide without a single seam, which not only saves you an incredible amount of time but also eliminates a potential weak point in your finished quilt. If you regularly make bed-sized quilts, having this in your studio is a no-brainer.
The 96-inch wide roll, on the other hand, is the most versatile and economical choice for the vast majority of quilters. It easily handles everything from crib and lap quilts all the way up to a generous queen size. Its adaptability makes it a smart investment for anyone who works on a variety of project sizes, ensuring you get the most value with the least amount of waste.
When you start by thinking about how a material’s properties serve your artistic vision, choosing the right roll width becomes a much simpler and more confident decision. It’s a strategic approach that makes sure you’re not just buying batting, but truly investing in the perfect foundation for your beautiful quilt.
How to Calculate Batting Yardage from a Roll
Buying batting by the roll is one of the smartest things a serious quilter can do. It’s a game-changer for your budget, and there’s a certain freedom in knowing you can just unroll and cut exactly what you need for any project that comes your way.
But staring down a giant, pristine roll can be a little intimidating. The big question is always, "How much do I actually cut?" It’s a simple calculation, but one where a small mistake can be a costly one. The most common pitfall? Forgetting to add that crucial overage—the little 4-inch safety net you need on all four sides.
Let's walk through this together, step by step, so you can make that cut with absolute confidence every single time.
The Basic Calculation Formula
First things first, let's get the core formula down. All we're really doing is figuring out the total length we need in inches and then converting that into yards. The magic number here is 36, since there are 36 inches in one yard.
Here’s the simple, two-step process I use:
- Find Your Cutting Length: Take the length of your quilt top and add 8 inches to it. That's 4 inches for the top and 4 inches for the bottom. This final number is your total cutting length in inches.
- Convert to Yards: Now, just divide that cutting length by 36. The number you get is the precise yardage to cut from your roll.
The Formula: (Quilt Top Length in Inches + 8 Inches) / 36 = Yards to Cut
That’s it! This simple math guarantees you have enough batting to account for shrinkage and shifting, giving your longarmer (or you!) the room they need to work their magic.
A Real-World Example: Cutting for Multiple Quilts
Let's put this into practice. Imagine you just finished three gorgeous queen-sized quilt tops, and they each measure 90 inches wide by 108 inches long. You’ve got a big 120-inch wide roll of your favorite 80/20 blend waiting. How do you tackle this efficiently?
The 120-inch width of the roll is perfect. It gives you more than enough side-to-side overage for your 90-inch wide quilts. Our focus is purely on calculating the length you need to unroll.
Here's the breakdown:
-
Calculate Length Per Quilt: First, figure out the cutting length for just one of the quilts.
- Quilt Top Length: 108 inches
- Add Overage: 108" + 8" = 116 inches
-
Calculate Total Length for All Three: Next, multiply that length by the number of quilts you're prepping.
- 116 inches/quilt × 3 quilts = 348 inches
-
Convert Total Length to Yards: Finally, let's turn that big number into a manageable yardage figure.
- 348 inches / 36 inches per yard = 9.67 yards
I'd round that up to be safe and cut 9.75 yards (or 9 and 3/4 yards) off the roll. This gives you one long, continuous piece of batting. From there, you can easily measure and trim it into three perfectly-sized 116-inch sections.
This batch-cutting method is incredibly efficient and saves so much material. For more tips on buying, check out our guide on purchasing quilt batting by the yard. Mastering this little bit of math is a huge step in managing your batting inventory and making that wonderful investment in a roll go as far as it possibly can.
Smart Batting Inventory for Studios and Shops
If you run a longarm studio or a quilt shop, you know that batting isn't just another supply—it's the lifeblood of your operation. Getting your inventory right is more than just stocking shelves; it's a core business strategy that directly fuels your profitability, builds customer loyalty, and solidifies your reputation as the go-to expert in town. Thinking strategically about which batting sizes for quilts you keep on hand can turn your inventory from a simple cost into a powerful asset.
The bedrock of a smart batting inventory is built on just two versatile widths. While quilters will bring you projects of every imaginable shape and size, you can efficiently serve the vast majority with 96-inch and 120-inch rolls. These two options really do cover the entire spectrum of common quilting needs.
Think of the 96-inch roll as your daily workhorse. It’s perfect for everything from baby quilts and throws all the way up to generous queen-sized projects. Your 120-inch roll, on the other hand, is the problem-solver for the big leagues—kings and California kings. Simply offering this width makes your shop the essential destination for anyone tackling a massive bed quilt, saving them from the dreaded task of seaming batting together.
Balancing Rolls, Boards, and Cash Flow
Once you’ve nailed down your widths, the next decision is format. Are you going to invest in bulky 30-yard rolls or more manageable 15-yard boards? This choice is a classic trade-off between unit cost, storage space, and your cash flow.
- 30-Yard Rolls: These give you the absolute best price per yard, maximizing your profit margin on every single cut. The catch? They require a hefty upfront investment and take up a serious amount of storage space. They’re the ideal choice for high-volume studios that have a steady, predictable demand.
- 15-Yard Boards: While the cost per yard is a touch higher, boards are a breeze to store, handle, and manage financially. They are a fantastic option for smaller shops or studios that want to offer a wider variety of batting types without tying up too much capital in a single giant roll.
These inventory decisions are a bigger deal than you might think. The quilt batting market is a major industry, valued at USD 3.03 billion and projected to hit USD 4.19 billion by 2032. This growth just goes to show how vital batting is for businesses like yours. You can explore more insights on the quilt batting market over at Verified Market Research.
Curating a Winning Selection
Here's a secret: you don’t need to stock every type of batting under the sun to be successful. In fact, a thoughtfully curated selection is almost always more effective. When you focus on a few key materials that meet the needs of most quilters, you make buying simpler for your customers and streamline your own inventory management.
For most shops, a winning combination looks like this:
- An 80/20 Cotton/Poly Blend: This is the undisputed champion of versatility. It gives you the softness of cotton with the stability and low shrinkage of polyester, making it a reliable, no-brainer choice for a huge range of projects.
- A 100% Cotton with Scrim: You have to have something for the purists and traditionalists. A high-quality 100% cotton batting is non-negotiable, and adding a scrim provides that extra stability that machine quilters absolutely love.
By stocking these essentials in both 96-inch and 120-inch widths, you position your business as a reliable, expert resource. This smart, focused approach to inventory ensures you can confidently serve nearly any quilter who walks through your door, building the kind of deep-seated trust that keeps them coming back for years.
Handling and Preparing Batting Like a Pro
You've picked the perfect batting size—great! But the real magic, the part that separates a good quilt from a great one, happens in the prep work. This is where you take a simple stack of fabric and fiber and turn it into a unified whole, setting yourself up for a flawless finish. Trust me, the time you spend here pays off tenfold later.
One of the biggest questions quilters ask is whether to pre-wash their batting. There's no single right answer, which is actually a good thing! It means you have complete control over the final look and feel of your quilt.
To Pre-Wash or Not to Pre-Wash
Think of this decision as choosing your quilt's personality. Most cotton and cotton-blend battings are designed to shrink a little bit—usually around 3-5%—after their first trip through the wash. This shrinkage is what creates that classic, crinkly, well-loved look that makes a quilt feel like home.
If that’s the aesthetic you’re after, do not pre-wash your batting. Just build your quilt sandwich, quilt it up, and let the first wash work its magic. The batting will pull the fabric and stitches ever so slightly, creating that beautiful, puckered texture that defines a traditional quilt.
On the other hand, maybe you’re making a modern quilt with crisp lines and intricate piecing you want to show off. In that case, pre-washing is your best friend.
By washing the batting beforehand, you get most of the shrinkage out of the way before it's stitched into your quilt. This ensures your finished project will lay perfectly flat and maintain its sleek, contemporary drape, even after washing.
Assembling the Perfect Quilt Sandwich
With the pre-wash question settled, it's time to build your "quilt sandwich"—the backing, batting, and quilt top. This step, called basting, is absolutely critical for preventing puckers, folds, and shifting while you quilt. A securely basted quilt is a dream to work on.
The goal is simple: temporarily hold all three layers together so they act as one cohesive unit. There are a few tried-and-true methods to get this done.
- Pin Basting: A true classic for a reason. Using special curved safety pins, you place a pin every 4-6 inches across the entire quilt. Always work from the center out to smooth away any wrinkles as you go.
- Spray Basting: This is a fantastic, pin-free option. A light mist of temporary spray adhesive creates a smooth, even hold across the whole surface. It’s especially great for smaller projects where you want to get quilting quickly.
- Fusible Batting: For the ultimate in stability, some battings come with a fusible web that you activate with an iron. This fuses the layers together, providing a secure hold that’s incredibly helpful for machine quilting.
Properly assembling your quilt sandwich is a foundational skill. For a deeper dive into these techniques, check out our guide on how to baste a quilt for step-by-step instructions.
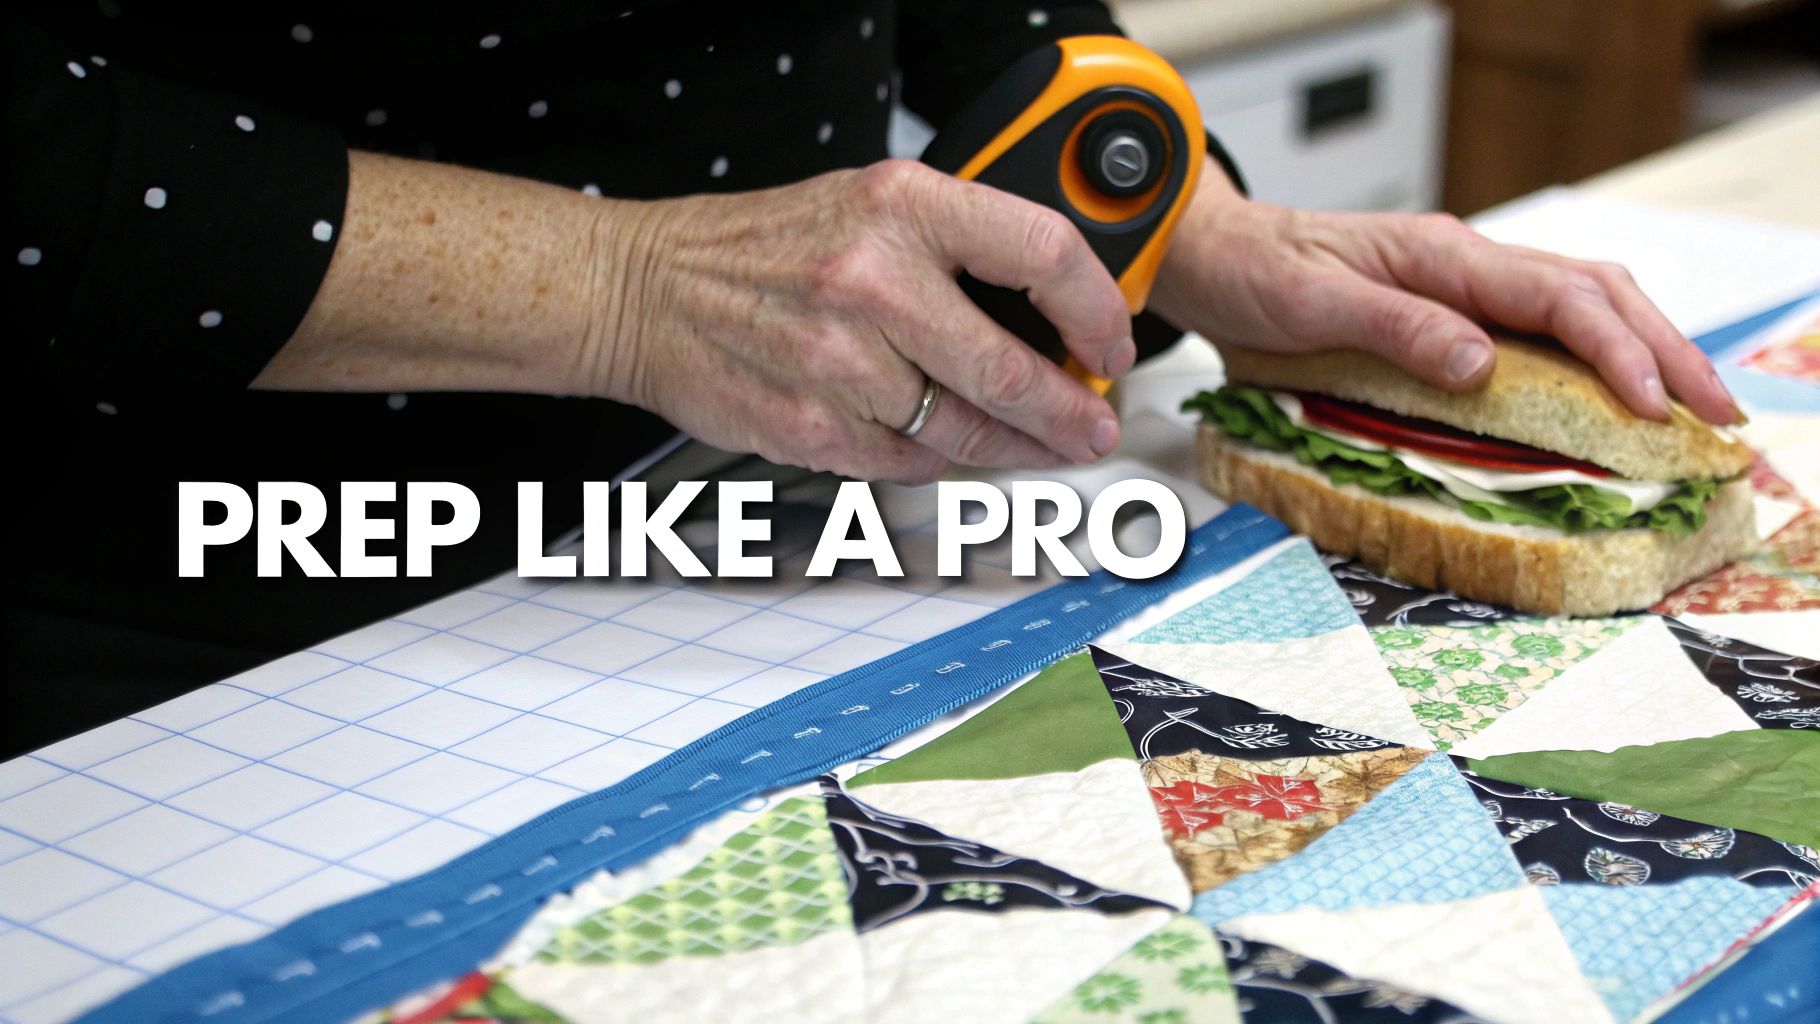
Trimming for a Flawless Finish
Once that last stitch is in place, it’s time to trim the excess batting and backing. This isn’t just about tidying up the edges; it’s about creating a perfectly square foundation for your binding. Rushing this final step can lead to wavy borders and wonky corners, which is the last thing you want after all your hard work.
Grab a large square ruler and a sharp rotary cutter. Align the ruler with the seams and corners of your quilt top, and trim one side. Then, carefully rotate the quilt and repeat for the remaining sides. Taking your time here guarantees straight edges and perfect 90-degree corners, giving you a professional canvas for that beautiful binding.
Answering Your Top Batting Questions
When you get down to the nitty-gritty of quilting, batting can seem full of tricky questions. Let's tackle some of the most common ones I hear from quilters, so you can stop second-guessing and start quilting with confidence.
How Much Extra Batting Do I Really Need for a Quilt?
The golden rule, and one you should never break, is to cut your batting 3 to 4 inches larger than your quilt top on all four sides. That means your total batting piece needs to be 6 to 8 inches wider and 6 to 8 inches longer than your finished top.
This extra bit of fluff, or "overage," isn't just for show—it's your project's best friend. It serves three crucial purposes:
- It gives you a safety net for the inevitable shifting that happens during quilting.
- It accounts for any potential shrinkage, especially with natural fibers like cotton.
- It provides the necessary fabric for a longarm quilter to attach your quilt to their machine leaders.
Think of it as a built-in insurance policy for a smooth, pucker-free finish. Following this one rule is the single best way to avoid the headache of your batting coming up short right at the finish line.
Can I Piece Leftover Batting Scraps Together?
Absolutely! In fact, it's one of the smartest and most sustainable habits a quilter can have. Don't let those valuable off-cuts go to waste when you can easily join them to create a perfectly usable piece for another project.
There are two great ways to do this. You can butt the edges of the scraps together (don't overlap them!) and use a wide zigzag stitch on your machine to join them. Or, for a super quick no-sew option, grab some fusible batting tape and simply iron the pieces together. As long as the scraps are the same type and loft, no one will ever know the difference.
Does Batting Width Matter for a Smaller Quilt?
You bet it does. Choosing the right batting roll width, even for smaller projects like baby or lap quilts, has a huge impact on your bottom line and your scrap pile.
Let's say you make a lot of lap quilts that finish around 50 inches wide. A 96-inch wide roll is a fantastic choice because you can often get two quilt-sized cuts, side-by-side, from the width of the batting. But if you tried to use a 120-inch roll for those same quilts, you'd be creating a ton of awkward, hard-to-use scraps.
Matching your roll width to the projects you make most often is the key to maximizing every inch. It's just smart quilting, and it helps you get the most value out of all the different batting sizes for quilts.
At Quilt Batting, we make it easy to find the perfect roll for any project. Explore our selection of premium Hobbs and Pellon batting in versatile widths to streamline your quilting process. Shop our batting rolls today!