

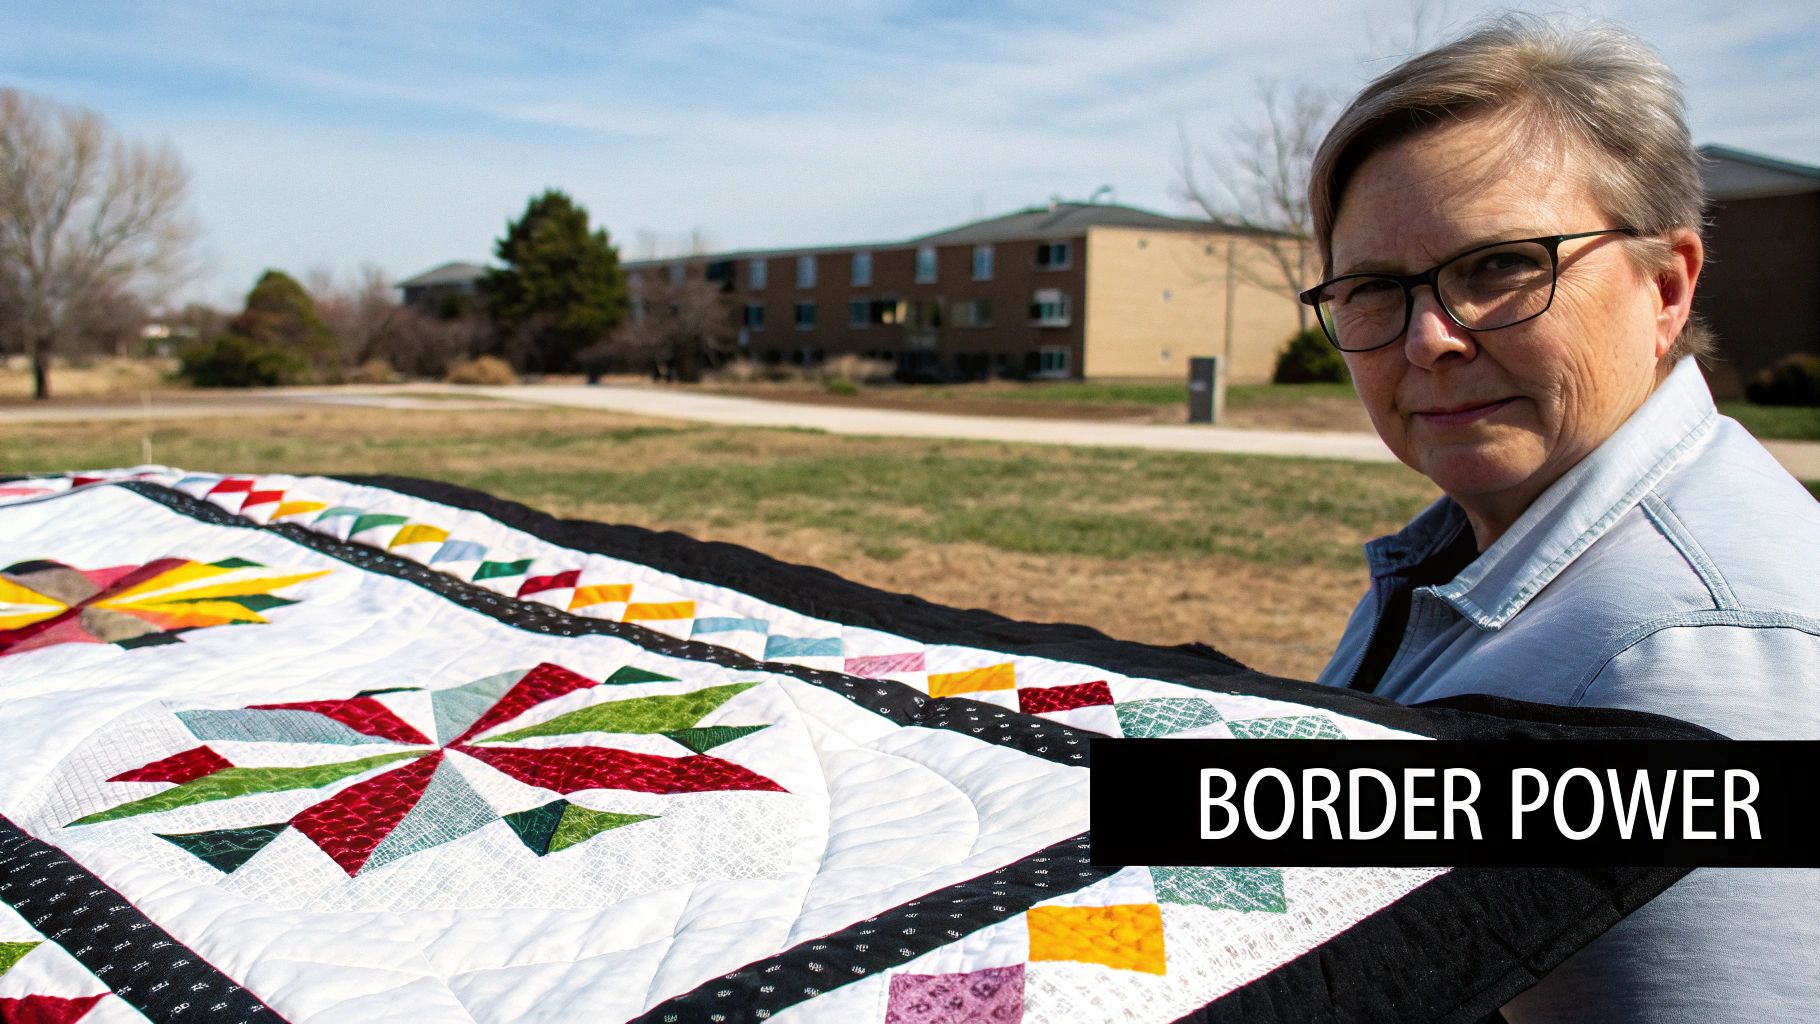
The border of your quilt is so much more than just the edge—it’s the frame that turns your patchwork into a work of art. It’s what gives the entire piece structure, personality, and that final, professional polish that really makes it sing.
Why the Border Is Your Quilt's Secret Weapon
After all the work of piecing a quilt top, it’s easy to just want to get it finished and rush through the border quilting. But trust me, giving that border some real thought is a total game-changer. A well-chosen quilting pattern does way more than just fill space; it’s a design element with a big job to do.
Think of it as the final chapter in your quilt's story. The right border design can pull all the different blocks and colors together, creating a unified look that feels deliberate and complete. It guides the viewer's eye right back to the heart of your quilt, showing off all that intricate piecing you worked so hard on.
More Than Just a Pretty Edge
Beyond looking great, a cleverly quilted border can be a quilter's best friend for hiding those little imperfections we all have. Are a few of your points not quite perfect near the edge? A dense feather pattern or a swirling vine can magically camouflage any slight wobbles, making the whole quilt look flawless.
This isn't a new idea, either. Border patterns have deep roots in quilting history. They really took off in the early 20th century, thanks in large part to the free patterns that came with Mountain Mist batting starting in 1929. In fact, a whopping 85% of surviving Depression-era quilts have distinct bordered patterns, showing just how essential they've been for both structure and artistry. You can learn more about the quilt market's history and growth and see how these traditions continue.
The border isn't just an edge; it's an opportunity. It’s where you can echo elements from the center of the quilt, introduce a fun new texture, or add a personal signature that makes the project uniquely yours.
Setting the Tone of Your Quilt
The style of quilting you choose for the border has a massive say in the final personality of your quilt. It can completely shift the vibe of the entire piece.
- For Classic Elegance: Think intricate feather plumes, classic rolling cables, or delicate floral vines. These give a quilt a timeless, heirloom quality and look stunning on traditional patterns like a Log Cabin or an Irish Chain.
- For a Modern and Crisp Look: Straight lines, geometric grids, or simple, minimalist echo quilting create a sharp, contemporary feel. These are perfect for modern quilts, especially those with lots of negative space or bold, graphic piecing.
When you start seeing the border not as an afterthought but as a strategic part of your design, you can take your quilting from simply "done" to truly unforgettable.
Choosing the Right Border Pattern for Your Quilt
Staring at a finished quilt top and feeling totally stumped on the border design? I've been there, and you're definitely not alone. With a million and one patterns out there, it’s easy to get overwhelmed.
The secret is simpler than you think. It really just boils down to one question: what’s your quilt’s personality?
Think of it like picking jewelry for an outfit. The border should complement the quilt top, not compete with it. A wild, improvisational quilt might look totally chaotic with an ornate feather border. On the flip side, a grand, traditional star quilt can feel a little naked with a border that's too plain. The goal is a perfect match.
Get to Know Your Quilt's Style
Before you even start scrolling through patterns, take a moment. Step back, hang your quilt top on a wall if you can, and just look at it. Is it classic and elegant? Modern and minimalist? Or maybe it's wonderfully whimsical and playful?
- Traditional Quilts: These are your timeless classics, often built from well-loved blocks like Log Cabins, Nine Patches, or intricate stars. They just feel structured and familiar.
- Modern Quilts: Think bold colors, lots of open "negative" space, and crisp, graphic shapes. These quilts have a fresh, contemporary vibe.
- Art or Scrappy Quilts: These are the free spirits of the quilting world! They often use a huge variety of fabrics and follow a more eclectic, less structured path.
Once you’ve identified your quilt's core style, you've already done the hardest part. You’ve just narrowed down the vast world of border quilting patterns to a much more manageable list. The pattern you choose should echo the feeling of the piecing.
This focus on creating a cohesive design is a huge part of why quilting has remained such a beloved art form. It's also a major player in a thriving industry; the global quilt market was valued at US$5.32 billion and is projected to climb to US$7.8 billion by 2031. North America, where these traditions run deep, held a massive 35% market share in 2023. You can see more on these trends and discover insights into the quilt market's growth.
Real-World Pattern Pairings
Okay, let's talk about some real-world examples. Say you’ve just finished piecing a stunning, traditional Mariner’s Compass. A graceful feather plume or a classic Baptist Fan pattern in the border would beautifully honor its heritage and add that perfect touch of sophistication.
Now, let's picture a modern quilt with sharp, geometric lines and big blocks of solid color. Simple echo quilting—just stitching parallel lines that follow the border’s edge—or a clean, straight-line grid would reinforce that modern aesthetic without adding any fussy distractions. If you're looking for some great ready-to-use ideas, browsing a collection of digital quilting borders and corners can be a fantastic source of inspiration.
My Favorite Trick: When in doubt, audition the pattern! Print a section of the design on paper, or even sketch it onto a sheet of clear plastic. Lay it over your quilt's border to get a real sense of how it will look before you commit to a single stitch.
To give you a starting point, I’ve put together a quick guide to help you match common border patterns with different quilt styles.
Border Pattern Selection Guide
This table breaks down some common border quilting styles and the types of quilts they work best with. It's a great cheat sheet for finding that perfect pairing.
| Pattern Type | Best Suited For | Skill Level | Common Variations |
|---|---|---|---|
| Feathers & Plumes | Traditional, Heirloom | Intermediate-Advanced | Feathered wreaths, plumes, swags |
| Geometric & Lines | Modern, Minimalist | Beginner | Grids, echoing, continuous lines, triangles |
| Vines & Florals | Traditional, Scrappy | Intermediate | Meandering vines, specific floral motifs |
| Echo Quilting | Any Style | Beginner | Outlining piecing, simple parallel lines |
| Continuous Curves | Modern, Art Quilts | Beginner-Intermediate | Orange peels, figure eights, ribbon candy |
Ultimately, choosing the right border is all about creating harmony. You want the quilting to look like it was always meant to be there, seamlessly finishing the beautiful story you started with your piecing.
Getting Your Design to Fit: Scaling and Marking for a Perfect Finish
You've picked out the perfect pattern, and your quilt top is all set. Now for the bit of prep work that truly separates a good border from a great one. Taking the time to scale and mark your design correctly is the secret to getting that flawless, professional finish that looks like it was meant to be there all along.
Let's tackle the math first—I know, it can feel a little daunting. For a continuous design, like a beautiful vine or a classic cable, you want it to flow seamlessly around the quilt, not have awkward starts and stops in weird places. Start by measuring the exact length and width of your quilt, but do it after it’s been basted and squared up. Don't rely on the measurements of the flimsy pieced top; things can shift and stretch a bit during basting.
Once you have those final, accurate dimensions, measure the length of one full repeat of your quilting pattern. Now, divide your border’s length by the pattern repeat length. This will tell you how many times the pattern fits. More often than not, you'll end up with a fraction, which means it’s time for a little creative adjustment.
Scaling Your Border Pattern
The whole point here is to make those adjustments invisible. You can either slightly shrink or enlarge the pattern repeat until it divides perfectly into your border’s length. Most digital patterns and even some paper ones can be scaled by a small percentage—say, 5-10%—without making the design look wonky or distorted.
- Shrink to Fit: If your math works out to 10.75 repeats, you could shrink the pattern just enough to squeeze in 11 full repeats.
- Enlarge to Fill: On the flip side, you could enlarge the pattern slightly to make exactly 10 repeats fill the space perfectly.
The absolute key is to apply the exact same scaling adjustment to all four sides of the quilt. Consistency is what makes the final result look so cohesive and polished, especially when you're working with intricate border quilting patterns.
A perfectly scaled border shouldn't scream for attention. The goal is for the quilting to feel like an integral part of the quilt's story, flowing effortlessly from one side to the next without any jarring breaks or awkward gaps.
Before you even get to marking, a quick analysis of your quilt can save a lot of headaches. This simple process can help you make sure your pattern choice is a great match from the start.
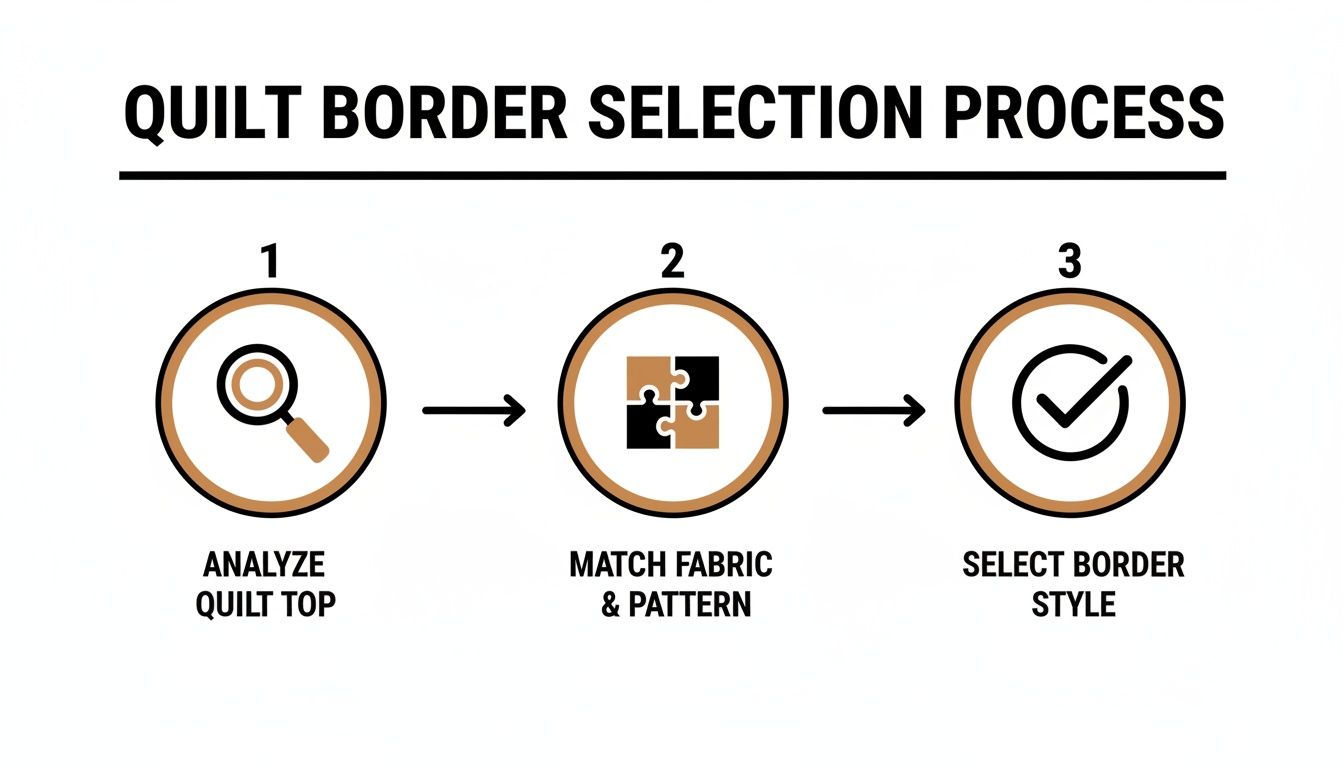
This kind of thinking—analyzing the quilt, matching the style, then choosing—is how you avoid those "what was I thinking?" moments later on.
Choosing Your Marking Tools
With your pattern perfectly scaled, it's time to get it onto the fabric. The right marking tool is a personal choice and really depends on your fabric's color, its texture, and how long you need the marks to stick around.
- Chalk Pencils and Wheels: These are classics for a reason. They show up well on medium-to-dark fabrics and usually brush or wash away without a fuss.
- Water-Soluble Pens: An absolute go-to for light-colored fabrics. They give you a crisp, clear line that vanishes with just a spritz of water. But please, always test on a scrap first! You never know how a fabric's dye will react.
- Hera Marker: My personal favorite for when I don't want to leave any residue at all. This nifty tool creates a temporary crease in the fabric that's surprisingly easy to see and follow. No ink, no chalk, no problem.
- Light Box: If you’re working with light-colored or thin fabrics, tracing your pattern with a light box is an incredibly accurate and easy method.
No matter what tool you land on, aim for fine, clear lines. Thick, fuzzy marks are a nightmare to follow precisely and can throw off the final look of your quilting. For quilters who love tackling complex designs, getting comfortable with longarm quilting with rulers is a fantastic skill to build for this kind of precise border work.
Remember, every minute you invest in careful, patient marking now will pay you back tenfold when you're sitting at your machine, happily stitching away.
Bringing Your Border Design to Life
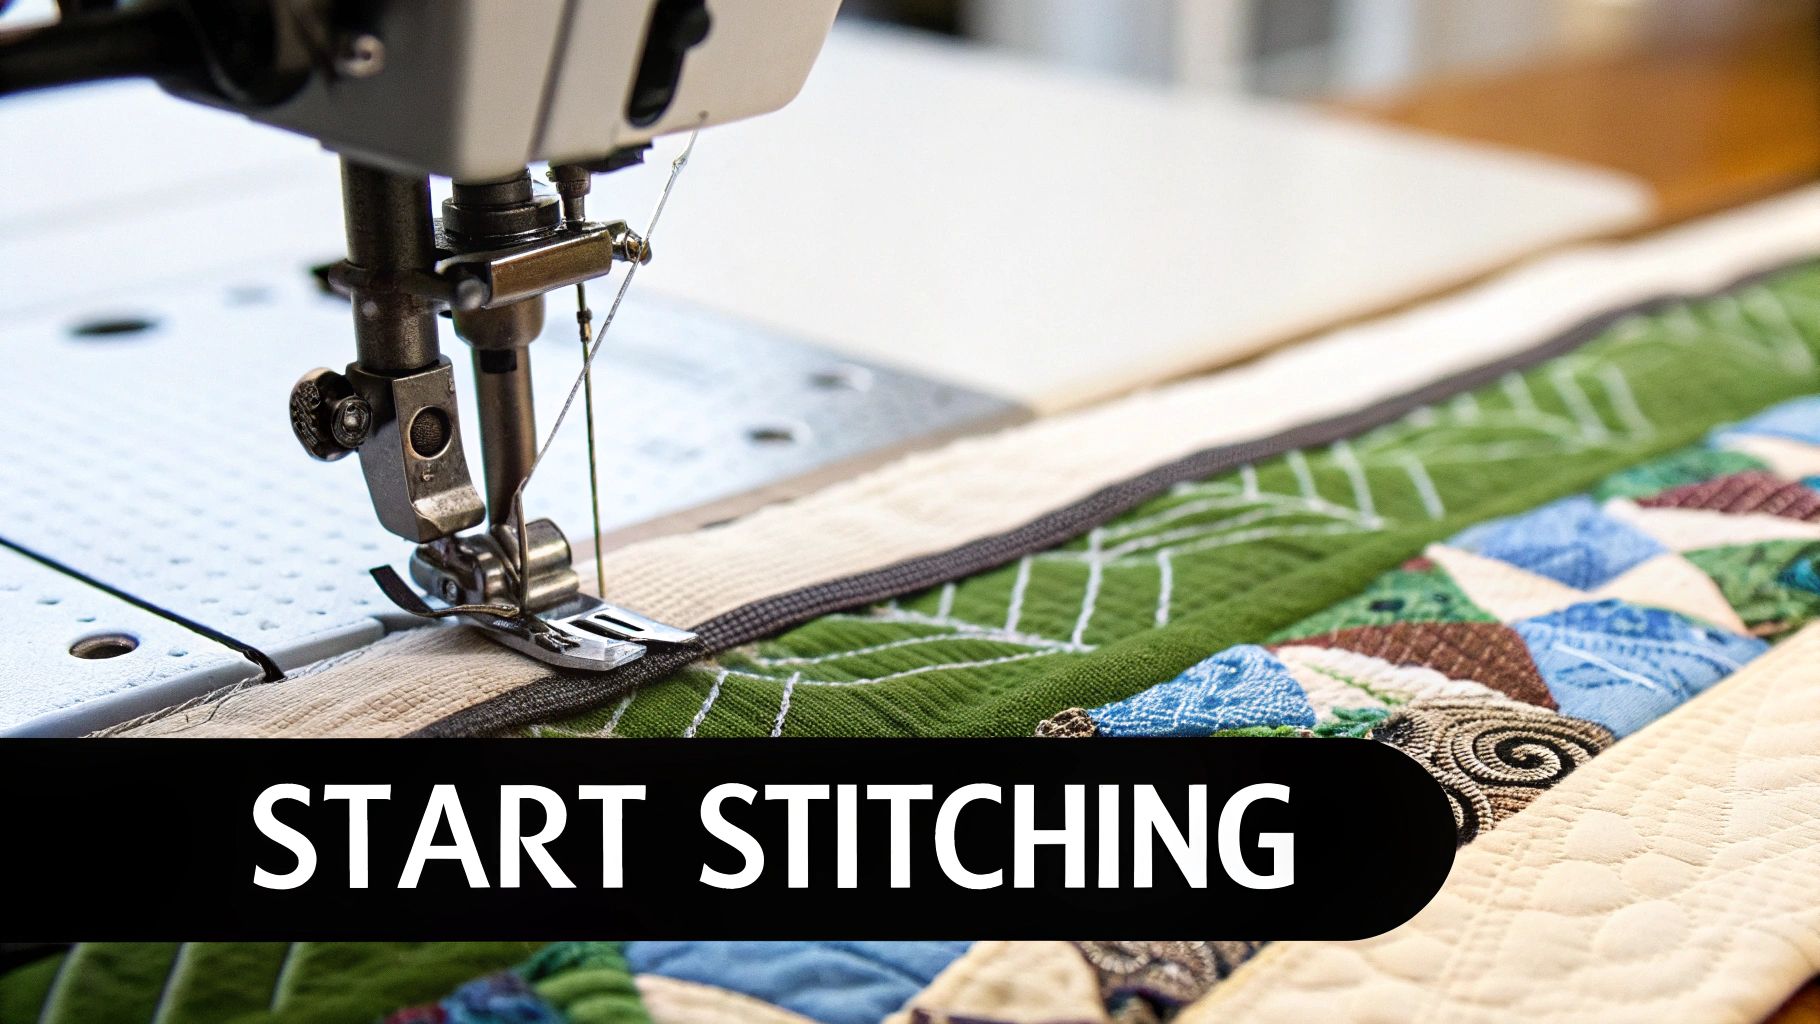
Alright, the design is chosen, scaled, and marked. Now for the best part—actually quilting it! This is where all that careful planning transforms into beautiful, textured stitches, and your vision becomes a reality you can touch.
There are three main ways to tackle quilting your border, and the right one for you really comes down to your machine, your comfort level, and the specific vibe you're going for. Each approach has its own personality, excelling at different types of border quilting patterns. Let’s break them down so you can stitch your border with total confidence.
Walking Foot Quilting for Precision
If you’re a fan of clean, crisp lines and satisfying geometry, your walking foot is about to become your best friend. This is the go-to method for control and precision, making it an absolute dream for patterns built on straight lines, grids, and gentle curves.
The magic of a walking foot is how it evenly feeds all three layers of your quilt sandwich through the machine. No more frustrating puckers or shifting fabric to ruin a perfect design. It’s fantastic for echo quilting, channel stitching, or a classic crosshatch that lends a modern, structured feel to your border.
To really nail this, check out our in-depth guide to straight-line quilting. It's a rock-solid technique for getting a polished, uniform finish every single time.
Free-Motion Quilting for Organic Flow
For those of us who love a bit of creative freedom, free-motion quilting (FMQ) is where the real fun begins. You just lower the feed dogs, and suddenly you’re drawing with your sewing machine, guiding the quilt with your own hands.
This technique is perfect for bringing those flowing, organic patterns to life—think graceful feathers, swirling vines, and looping meanders. It definitely takes some practice to get your rhythm down for smooth curves and even stitches, but the results are just breathtaking.
Modern quilters are putting fresh spins on historic patterns with FMQ all the time. For example, simple zigzags—which pop up in 90% of beginner border tutorials—are getting a new life. This blend of heritage and innovation is a huge part of the 'cottagecore' trend, which is helping boost handmade sales by an incredible 22% yearly. You can explore the handmade market's expansion and see just how popular this style has become.
Free-motion quilting your border is like adding your personal signature. It’s a chance to infuse the quilt with your unique rhythm and style, making it a true one-of-a-kind piece.
Longarm Quilting for Professional Results
If you have a longarm machine (or access to one), you’re set up for professional-grade results with amazing efficiency. Longarms make executing complex, repetitive border patterns feel almost effortless.
Tools like pantographs (printed patterns you trace with a laser) or specialty rulers allow you to create perfectly uniform designs across the entire border, no sweat. This is a total game-changer for those intricate patterns like continuous cables or feathered wreaths where absolute consistency is everything.
And if you’re working with a computerized longarm? It’s even better. You can program a digital design, and the machine will stitch it out with flawless perfection. It’s the ultimate way to get a stunning, show-quality finish on your most ambitious quilts.
Quilting Technique Comparison for Borders
Still on the fence about which method is the best fit for your current project? Seeing them side-by-side can really help clarify things. This quick comparison breaks down the pros, cons, and best uses for each quilting style.
| Technique | Advantages | Challenges | Best For These Patterns |
|---|---|---|---|
| Walking Foot | High precision; great for beginners; consistent stitches. | Limited to straight lines and gentle curves; can be slow. | Grids, echo quilting, diamonds, channel stitching. |
| Free-Motion | Unlimited creative freedom; perfect for organic designs. | Steep learning curve for consistency; requires practice. | Feathers, swirls, vines, pebbles, custom motifs. |
| Longarm | Highly efficient; perfectly repeatable; professional finish. | Requires specialized equipment; can be costly. | Pantographs, rulers, intricate and complex designs. |
Ultimately, the best technique is the one you feel most comfortable with and that truly serves the design of your quilt. Each method is just a different path to the same goal: transforming your border from a simple frame into a stunning work of art.
Tackling Those Tricky Border Quilting Problems
Let's be honest—even after meticulous planning, quilting can sometimes throw you a curveball. There’s nothing more frustrating than pouring your heart and soul into a project, only to end up with a wavy border or puckered fabric. But don't despair! Most of these common border issues are completely fixable.
The number one culprit behind those dreaded "lettuce-leaf" borders? It almost always comes down to how the borders were measured and attached. If your border strips are even a smidge longer than the quilt top's edge and you try to ease them in, all that extra fabric has to go somewhere, and it usually ripples outward. The golden rule is to always measure your quilt top through the center—never along the raw edges—to get the true length for your border strips.
Puckering within the quilted design itself is another headache. This usually points back to the quilt sandwich. If your layers aren't basted smoothly and securely, they can shift around during quilting, causing the fabric to bunch up. A flat, secure foundation is simply non-negotiable for smooth quilting. If you need a refresher, our guide on how to baste a quilt will get your project started on the right foot.
Getting to the Root of Pattern and Tension Troubles
So, what do you do when your beautiful continuous pattern doesn't quite meet up perfectly in the corner? That's a classic scaling issue. Before you even think about stitching, take a moment to calculate your pattern repeats. If a design doesn't fit perfectly, you can usually tweak its size—shrinking or enlarging it just a tiny bit—until a whole number of repeats fits the border length just right.
Of course, thread nests and wonky stitches can also sabotage beautiful border quilting patterns. These problems are almost always about tension or your machine's setup.
- Nasty Thread Nests on the Back? Nine times out of ten, this means the top of your machine isn't threaded correctly. Pull all the top thread out and re-thread everything from scratch. Just be sure your presser foot is up when you do it!
- Skipped Stitches: This is your machine’s way of telling you it needs a new needle. A dull, bent, or incorrect needle is often the cause. Swap it out for a fresh, sharp one that’s right for your fabric and thread combo.
- Uneven Tension: Seeing little loops on the top or bottom of your fabric? Your top and bobbin tensions are out of sync. Adjust them in small increments, testing on a scrap quilt sandwich until your stitches look perfect from both sides.
A Quick Fix for Mismatched Corners: If your pattern is just a hair off as you approach a corner, don't panic. You can often cheat the design by slightly increasing or decreasing your stitch length for the last few inches to ease it into place. A little creative fudging is a well-respected quilting secret that can save you a ton of seam ripping.
Learning to spot these common issues early on will help you stop them in their tracks. Before you know it, you'll be fixing problems with confidence and creating finished quilts you're incredibly proud of.
Let's Tackle Those Lingering Border Quilting Questions
It happens to all of us. You’ve got a solid plan, your machine is humming, and then a question pops up that stops you in your tracks. To keep you moving forward with confidence, let's go through some of the most common questions I hear about quilting borders.
What's the Best Thread for Border Quilting?
Honestly, the "best" thread is all about the look you're going for. Do you want your stitches to be a star player or a supporting actor?
- For a bold, defined look, you'll want a thread that stands out against your fabric. I often reach for a slightly thicker 40wt cotton or polyester thread when I want the quilting pattern itself to be a design feature.
- For a subtle, textural finish, the goal is to blend in. A matching 50wt or even a whisper-thin 60wt thread will sink into the fabric, creating gorgeous texture without distracting from your piecing.
How Do I Handle Different Sized Borders with One Pattern?
Ah, the classic quilting puzzle! You have a wide outer border and a skinny little inner border. What now? The secret isn't to shrink the pattern, but to maintain a consistent quilting density.
Let's say your main border has a beautiful, flowing vine. If you just shrink that down to fit a 1-inch border, it'll look like a jumbled, dense mess. A much better approach is to pull a single element from that vine—like a single leaf or a simple curl—and repeat that in the narrower space. This creates a beautifully cohesive look that feels connected and thoughtfully planned.
Here's a solid rule of thumb I always follow: aim to quilt your borders with a similar density to the quilting in the rest of the quilt. This gives the entire project a balanced feel and ensures it drapes just right.
Can I Quilt the Border Before the Center?
I know it can be tempting, but I almost always advise against it. Quilting from the center out is the gold standard for a reason.
When you start in the middle, you naturally smooth the quilt top and push any extra fullness toward the edges where it can be managed. If you quilt the borders first, you essentially build a "fence" that traps all that excess fabric in the middle. The result? You're far more likely to end up with frustrating puckers and tucks that are a real headache to fix.
Ready to build the perfect foundation for your project? Quilt Batting has you covered with everything from premium Hobbs and Pellon batting in those hard-to-find, bulk-friendly widths to all the essential tools you need. Find exactly what you're looking for at https://quiltbatting.shop.