

Welcome to the world of quilting! It’s a craft filled with creativity, comfort, and the satisfaction of a beautiful finished project. But where do you begin? The key to a successful first quilt isn’t just enthusiasm; it's choosing a pattern that builds your confidence without causing frustration. This guide is your ultimate starting point, showcasing seven of the absolute easiest quilt patterns that guarantee a stunning result, even for someone who has never pieced a block before. We move beyond simple lists to give you actionable steps for success.
For each pattern, we'll break down everything you need to know:
- Fabric Selection: How to choose and prepare your fabrics for a professional finish.
- Cutting & Assembly: Simple, step-by-step instructions that minimize mistakes.
- Batting Recommendations: Specific guidance on which batting types and widths, like our versatile 96-inch rolls, are best suited for each project size.
- Time-Saving Tips: Insider tricks to help you complete your quilt faster and more accurately.
Forget the overwhelm and analysis paralysis that often comes with starting a new hobby. These patterns are intentionally designed for simplicity and speed, helping you create a gorgeous quilt you'll be proud to display or gift. Your journey to becoming a confident quilter starts right here.
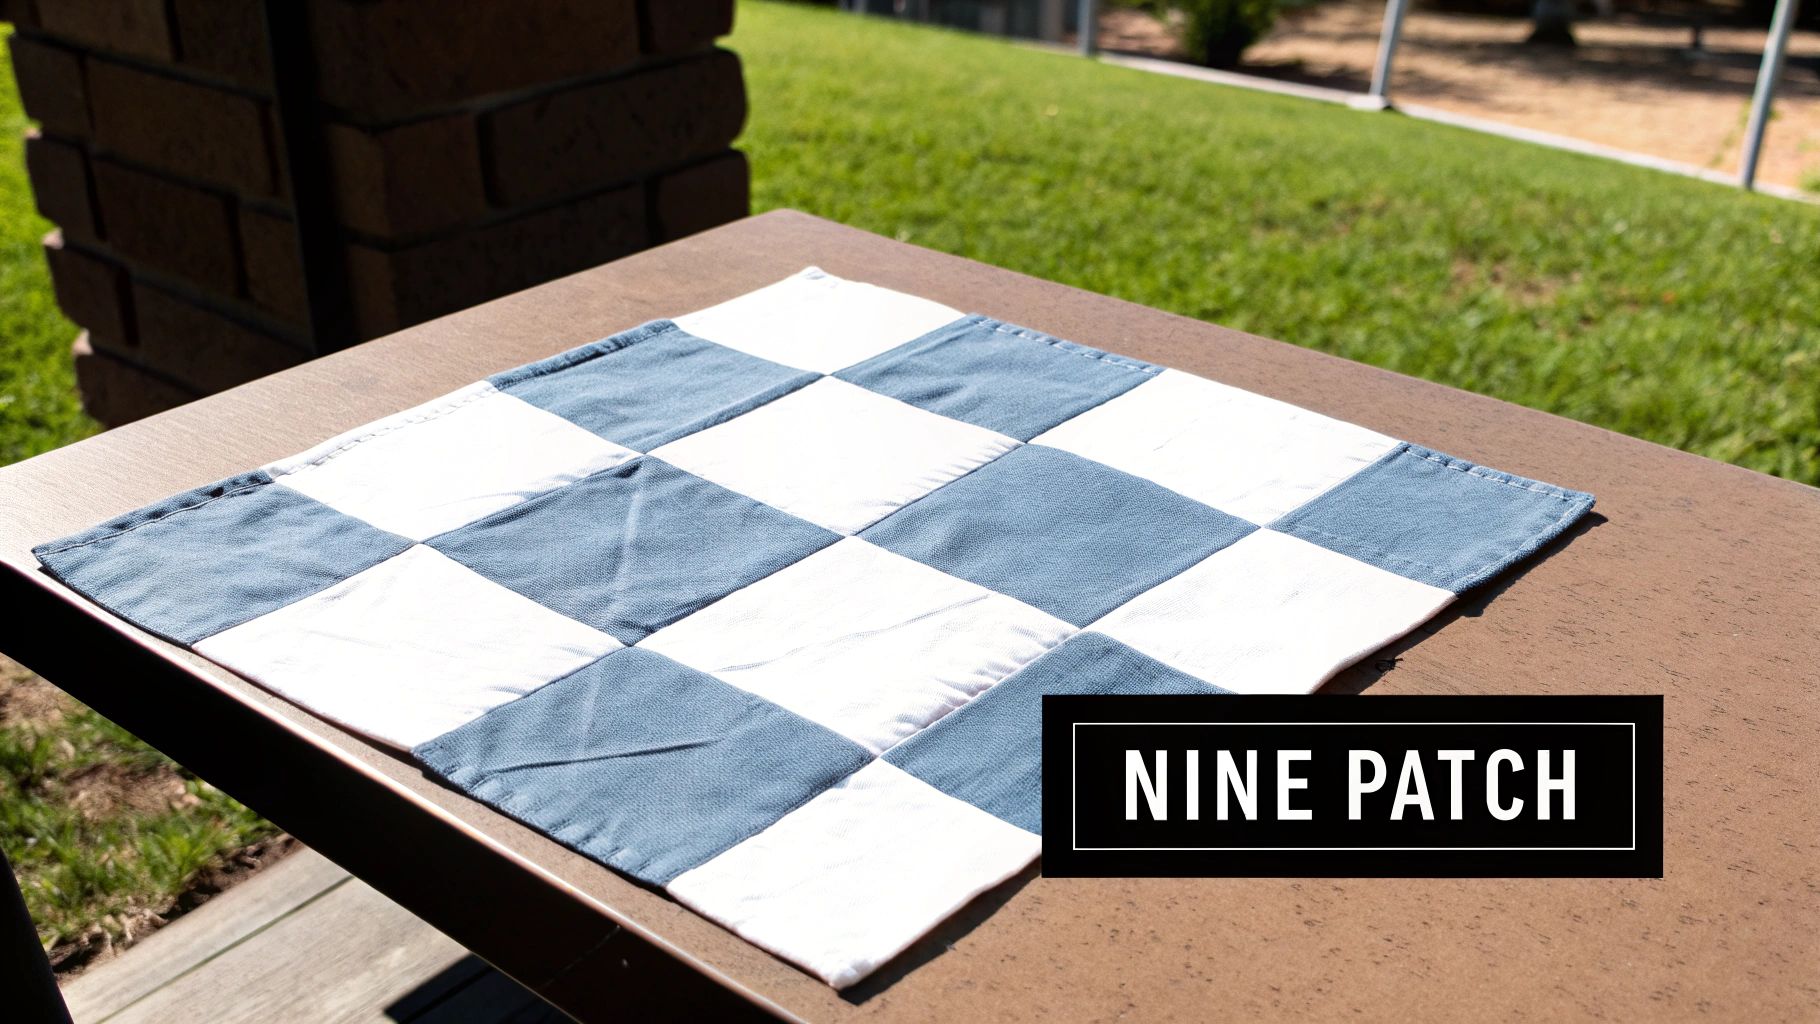
1. Nine Patch
The Nine Patch is a cornerstone of quilting and arguably one of the easiest quilt patterns you can master. True to its name, this classic block is built from a simple 3x3 grid of nine fabric squares. Its beauty lies in its straightforward construction, relying on only straight seams to create a visually dynamic and satisfying design. This pattern is the perfect entry point for any new quilter looking to build fundamental skills in cutting, piecing, and pressing.
The magic of the Nine Patch comes from the interplay of color and value. By arranging light and dark squares, you can create countless variations that look far more complex than they actually are. It’s an incredibly forgiving pattern, making it ideal for learning how to achieve consistent seam allowances without the pressure of matching intricate points.
Why It’s Perfect for Beginners
The Nine Patch is an exceptional teaching tool. It reinforces the most critical quilting skills: rotary cutting, maintaining a quarter-inch seam, and pressing seams neatly. Because the block is so simple, you can focus on perfecting these techniques. It’s also an excellent way to use up scraps or showcase a favorite fabric collection.
Tips for a Perfect Nine Patch
- Speed Up with Strip Piecing: Instead of cutting individual squares, cut 2.5-inch strips of fabric. Sew three strips together lengthwise, press, and then sub-cut the resulting unit into 2.5-inch segments to create your rows instantly.
- Chain Piece for Efficiency: Sew your squares into pairs without cutting the thread in between. This assembly-line method saves an incredible amount of time and thread.
- Press with Purpose: Press the seams of your top and bottom rows in one direction (e.g., to the right) and the middle row in the opposite direction. This allows the seams to "nest" together snugly for perfectly aligned blocks.
This timeless design is a quilter’s rite of passage, offering a fantastic foundation for more complex projects. For a deeper exploration of this classic pattern, discover more design ideas and construction tips for your next Nine Patch quilt project.
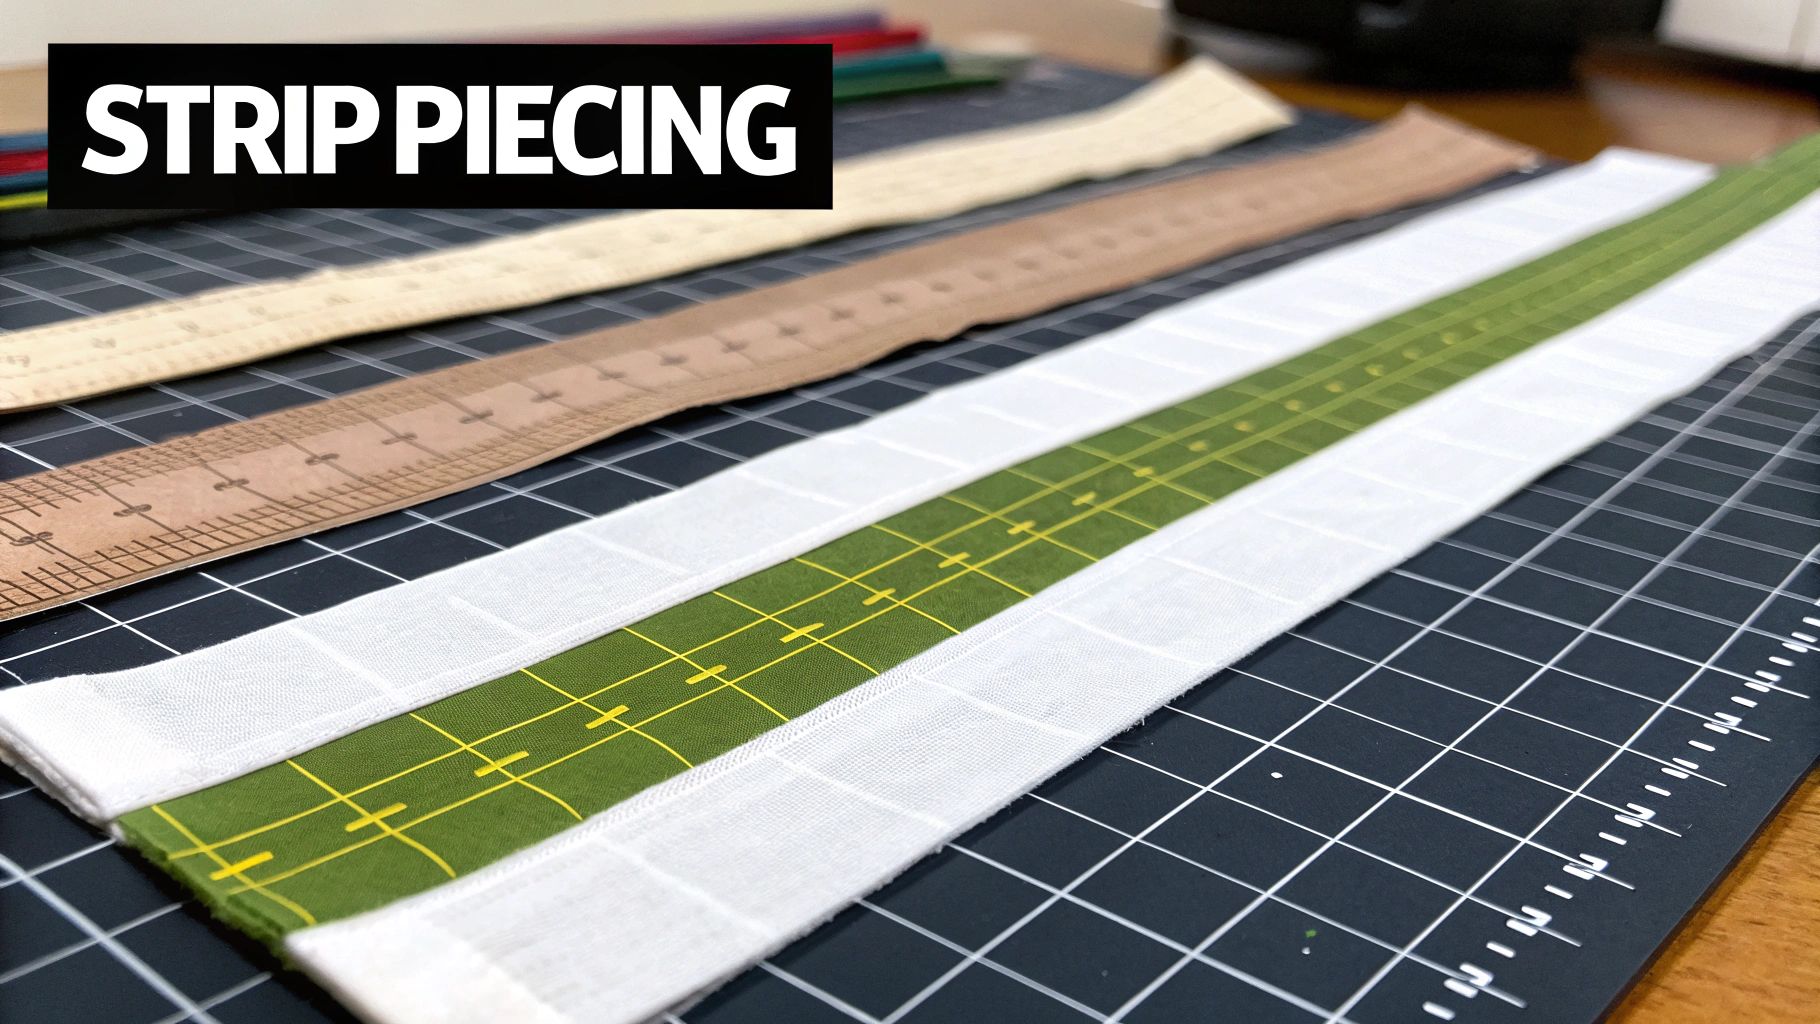
2. Strip Piecing (Jelly Roll Friendly)
Strip piecing is a game-changing technique that makes quilting fast, fun, and incredibly accessible. The method involves sewing long strips of fabric together lengthwise to create a larger "strip set," which is then cross-cut into new units. This approach is one of the easiest quilt patterns to master because it minimizes complex individual cuts and maximizes straight, continuous sewing, making it perfect for quilters who love efficiency.
The technique is famously associated with pre-cut fabric bundles like Jelly Rolls (a Moda Fabrics trademark for rolls of 2.5-inch strips), which remove the most time-consuming step: cutting. By using these coordinated bundles, you can create stunning quilts with beautiful color harmony and minimal prep work. From simple rainbow throws to dynamic chevron designs, strip piecing allows for impressive results with surprising ease.
Why It’s Perfect for Beginners
Strip piecing is ideal for new quilters because it focuses on the fundamental skill of sewing a consistent straight seam. Since you are working with long strips, it’s a fantastic way to practice guiding fabric through your machine and achieving a perfect quarter-inch seam allowance. The popular "Jelly Roll Race" quilt is a perfect example, turning a bundle of strips into a quilt top in about an hour.
Tips for a Perfect Strip-Pieced Quilt
- Press with Precision: After sewing your strips together, press all the seams in one direction. This helps the strip set lie flat and makes subsequent cutting much more accurate.
- Square Up Your Sets: Before cross-cutting your strip set, always use a quilting ruler to square up one edge. This ensures every block you cut from the set will be perfectly straight.
- Alternate Your Sewing Direction: To prevent your long strip set from bowing or curving, sew each new strip on from the opposite direction of the previous one. If you sewed the last strip from top to bottom, sew the next one from bottom to top.
- Use a Walking Foot: If you have one, a walking foot is excellent for strip piecing. It helps feed both layers of fabric through the machine evenly, preventing stretching and puckering along long seams.
This method not only builds core skills but also offers a fantastic way to tackle your fabric stash. You can explore creative ways to use up leftover fabric strips and find inspiration for your next scrap-busting project.
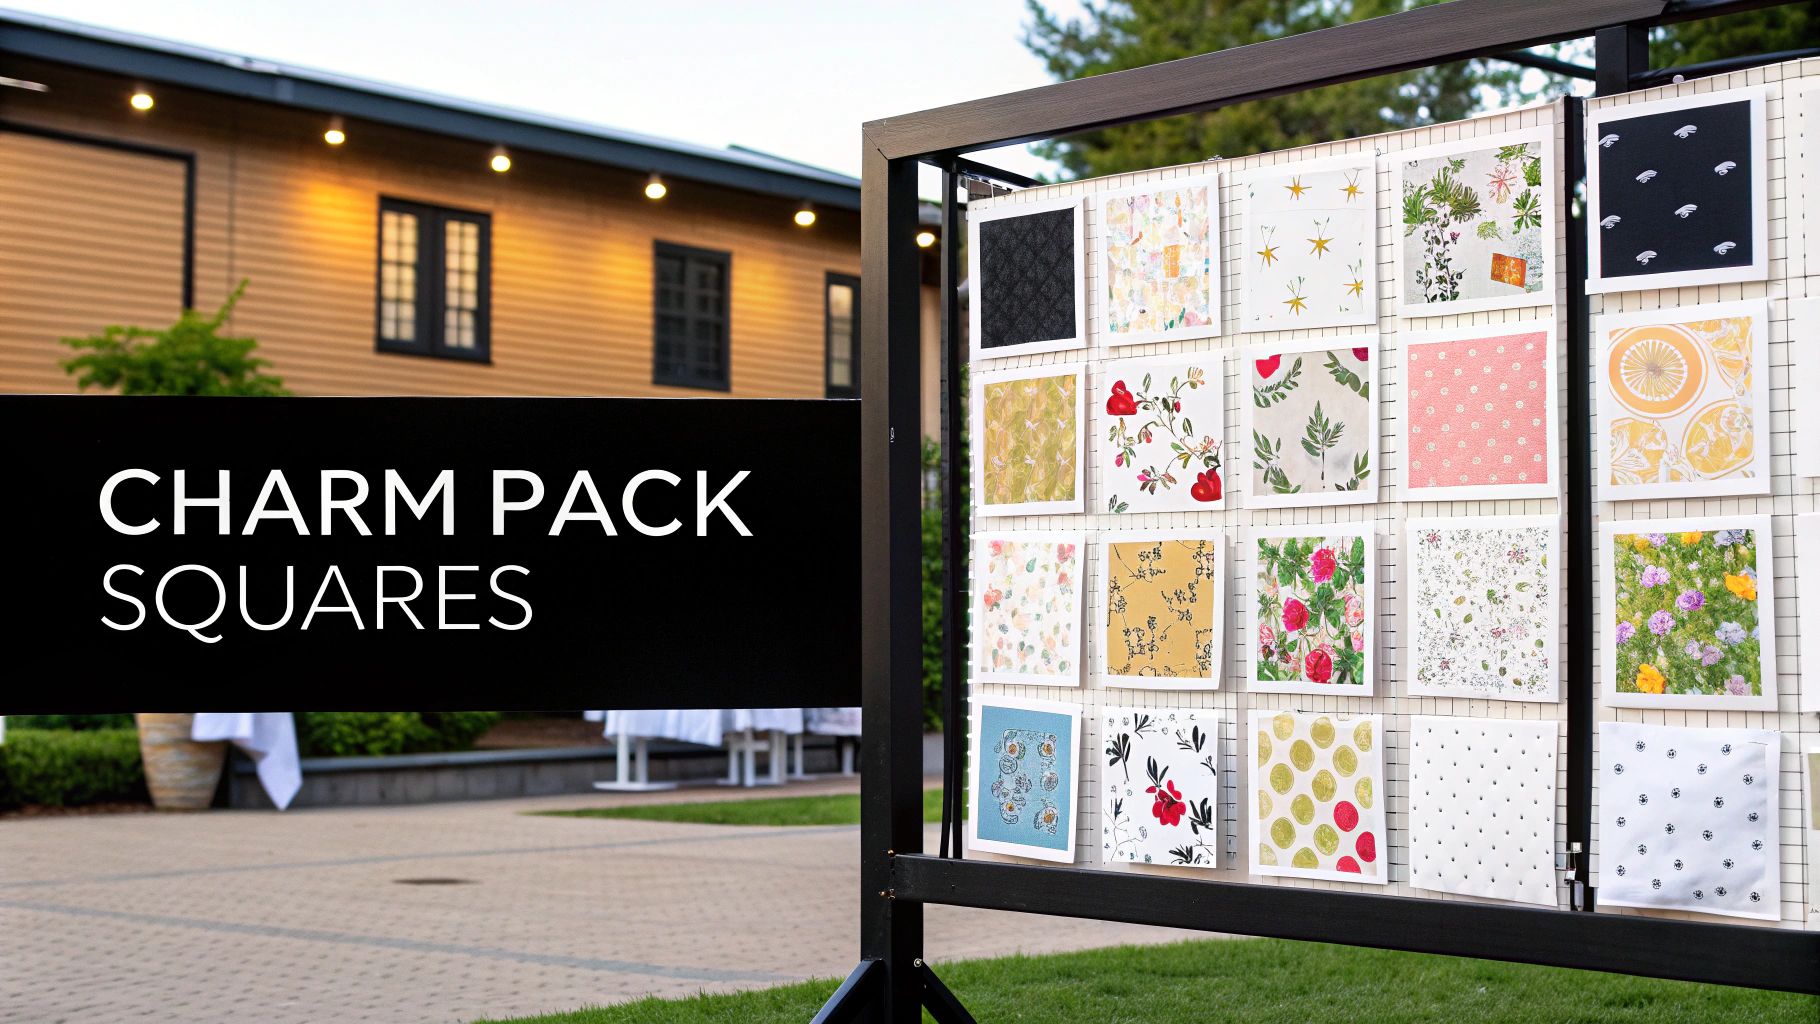
3. Charm Pack Squares (Layer Cake and Charm Variations)
If the idea of cutting dozens of precise fabric squares feels intimidating, then pre-cut patterns are your perfect starting point. The Charm Pack Squares quilt is one of the easiest quilt patterns available because it eliminates the most time-consuming step: cutting. Using pre-cut 5-inch "charm" squares or 10-inch "layer cake" squares, you can dive straight into the creative joy of arranging colors and sewing straight seams.
This method leverages the professionally coordinated fabric collections curated by designers, ensuring your finished quilt will have a beautiful, cohesive look with minimal effort. By simply sewing squares together in a grid, you can create a stunning patchwork quilt top in an afternoon. It’s an incredibly satisfying process that allows you to focus purely on layout and piecing, building confidence with every seam.
Why It’s Perfect for Beginners
This pattern removes the barrier of rotary cutting, which can be a significant hurdle for new quilters. It allows you to immediately experience the fun part of quilting: seeing a beautiful top come together. The pre-coordinated fabrics take the guesswork out of color theory, guaranteeing a professional-looking result and making it a fantastic choice for a first or second quilting project.
Tips for a Perfect Pre-Cut Quilt
- Plan Your Layout: Before sewing, arrange all your squares on the floor or a design wall. This allows you to balance colors and prints effectively. Take a quick photo with your phone to reference as you sew.
- Sew in Rows: Stitch the squares into horizontal rows first. Then, sew the completed rows together to form the quilt top. This assembly-line method is far more organized and efficient than sewing random blocks together.
- Press for Precision: Press the seams of odd-numbered rows (1, 3, 5) in one direction and the seams of even-numbered rows (2, 4, 6) in the opposite direction. This will help your seams "nest" together perfectly when you join the rows, creating sharp, clean points.
The charm pack quilt is a modern classic that proves a beautiful quilt doesn’t have to be complicated. To ensure your soft creation has the perfect drape and warmth, consider pairing it with a high-quality batting that complements your fabric choice, such as a versatile cotton blend.
4. Half Square Triangle (HST) Patterns
Half Square Triangles, or HSTs, are a foundational building block in quilting that unlocks an incredible world of design possibilities. This versatile unit is made by sewing two triangles together along their long edge to form a square. While it introduces the skill of sewing on a bias, the visual reward is immense, making it one of the most satisfying and easiest quilt patterns for an ambitious beginner to tackle.
The true power of the HST lies in its arrangement. By simply rotating these two-tone squares, you can create stunning and dynamic patterns like classic Pinwheels, intricate Hourglass blocks, chevrons, and flying geese. They are the perfect tool for creating a quilt that looks impressively complex but is built from simple, repeatable units. HSTs are a fantastic way to practice precision while creating visually striking designs.
Why It’s Perfect for Beginners
HSTs are the ideal next step after mastering basic squares. They teach essential skills like sewing on a diagonal, handling bias edges, and trimming blocks to a precise size, all of which are crucial for more advanced quilting. The process is highly repetitive, allowing you to build muscle memory and confidence quickly. Plus, they are incredibly scrap-friendly, making them perfect for using up leftover fabrics.
Tips for a Perfect Half Square Triangle
- Make Two at a Time: The most popular method involves placing two fabric squares right sides together, marking a diagonal line from corner to corner, and sewing a quarter-inch seam on both sides of the line. Cut on the marked line to get two identical HST units instantly.
- Square Up Every Time: The secret to sharp points and a flat quilt top is trimming your HST units. Use a square-up ruler to trim each block to its final, precise size before sewing them together. This step is non-negotiable for a professional finish.
- Press Seams Open: While nesting seams is common, pressing HST seams open helps reduce bulk where four points meet. This allows the finished block to lie much flatter and makes quilting easier.
The HST is a gateway to countless classic and modern designs. To explore this and other foundational methods, you can learn more about various quilting techniques that will elevate your projects.
5. Rail Fence (Straight Sets)
The Rail Fence quilt is a masterpiece of simplicity and modern design, making it one of the easiest quilt patterns for a beginner to tackle. The pattern consists of blocks made from parallel strips of fabric, or "rails," sewn together. These blocks are then rotated and arranged to create dynamic visual effects like zig-zags, steps, or diamonds. Its strength lies in its exclusive use of straight cuts and seams, eliminating the need for complex piecing or matching points.
This pattern is a fantastic playground for exploring color theory and fabric placement. By strategically arranging your fabric strips, you can achieve a design that looks incredibly intricate and sophisticated. The Rail Fence is exceptionally forgiving and builds confidence quickly, as its construction relies on the straightforward and efficient technique of strip piecing.
Why It’s Perfect for Beginners
The Rail Fence pattern is an ideal starting point because it introduces strip piecing, a fundamental time-saving skill in quilting. It allows you to produce large sections of your quilt top quickly and accurately. This pattern is perfect for showcasing beautiful fabric collections, creating stunning ombre effects with gradated colors, or making a vibrant scrap-buster quilt.
Tips for a Perfect Rail Fence
- Choose High-Contrast Fabrics: To make your design pop, select 3-5 fabrics with a clear progression from light to dark or with strong color contrast. This will define the pattern and create visual movement.
- Cut Strips Consistently: Precision is key. Use a rotary cutter and ruler to ensure all your strips are cut to the same width, typically between 2 and 3 inches.
- Press for Success: After sewing your strips into a set, press all the seams in the same direction. This simple step makes nesting your blocks and achieving flat, neat seams much easier during final assembly.
- Play Before You Sew: Arrange your finished blocks on a design wall or the floor. Rotate them and experiment with different layouts until you find a composition you love. Take a photo to remember the arrangement before sewing the blocks together.
The Rail Fence is a versatile and stylish pattern that proves you don't need complexity to create a stunning quilt. For a step-by-step guide and more layout ideas, check out this free Fence Rail quilt pattern and start your next project with confidence.
6. Foundation Paper Piecing (FPP) - Simple Blocks
Foundation Paper Piecing, or FPP, might sound intimidating, but it is a game-changing technique for achieving razor-sharp points and perfect geometry. This method uses a printed paper pattern as a sewing guide, with fabric pieces sewn directly onto the paper. It essentially turns quilting into a paint-by-numbers exercise, making it one of the easiest quilt patterns to execute with precision, even for a total beginner.
The beauty of FPP is that it removes the need for highly accurate cutting. Instead, you use oversized fabric scraps and rely on the printed lines for flawless sewing. This makes it an incredibly forgiving method for creating blocks that appear complex, like intricate stars or geometric designs, but are actually just a sequence of simple, straight seams.
Why It’s Perfect for Beginners
FPP is an amazing skill-builder because it guarantees accuracy. By sewing on the line, you sidestep the challenges of matching tricky points or bias edges that can stretch. It's the perfect way to build confidence while creating impressive, professional-looking blocks. This technique is also fantastic for using up small, irregular scraps that might otherwise go to waste.
Tips for Perfect Foundation Paper Piecing
- Start Simple: Begin with patterns that have 4-6 pieces and larger sections. This will help you get comfortable with the process of trimming and pressing before tackling more intricate designs.
- Use a Short Stitch: Set your sewing machine to a short stitch length, around 1.5mm to 1.8mm. This perforates the paper more thoroughly, making it much easier to tear away cleanly when your block is finished.
- Press with Paper On: Keep the paper foundation attached while you press your seams. This provides stability and prevents your fabric from stretching or distorting, ensuring your block remains flat and square.
- Trim As You Go: Use an "add-a-quarter" ruler or similar tool to trim your seam allowance to a perfect quarter-inch after adding each piece of fabric. This simple step is key to crisp results.
This method opens up a world of intricate designs that would otherwise be daunting, proving that even some of the most complex-looking blocks can be among the easiest quilt patterns to create. For a great starting point, explore the simple yet stunning FPP patterns available at quilt shops and online pattern stores.
7. Disappearing Nine Patch (Transforming Blocks)
The Disappearing Nine Patch is a magical pattern that takes a simple, completed Nine Patch block and transforms it into something far more intricate and complex. This pattern is built on a clever trick: you create a standard Nine Patch block, then cut it into four equal quadrants, rearrange those new pieces, and sew them back together. This simple act of cutting and reassembling creates a stunning new design that looks like it required advanced skills.
The true genius of the Disappearing Nine Patch is how it builds on a skill you've already mastered. It takes the humble Nine Patch and introduces the concept of block manipulation without a steep learning curve. The "reveal" after reassembling the pieces is incredibly rewarding, making it one of the most exciting and confidence-boosting quilt patterns for quilters who are ready to take a small step beyond the basics.
Why It’s Perfect for Beginners
This pattern is the perfect "next step" after mastering basic blocks. It teaches important lessons about design composition and how secondary patterns are formed, all while using the straightforward piecing skills from the original Nine Patch. Because the result looks so impressive, it provides a massive sense of accomplishment and encourages quilters to experiment with design.
Tips for a Perfect Disappearing Nine Patch
- Start with a Perfect Block: Ensure your initial Nine Patch block is perfectly square and your seams are pressed flat. Any inaccuracies in the original block will be magnified after cutting and reassembling.
- Precise Cutting is Key: Use a sharp rotary cutter and a square ruler to make your two cuts through the center of the block. For a 9-inch finished block, you would cut at the 4.5-inch mark both vertically and horizontally.
- Keep Your Pieces Organized: After cutting your block into four quadrants, it’s easy to get them mixed up. Label them with a bit of painter's tape or lay them out carefully so you can rearrange and sew them in the correct orientation.
- Press Seams Open: When reassembling the four new units, pressing the new seams open can help reduce bulk where the points meet in the center, ensuring your final block lays flat and looks professional.
The Disappearing Nine Patch is one of the easiest quilt patterns to yield a "wow" factor, proving that stunning designs don't always require complicated techniques.
Quick Comparison of 7 Easiest Quilt Patterns
| Pattern | 🔄 Implementation Complexity | ⚡ Resource Requirements | 📊 Expected Outcomes | 💡 Ideal Use Cases | ⭐ Key Advantages |
|---|---|---|---|---|---|
| Nine Patch | Low — straight-line piecing; forgiving | Low — yardage or scraps, basic tools | Bold, consistent grid impact; reliable finish. ⭐⭐ | Beginner classes, scrap quilts, quick first quilts | Fast to piece; minimal waste; very versatile |
| Strip Piecing (Jelly Roll Friendly) | Very Low — long strips, straight seams | Low — jelly rolls/pre-cuts, rotary tools | Professional-looking tops very quickly; high variety. ⭐⭐⭐ | Time-limited projects, stash busting, production sewing | Fastest finish; minimal cutting; great for pre-cuts |
| Charm Pack Squares (Layer Cake & Charm) | Very Low — no cutting, simple grid assembly | Low (but higher per-yard cost) — pre-cut packs | Cohesive, polished results with minimal effort. ⭐⭐ | Absolute beginners, classes, fundraisers, quick gifts | Zero cutting; guaranteed coordination; very quick |
| Half Square Triangle (HST) Patterns | Moderate — diagonal piecing and trimming | Moderate — squares/strips, square-up rulers | Dynamic, complex-looking movement; high visual interest. ⭐⭐⭐ | Early-intermediate skill building, dynamic quilts | Teaches angle piecing; highly versatile designs |
| Rail Fence (Straight Sets) | Low — parallel strips, rotate/arrange | Low — yardage or strips, basic rotary tools | Strong directional designs; dramatic color effects. ⭐⭐ | Ombre/rainbow quilts, minimalist bed quilts, quick projects | Simple yet dramatic; scales easily; fast assembly |
| Foundation Paper Piecing (FPP) - Simple Blocks | Moderate–High — paper templates, precise sewing | Moderate — printed patterns, more time, tweezers | Highly accurate, intricate blocks; professional finish. ⭐⭐⭐ | Precise geometric blocks, design-focused projects, classes | Enables complex precision; low error for detailed work |
| Disappearing Nine Patch (Transforming Blocks) | Low–Moderate — starts simple then cutting/reassembly | Low — Nine Patch materials, accurate rulers | Kaleidoscopic/secondary patterns from simple blocks. ⭐⭐⭐ | Design exploration, guild demos, intermediate beginners | Transforms simple blocks into complex motifs; engaging |
Your Next Step: From Simple Blocks to Beautiful Quilts
You've just explored a curated collection of seven of the easiest quilt patterns, each a perfect gateway into the wonderful world of quilting. From the foundational Nine Patch to the surprisingly simple Disappearing Nine Patch, you now have a reliable roadmap to bypass common beginner frustrations and head straight for a beautiful, finished project. The journey from a stack of fabric to a treasured quilt is a uniquely rewarding experience, and these patterns are your trusted guides.
The true power of starting with a simple design is the confidence it builds. Every straight seam, every perfectly nested corner, and every completed block is a small victory that propels you forward. You aren't just sewing fabric together; you are learning the fundamental language of quilting, a skill set that will unlock countless creative possibilities for years to come.
Key Takeaways for Your First Quilt
Let's distill the most crucial lessons from these patterns into actionable steps:
- Master the Quarter-Inch Seam: This is non-negotiable. Whether you're making a Rail Fence or a simple Charm Pack quilt, an accurate quarter-inch seam is the bedrock of a top that lies flat and assembles correctly.
- Press with Intention: Don't just iron your fabric. Pressing your seams (typically to the dark side or open) as you go is essential for block accuracy and makes the final assembly process significantly smoother.
- Embrace Pre-Cuts: Jelly Rolls, Charm Packs, and Layer Cakes are your best friends. They eliminate much of the initial cutting, reduce fabric waste, and get you sewing faster. This is especially true for patterns like the Strip Piecing race or Charm Pack Squares.
- Don't Fear the "Disappearing" Block: Techniques like the Disappearing Nine Patch might sound advanced, but they are incredibly beginner-friendly. They teach you how one set of cuts can magically transform a simple block into a complex-looking design, boosting your quilting confidence.
Turning Your Pieced Top into a Quilt
Remember, your beautifully pieced top is only one part of the equation. The step that truly brings it to life-giving it warmth, dimension, and that unmistakable quilt "feel"-is adding the batting. The right batting is the unseen hero that supports your stitches and ensures your creation can be loved and used for decades. It's the soft, supportive core that turns a flat textile into a functional work of art.
The patterns we've covered, from the simplest Nine Patch to a basic Foundation Paper Pieced block, are the perfect canvases for quality batting. Choosing a reliable, consistent batting means you can focus on honing your piecing and quilting skills, knowing the internal structure of your project is sound. You've done the hard work of piecing your vision together; now it's time to give it the body and soul it deserves. Your next masterpiece is just a few straight stitches away.
Ready to bring your quilt top to life? The right batting makes all the difference, providing the perfect loft and durability for even the easiest quilt patterns. Explore our premium selection at Quilt Batting and find the ideal foundation for your next project. Visit Quilt Batting to ensure your creation is as cozy and long-lasting as it is beautiful.