

Welcome to the wonderfully simple world of the Fence Rail quilt! It's one of those timeless, classic designs that quilters have loved for generations, and for good reason. This free fence rail quilt pattern is my go-to recommendation for anyone just starting out, but it's also a fantastic canvas for experienced quilters to play with color and texture.
You get all the satisfaction of a beautiful finish without the headache of matching a million tiny points.
Why the Fence Rail Is the Perfect First Quilt
If you're hunting for a project that looks impressive but is secretly super easy, you've found it. The magic behind the Fence Rail is a technique called strip piecing, which is a cornerstone of quilting. You simply sew long strips of fabric together first and then cut them down into your finished blocks.
It’s an incredibly forgiving pattern. You don't have to stress over tricky intersections or getting every single corner to meet perfectly. Instead, you get to focus on the two skills that will make or break every quilt you ever make:
- A Consistent Seam Allowance: You’ll get tons of practice sewing a straight 1/4-inch seam, which is the gold standard in quilting.
- Accurate Rotary Cutting: This whole pattern is built on cutting uniform strips and blocks, so you'll quickly get comfortable and precise with your rotary cutter.
It’s no wonder this is one of the oldest and most popular strip-pieced patterns out there. Quilting teachers love it because it lets new quilters sidestep the common frustrations that can make you want to quit before you’ve even started.
A Solid Foundation for Your Quilting Journey
Think of this quilt as your quilting boot camp. Every skill you practice here—from choosing your fabrics to that final satisfying press—is one you'll use on just about every other quilt you make down the road. It’s a low-stress way to really learn how your fabric, thread, and sewing machine all play together.
The real beauty of the Fence Rail quilt is that it builds muscle memory. By the time you finish, you'll have a much better feel for handling fabric and guiding it through your machine, and that’s an invaluable skill.
For anyone just starting out, building that confidence is everything. If you want a few more pointers before you dive in, check out our collection of essential quilting tips for beginners.
Now, before you even think about cutting into that gorgeous fabric, let's figure out what size quilt you want to make. Having a clear destination makes the journey much smoother.
The chart below is a handy reference for standard quilt sizes. Use it to decide on the finished dimensions for your Fence Rail project.
Standard Quilt Size and Dimension Guide
| Quilt Size | Approximate Finished Dimensions (Inches) |
|---|---|
| Crib | 36" x 52" |
| Lap / Throw | 50" x 65" |
| Twin | 70" x 90" |
| Full / Double | 85" x 108" |
| Queen | 90" x 108" |
| King | 110" x 108" |
Keep these numbers in mind as you move on to the next steps. They'll guide how much fabric you need and how to cut it.
Choosing Your Fabric and Calculating Yardage
This is where the magic really starts to happen—where your quilt’s personality comes to life. Picking out fabrics for a Fence Rail quilt is one of my favorite parts of the whole process. The simple, clean lines of the block are a perfect canvas for just about any color or print you can dream up. You can create a really striking, modern design with just three coordinating fabrics, or dive into your scrap bins for a vibrant, scrappy masterpiece.
The first big decision you'll make is whether to use precut fabric strips, like a Jelly Roll, or cut your own from yardage. A Jelly Roll is a fantastic shortcut, giving you a bundle of 40 coordinating 2.5-inch strips, each running the full width of the fabric (usually 42-44 inches). It’s a massive time-saver since all the initial cutting work is already done for you.
On the other hand, cutting from yardage gives you total creative freedom. You get to hand-pick every single fabric and can even play with the width of your "rails" if you want a more custom look. For this particular free fence rail quilt pattern, we're going to stick with the classic three-rail design using 2.5-inch strips.
Precuts vs. Yardage: Which Is Right for You?
So, how do you choose? It really just boils down to a trade-off between convenience and control.
- Jelly Rolls (Precuts): These are your best friend if you're short on time or want a perfectly coordinated look without the guesswork. If you've ever fallen hard for a specific fabric collection, a Jelly Roll is the perfect way to get a taste of every print. The only real downside is that you get what you get—you can't pick and choose just your favorite colors from the line.
- Yardage: This route is for the quilter with a vision. If you have a specific color palette in mind or love mixing and matching fabrics from different designers, cutting from yardage is the way to go. It can also be a bit more budget-friendly for larger quilts, since you're only buying exactly what you need.
The Tools You'll Need for a Perfect Cut
No matter which path you choose, a few essential tools are absolutely non-negotiable for getting clean, accurate cuts. A little precision now saves a world of frustration when it's time to sew.
Your go-to trio will be a sharp rotary cutter, a self-healing cutting mat, and a good, long quilting ruler. I find a 6" x 24" ruler is the most versatile size for just about any project. Using these tools correctly is the secret sauce for perfectly straight strips and blocks that line up beautifully. And please, always start with a fresh blade in your cutter—it makes cutting safer, easier, and much more precise.
I see so many quilters struggle with their ruler slipping during a long cut. Here's my go-to tip: apply firm, even pressure with your non-cutting hand, and spread your fingers out wide across the ruler's surface. This simple trick gives you so much more stability and makes a huge difference in your accuracy.
Figuring Out Your Fabric Needs
Alright, let's get down to the numbers and figure out how much fabric you'll need to buy. The chart below gives you a solid starting point for a classic three-rail design across the most common quilt sizes. I've built in a little extra wiggle room for squaring up your fabric and those "oops" cuts that happen to all of us, but it never hurts to buy just a little bit more if you're on the fence.
As you're planning your fabric, don't forget to think about your batting! Knowing your quilt's final dimensions is key to getting the right size. If you need a little help figuring out how much to get, you can learn more by reading our guide on buying quilt batting by the yard.
This chart breaks down exactly what you'll need for our three-rail block design. Just find your desired quilt size and you'll know exactly how much of each fabric to grab.
Fabric Yardage and Cutting Chart for Common Quilt Sizes
| Quilt Size | Fabric A (Rail 1) Yardage | Fabric B (Rail 2) Yardage | Fabric C (Rail 3) Yardage | Backing Fabric | Binding Fabric |
|---|---|---|---|---|---|
| Crib (36" x 52") | 1/2 yard | 1/2 yard | 1/2 yard | 3 yards | 1/2 yard |
| Throw (60" x 72") | 1 yard | 1 yard | 1 yard | 4 yards | 1/2 yard |
| Twin (72" x 90") | 1 1/2 yards | 1 1/2 yards | 1 1/2 yards | 5 1/2 yards | 3/4 yard |
| Queen (90" x 108") | 2 1/4 yards | 2 1/4 yards | 2 1/4 yards | 8 1/2 yards | 3/4 yard |
| King (108" x 108") | 3 yards | 3 yards | 3 yards | 9 3/4 yards | 1 yard |
With this guide, you can walk into your favorite fabric shop with confidence, ready to bring your Fence Rail quilt to life
From Strips to Blocks: The Magic of Strip Piecing
Alright, this is where the quilt really starts to come to life. You've got your beautiful stacks of fabric strips, and now we're going to turn them into the building blocks of your Fence Rail quilt. The whole game here is a technique called strip piecing, and getting this right is what will make your quilt top lay flat and come together like a dream.
The idea is brilliantly simple and a huge time-saver. Instead of cutting dozens of tiny rectangles and sewing them one by one, we'll sew the long strips together first. These larger units are called "strip sets." Only after they're sewn do we cut them down into individual blocks. It's this efficient workflow that makes the free fence rail quilt pattern so fantastic for beginners and anyone who wants a quick, satisfying project.
Now, if there's one thing to be obsessive about, it's your quarter-inch seam allowance. I can't stress this enough. If you're even a little bit off, that tiny error gets multiplied across every single seam, and you can end up with a wavy quilt top that just won't cooperate. If your machine came with a quarter-inch foot, now is the time to use it. It's a small piece of metal that makes a world of difference.
Making Your Strip Sets
Let's get sewing. Grab one strip from each of your fabrics (we'll call them Fabric A, B, and C for a classic three-rail block). Lay Fabric A and Fabric B right sides together, making sure one of the long edges is perfectly aligned.
Now, sew down that entire length. The key here is to let the machine's feed dogs do the pulling. Just guide the fabric gently with your fingertips to keep it straight; if you push or pull, you risk stretching the strips out of shape.
Once that first seam is done, head to your ironing board. This next part is just as critical as the sewing.
My Biggest Pressing Tip: Don't iron—press. That means you place the iron down on the seam, hold it for a moment, and then lift it straight up before moving to the next section. Scrubbing back and forth is a surefire way to distort your fabric and ruin all that careful sewing.
Always press the seam allowance toward the darker of the two fabrics. This little trick stops the dark fabric from peeking through your lighter-colored strips later on.
With that done, take Fabric C and place it right sides together with the free edge of Fabric B. Sew that seam just like the first one, and once again, press the seam allowance toward the darker fabric. And just like that, you've made your first three-rail strip set! Keep going until all your strips are sewn into these sets.
Cutting Your Blocks with Precision
With a neat pile of pressed strip sets ready to go, it’s time to cut your blocks.
Lay one of your strip sets on your cutting mat. The very first cut is just to clean things up. Line up your quilting ruler to trim off the wonky selvage end, creating a perfectly straight edge that's at a perfect 90-degree angle to your seams. This is called "squaring up," and it's non-negotiable for accurate blocks.
Rotate the strip set so your new, clean edge is aligned with one of the horizontal lines on your mat. Now for the fun part. You're going to cut segments from the strip set that are the same width as the set itself, creating perfect squares. For example, if your three-rail strip set measures 6.5 inches wide, you'll cut it into 6.5-inch segments.
This quick visual breaks down the process, from picking fabrics to getting your final blocks ready.
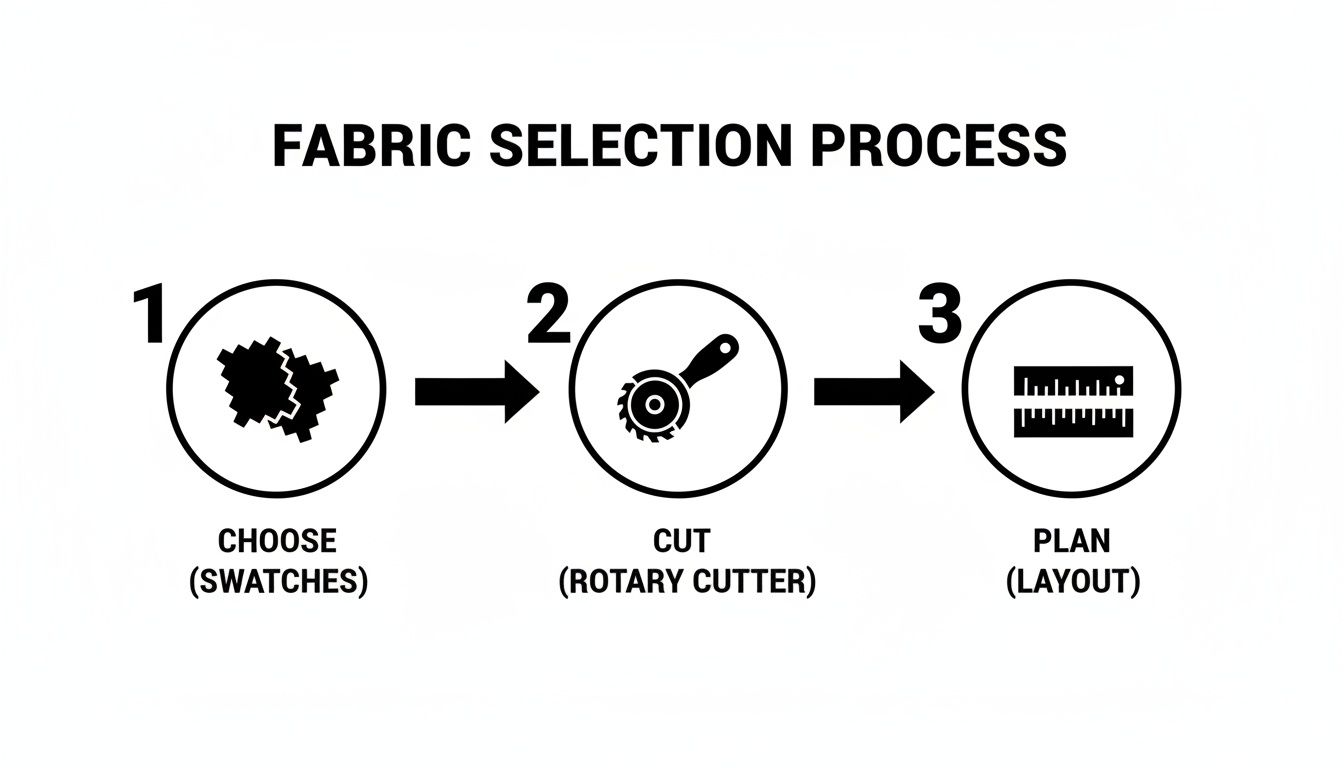
As you can see, a little planning at the fabric stage makes everything that follows so much smoother.
Just keep cutting segments down the length of your strip set until you have the number of blocks you need for your chosen quilt size. I like to stack my finished blocks in a neat pile as I go—it's so satisfying to watch it grow! Before you know it, you’ll have a gorgeous collection of blocks, all ready for the final layout.
Bringing Your Quilt Top to Life
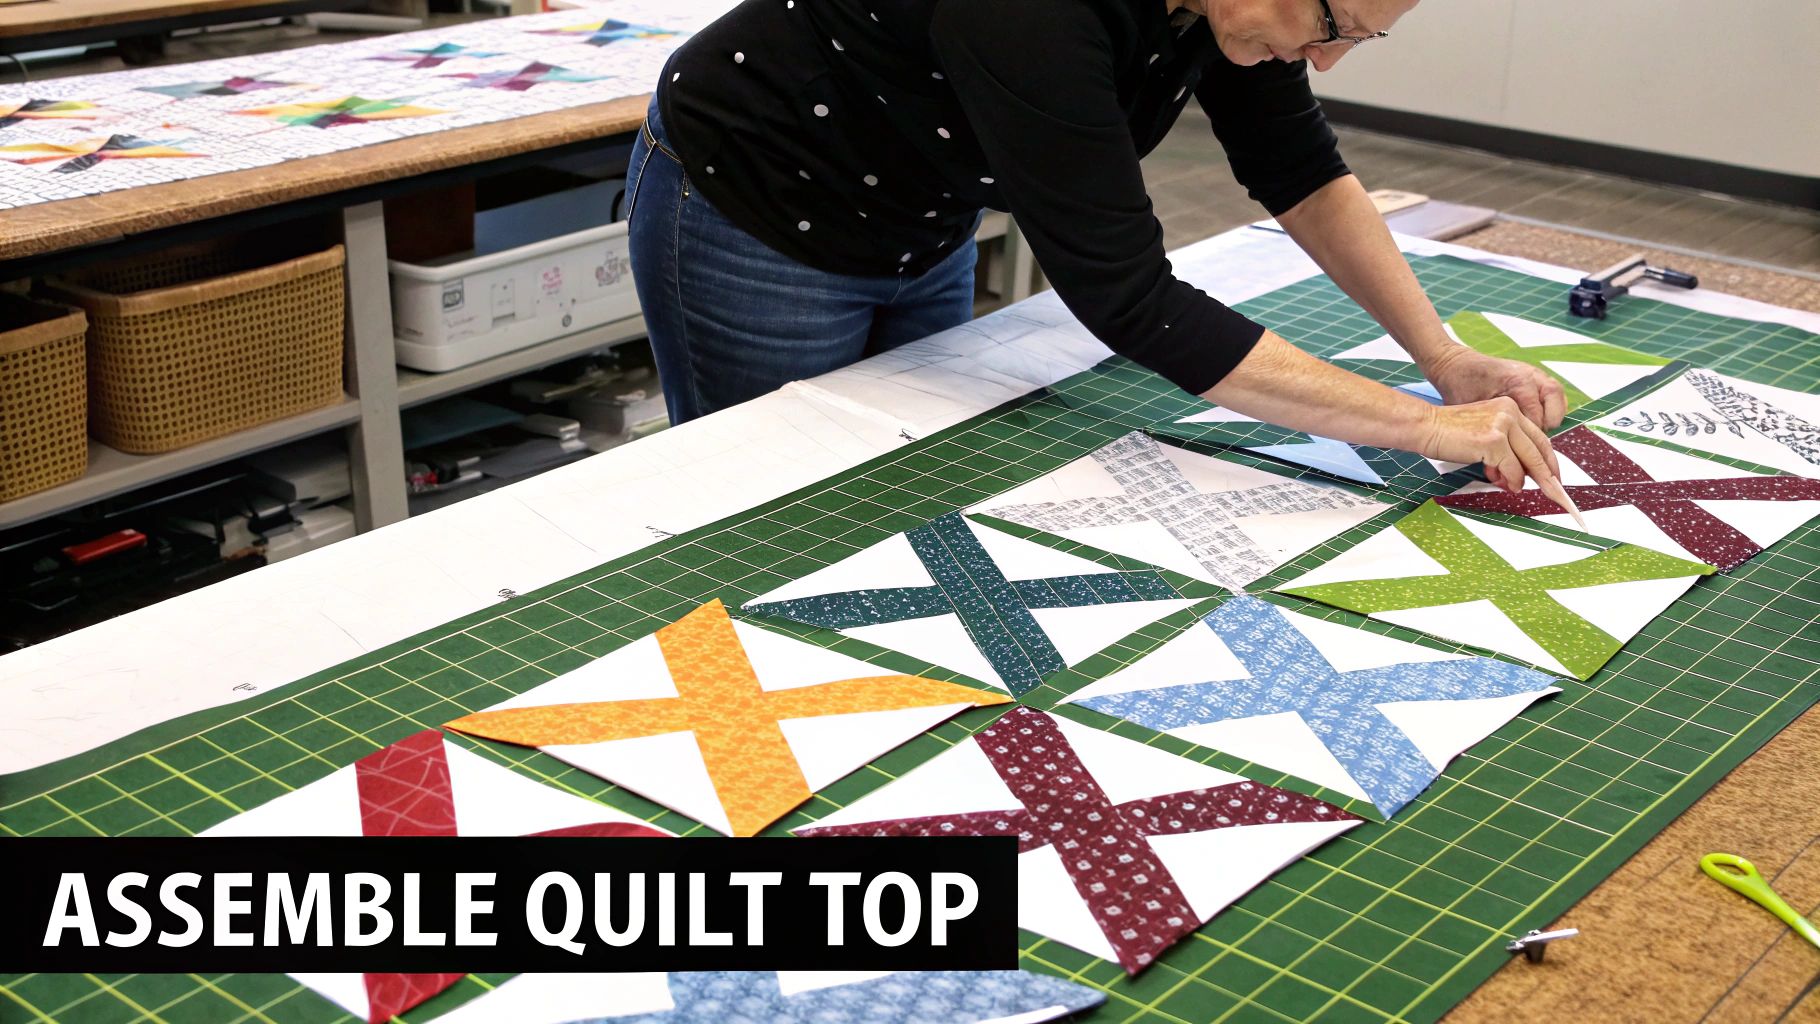
You’ve got a gorgeous stack of finished blocks, and now comes my favorite part of making this free fence rail quilt pattern—seeing it all come together. This is where the magic happens, turning those individual squares into a beautiful, unified quilt top.
First things first, you need some space. A clean floor or a design wall is perfect for this. Lay out every single block, arranging them according to the layout you picked out—whether that’s the classic zig-zag, a bold diamond, or a wonderfully scrappy design.
Don't rush this part. Seriously. Step back, squint a little, and take a good look at the whole arrangement from across the room. Do the colors flow? Does the pattern pop the way you hoped? This is your final chance to swap things around before you commit, so play with it until it feels absolutely right. Once you love it, carefully pick up the blocks row by row and stack them. I swear by using little numbered pins or sticky notes on each stack to keep everything in order.
Stitching Your Blocks into Rows
Alright, let's get sewing. Grab the stack for your first row and place the first two blocks right sides together. Stitch them with that same perfect quarter-inch seam you've been using all along. Keep adding blocks, one after the other, until the entire row is pieced.
Now for the secret to getting those crisp, perfect corners: press your seams in alternating directions for each row. For Row 1, press all the seams to the right. For Row 2, press them all to the left. Then Row 3 goes back to the right, and so on. Trust me, this simple habit is a total game-changer. When you go to sew your rows together, the opposing seams will nestle into each other like they were made for it, making it almost effortless to line up your corners.
Pressing your seams in opposite directions does more than just align points; it dramatically reduces bulk where the corners meet. This makes it easier to sew over those intersections and, more importantly, helps your finished quilt top lay beautifully flat. It's a small detail that delivers a truly professional finish.
Just keep this up for all your rows, alternating the pressing direction each time. You'll be surprised how quickly you'll have a set of perfectly pieced rows, ready for the final assembly.
Making the Quilt Sandwich
With your top pieced and pressed, it’s time to build your "quilt sandwich." This is just what it sounds like: a delicious three-layer creation of your backing, batting, and quilt top.
Start by spreading your backing fabric on a large, flat surface with the wrong side facing up. Smooth out every last wrinkle—tape it down if you need to! Next, lay your batting over the top, and finally, place your finished quilt top, right side up, over the batting.
The last crucial step here is basting. This is how you temporarily secure all three layers so they don't wiggle around and cause puckers while you're quilting. You've got options: safety pins, a temporary spray adhesive, or even long hand stitches. Proper basting is the key to a smooth, pucker-free finish on the back of your quilt.
If you'd like a more detailed look at the different methods, we have an in-depth guide that walks you through how to baste a quilt and get it ready for those final, glorious stitches.
Bringing Your Quilt to Life: Batting, Quilting, and Binding
Alright, this is where the magic really happens. Your beautifully pieced top is about to become a real, honest-to-goodness quilt. Getting these final steps right is what will make your project something you’ll be proud to use and show off for years to come.
It all starts with what’s on the inside—the batting. This isn't just filler; it’s the heart of your quilt, giving it warmth, texture, and that lovely drape we all adore.
Choosing the Perfect Batting
What you pick for batting really comes down to how you want the finished quilt to feel and how you plan on quilting it. Your two main contenders are usually cotton or a cotton/poly blend.
A 100% cotton batting is a timeless choice. It breathes beautifully and gives you that classic, slightly crinkled, lived-in look after the first wash. I love using it for quilts that I want to have a vintage, heirloom feel. It’s a dream for both hand and machine quilting.
Then you have the ever-popular 80/20 blend (80% cotton, 20% polyester). This one is a real workhorse. It offers a little more loft and puffiness than pure cotton, drapes like a dream, and doesn't crease as easily. It’s a huge favorite with longarm quilters for good reason—it provides a stable but soft foundation that’s perfect for detailed stitching.
If you're quilting on your home machine, a lower-loft cotton or blend is generally much easier to wrestle through the machine's throat space. My advice? Look for a batting that lets you quilt up to 8-10 inches apart. This gives you plenty of breathing room for simpler, more open quilting designs without having to worry about the layers shifting.
Deciding on a Quilting Design
The clean, linear look of a Fence Rail quilt is a fantastic canvas for so many quilting styles. The great news is you don’t have to get fancy to make a huge impact.
- Straight Lines: This is a go-to for a reason! Quilting lines parallel or perpendicular to your seams adds a crisp, modern feel that really complements the piecing. It's also incredibly beginner-friendly.
- Gentle Meander: A soft, looping, all-over stitch (sometimes called stippling) is a wonderful way to soften the sharp lines of the blocks and add a ton of cozy texture.
- Grid or Crosshatch: You can’t go wrong with a classic grid. It creates that traditional, comforting quilt feeling and does a fantastic job of securing all three layers.
The real goal here is to complement your piecing, not compete with it. For a pattern like the Fence Rail, less is often more. Simple quilting lets your fabric choices and the bold pattern remain the stars of the show.
Need a little more help getting those lines perfectly spaced? We’ve got a whole guide full of my best tips for straight-line quilting techniques that will help you get pro-level results right on your home machine.
Binding for That Polished, Professional Finish
The binding is the final frame for your masterpiece. It’s that narrow strip of fabric that neatly encases all the raw edges, giving your quilt a durable and beautifully clean finish.
The standard method is to cut 2.5-inch wide strips of fabric. You'll join these strips end-to-end (I always recommend a diagonal seam for less bulk) to create one super-long piece, which you then press in half lengthwise.
You’ll start by sewing the raw edge of this folded strip to the front of your quilt, carefully creating sharp, mitered corners as you go. Once it's stitched all the way around, you simply wrap the folded edge around to the back of the quilt and stitch it down. I prefer to do this last step by hand for a nearly invisible finish, but a machine-stitched binding can look great, too.
Trust me, once you master that perfect mitered corner, you'll feel like you can conquer any quilting project that comes your way.
Common Questions About Fence Rail Quilts
Even with a design as straightforward as a Fence Rail, questions always come up. Let's walk through some of the things quilters ask me most often so you can dive into this project with total confidence and create a quilt you'll absolutely love.
Most of the time, the first thing people wonder about is color. You've got your beautiful stack of fabric, but how do you make it sing?
What Is the Best Way to Arrange My Colors?
This is where the magic of the Fence Rail really shines—it's so flexible. If you're going for that classic, punchy look with a strong zig-zag or diamond pattern, the trick is to consistently alternate your light, medium, and dark fabrics in each strip set. That simple formula is all it takes to build that beautiful, dynamic movement across the quilt.
Feeling a bit more modern or want to use up your scraps? Go for it! A random, scrappy layout can be absolutely stunning.
The most important thing you can do is audition your blocks before you sew the rows together. Lay everything out on a design wall or even a clean spot on the floor. Take a few steps back, maybe squint a little, and see how it all flows from a distance. This is your moment to spot any weird color clumps and swap blocks around until the composition feels just right.
Why Is My Quilt Top Wavy and How Can I Fix It?
Ah, the dreaded wavy quilt top. It's a frustrating problem, but trust me, it’s almost always fixable and, better yet, preventable. The usual suspects are an inconsistent seam allowance or, and we've all done it, stretching the fabric strips a little as you sew.
Your best friend here is a dedicated 1/4-inch presser foot for your sewing machine. Seriously, it's a game-changer for accuracy. Also, think about how you press. You want to press, not iron. That means lifting the iron and setting it down on the seam, not sliding it back and forth. That sliding motion is what stretches the fabric out of shape.
And if you're adding borders? Here's my go-to professional trick: Measure your quilt top through the middle, both vertically and horizontally. Cut your border strips to those exact measurements before you attach them. This forces the quilt to fit the border, which helps square everything up and flatten out any waviness.
Can I Use Fabrics Other Than Cotton?
You absolutely can! Quilting cotton is the go-to for a reason—it behaves beautifully—but a Fence Rail quilt is a fantastic pattern to experiment with. Flannel makes an incredibly cozy, warm quilt that's just perfect for cuddling up with. You could even play with adding some linen or chambray to the mix for a little extra texture and interest.
When you start mixing different types of fabric, the golden rule is to pre-wash everything. Different fibers shrink at different rates, and you want that to happen before you cut and sew, not after your beautiful quilt is finished. One simple trip through the washer and dryer can save you from a world of puckering and distortion later on.
At Quilt Batting, we know the right foundation is what turns a good quilt into a great one. Explore our premium selection of Hobbs and Pellon batting to give your next project the perfect loft and drape. Find the ideal batting for your quilt at https://quiltbatting.shop.