

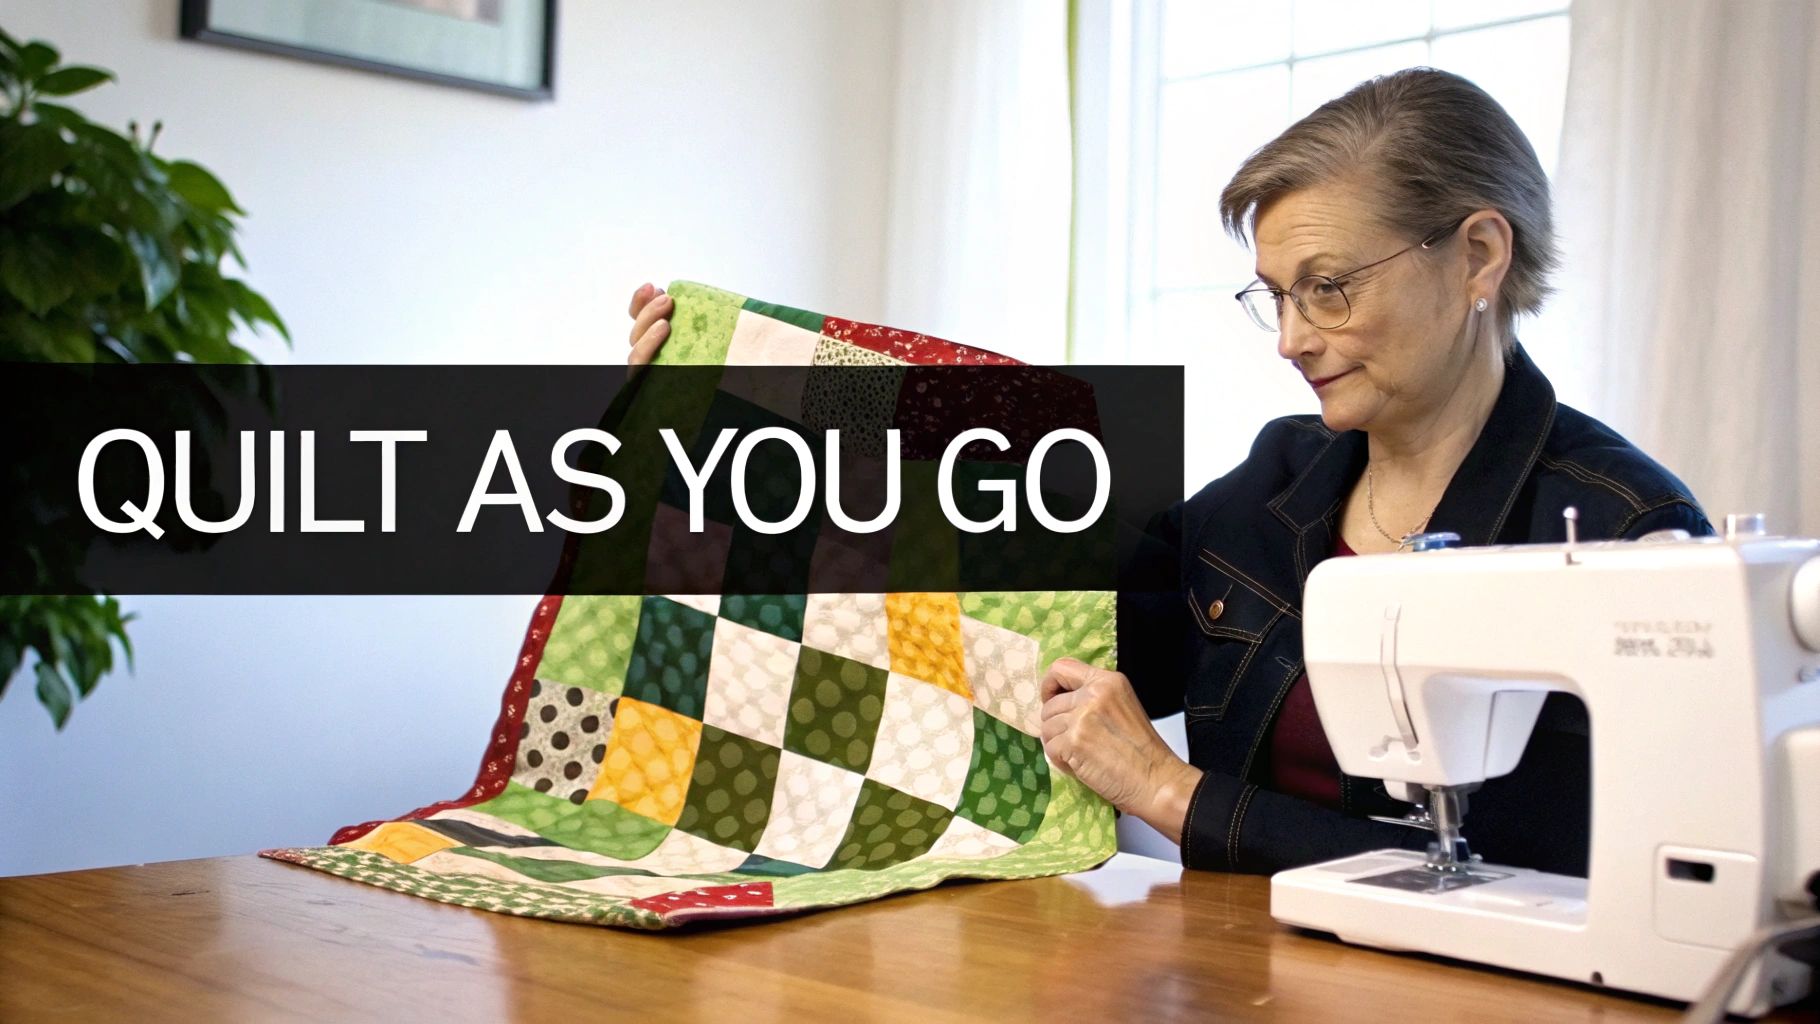
Let's be honest: have you ever wrestled with a massive quilt under your little home sewing machine? It feels like trying to stuff a sleeping bag into a teacup. If you've been there, you're going to love the Quilt As You Go (QAYG) method. It’s a complete game-changer, letting you piece and quilt one small, manageable block at a time. To get you started, we even have several quilt as you go patterns free and ready for you to download.
Why Quilt As You Go Will Change Your Sewing Game
The traditional way of quilting can be a real struggle. You spend hours, maybe weeks, piecing a gorgeous top, only to face the final boss: quilting the whole thing. Shoving a king-size project through the tiny throat space of your machine is a workout nobody asked for. It often leads to puckering, wonky stitches, and a whole lot of frustration. QAYG completely sidesteps that entire battle.
You actually do the quilting on individual blocks before you even think about joining them together. This way, you stay in complete control. Each little block becomes its own mini-project, making the whole quilt feel less like climbing a mountain and more like a series of small, satisfying wins.
Breaking Down the Benefits
This block-by-block approach really took off in the early 2010s as a smart, time-saving alternative. It simplifies everything. Instead of wrangling a huge quilt sandwich, you're working with small, easy-to-handle pieces, often around 12 by 12 inches. The difference is huge—you can reduce the sheer bulk you're fighting by up to 80% compared to the old-school way.
So, what does that really mean for your quilting experience?
- No Longarm Needed. You can achieve beautiful, intricate quilting on any domestic sewing machine. Yes, even that basic one you started with!
- Less Physical Strain. Say goodbye to the shoulder and back aches that come from wrestling with a heavy quilt. This is quilting you can actually relax into.
- Creative Freedom. This is my favorite part. You can experiment with different quilting designs on each block. Try stippling on one, straight lines on another—without committing one style to the entire quilt.
- Perfect for Beginners. QAYG is incredibly forgiving. It's a fantastic way for new quilters to build confidence and learn the ropes. For more foundational advice, don't miss our guide to quilting tips for beginners.
The best part is the feeling of accomplishment you get with each finished block. You're not waiting until the very end to see your quilted masterpiece take shape. You get to celebrate progress every single step of the way.
I've designed this guide to walk you through the entire process, from prepping your free patterns to joining those beautiful blocks like a pro. Get ready to fall in love with quilting all over again.
Gathering the Right Tools for QAYG Success
Before you jump into a pattern and start cutting that beautiful fabric, let’s talk about getting your toolkit in order. Believe me, having the right tools isn't about buying the most expensive gear; it’s about making smart choices that will save you a ton of frustration later on. A little prep work now makes the entire quilting process a genuine joy.
The right equipment can be the difference between a headache and a home run. From your cutter to your machine foot, every piece has a job to do in getting you that polished, professional look we all want.
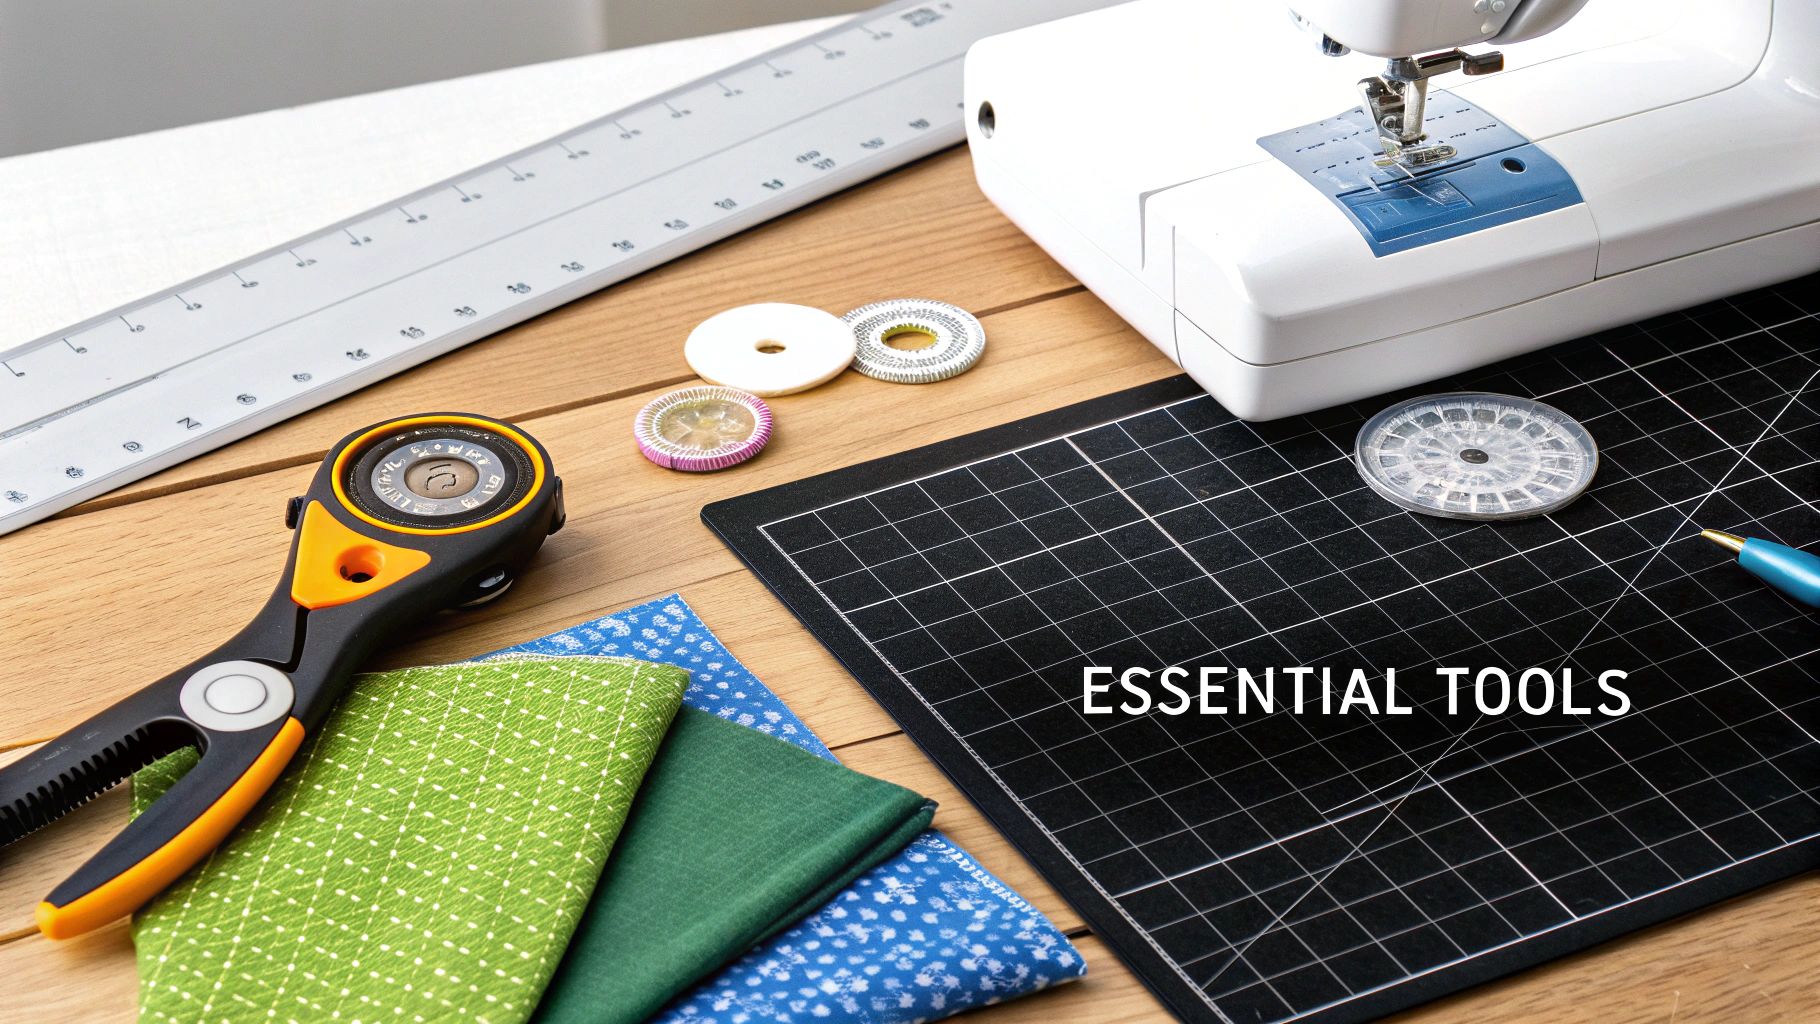
Your QAYG Must-Haves
Because we’re quilting in small, manageable sections with this method, a few key supplies become absolutely essential. You likely have most of these on hand, but there are a couple I consider non-negotiable for getting beautiful results.
- A Sharp Rotary Cutter & Mat: Precision is your best friend in quilting. A fresh blade gives you those clean, straight edges you need for blocks that will eventually have to fit together like puzzle pieces.
- A Clear Acrylic Ruler: I can't live without my 6" x 24" ruler. It’s perfect for cutting those long sashing strips and, more importantly, for squaring up your blocks accurately.
- A Walking Foot: Honestly, if you only buy one specialty item for this, make it a walking foot. It has a set of feed dogs on the bottom that grip the top layer of fabric, moving it through the machine at the same rate as the bottom layer. This prevents the awful shifting and puckering that can completely ruin a block.
Think of these as the foundation for your project. They set you up for success right from the very first cut.
Choosing the Best Batting
Okay, let's talk batting. This is one of the most important decisions you’ll make for a QAYG project—maybe even more critical than with a traditional quilt. Why? Because you're joining blocks that are already quilted, the seams can get bulky in a hurry. The name of the game is minimizing that bulk so your finished quilt lies beautifully flat.
The best choice for almost any QAYG project is a low-loft batting. You want something thin but stable. A fluffy, high-loft polyester batting will create puffy seams that are a nightmare to sew through and can make your quilt look lumpy.
I almost always reach for a 100% cotton with scrim or a reliable 80/20 cotton-poly blend. Both options give you stability and a lovely, soft warmth without adding a lot of extra volume. For a deeper dive, you can explore the different types of quilt batting and see how each one behaves.
Here’s a little pro-tip: If you're working with dark fabrics, consider using black batting. It prevents any little white fibers from peeking through your seam lines.
Choosing the Best Batting for Your QAYG Project
To help you decide, I’ve put together a quick comparison of the most common batting types I recommend for Quilt-As-You-Go. Think about the final look and feel you're going for.
| Batting Type | Best For | Pros | Cons |
|---|---|---|---|
| 100% Cotton | Traditional quilts, good breathability, and a flat, crinkled look after washing. | Stable, low loft, soft, ages beautifully. | Can be heavier, may shrink slightly. |
| 80/20 Cotton/Poly | All-purpose projects where you want a bit more drape and less shrinkage. | Low loft, minimal shrinkage, great stability, budget-friendly. | Slightly less breathable than 100% cotton. |
| Bamboo Blend | Projects needing a silky-soft drape, like baby quilts or throws. | Extremely soft, drapes beautifully, naturally antibacterial. | Can be more expensive, less firm than cotton. |
| Wool | Quilts where warmth and a bit of loft are desired without heavy weight. | Lightweight, very warm, resists creases. | Higher loft can add bulk at seams, can be pricey. |
Ultimately, a thin cotton or cotton-blend batting is a fantastic, reliable starting point for any QAYG project.
Finally, a quick word on sashing fabric. Don't cut it all at once! Quilt your blocks first, then measure them—they almost always shrink a little during quilting. Once you have your final block measurements, calculate the total length of sashing you'll need and then add at least 10% extra fabric. Trust me, having a bit left over is so much better than playing fabric chicken mid-project.
Getting Your Free Patterns Ready for Action
Alright, this is where the magic really starts to happen. Just below this tutorial, I've gathered a few of my absolute favorite quilt as you go patterns free for you to download and try. You'll find a crisp, modern patchwork block that's perfect for getting your feet wet, plus a timeless log cabin design for when you're feeling a bit more adventurous.
Each one comes with a downloadable PDF that lays out all the diagrams and cutting directions you'll need. But here's a little secret from one quilter to another: a beautiful quilt is born long before you ever touch your sewing machine. It all comes down to the prep work. Let's walk through how to set yourself up for a totally smooth and enjoyable project.
Think of it like drawing a map before a road trip. The journey is so much better when you know where you're headed.
Making Sense of Your Pattern
Once you've got your pattern downloaded, your first instinct might be to jump right to the cutting list. Resist that urge! Take a few minutes to read through the entire thing from start to finish. It’ll save you headaches later, I promise.
Pay special attention to the finished size of the block versus the unfinished size. The pattern will give you cutting dimensions that already include the seam allowance—almost always a 1/4 inch in quilting. Understanding this difference is key to getting your pieces to fit together perfectly. Also, keep an eye out for little notes, like whether the designer recommends pressing seams open or to one side. That small detail can make a huge difference in managing bulk down the road.
The Secret to Stress-Free Sewing: Get Organized!
Nothing kills the creative joy faster than a disorganized cutting table. I’ve been there—sewing the wrong two pieces together because everything was in a jumbled pile is a special kind of frustration. A little organization goes a long way.
Here’s a simple system that has never failed me:
- Label Like a Pro: Grab some sticky notes or little clips and label every single stack of fabric you cut. A simple note like "Piece A: 2.5" squares" is all you need.
- Create Mini-Kits: I love using shallow trays or even simple Ziploc bags. Place all the cut pieces for one block into its own tray. Now you can just grab a "kit" and get right to sewing.
- Batch Your Cutting: It might feel like a big job upfront, but cut everything for your entire quilt at once. When you move to the assembly stage, you’ll feel like you’re flying.
For some QAYG techniques where you're building the block right onto the batting, you might find some game-changing tricks in our guide on fusible batting for quilts. It can be a real time-saver.
This isn’t just about being tidy; it's about shifting your process from chaotic to calm. You can get into a rhythm and truly enjoy the process.
Trust me on this: the five minutes you spend organizing your fabric will save you an hour of seam-ripping later. It's the best habit any quilter can develop.
By taking a moment to really understand your pattern and get your pieces in order, you're laying the groundwork for a successful project. This prep work is what makes the actual sewing feel like pure, creative bliss.
Quilting One Block at a Time
Alright, this is where the magic of Quilt-As-You-Go really comes alive. If you’ve ever tried to wrestle a king-sized quilt through the tiny throat of your domestic sewing machine, you know the struggle is real. QAYG completely sidesteps that frustration. We're going to build and quilt one perfect little block at a time.
Each block becomes its own mini "quilt sandwich"—a small, totally manageable trio of backing, batting, and your pieced top. The freedom you get from quilting a single square is a total game-changer. It’s the core of this technique and why so many quilters, myself included, absolutely swear by it.
Getting your pieces prepped is the first step to a smooth workflow. Just think: download, choose, and organize. That's it.

This simple prep work makes the transition from cutting fabric to quilting a breeze.
Making Your First Quilt Sandwich
Let's put together your very first block. Grab three pieces cut to the same size: your backing fabric (pretty side down), your low-loft batting, and finally your pieced block (pretty side up). Here’s a pro tip: I always cut my backing and batting about an inch larger than my finished block top. Think of it as an insurance policy—it gives you a little wiggle room if things shift around.
Once you have your stack, you need to baste the layers together so they don't move while you're quilting. You’ve got a few solid options here:
- Safety Pins: The classic method for a reason. Curved basting pins are your best friend here; just place one every few inches to keep everything locked down.
- Basting Spray: My personal go-to when I’m short on time. A quick, light mist on the batting is all it takes to get a temporary hold.
- Fusible Batting: This stuff is brilliant. You can use your iron to fuse the layers together, completely eliminating the need for pins or spray.
No matter which method you choose, the goal is the same: make sure those three layers act like a single, cohesive unit when they go under the needle.
Simple Quilting, Stunning Results
You don’t need to be a free-motion quilting master to add gorgeous texture to your blocks. In fact, some of the most beautiful quilting is the simplest. Straight-line quilting is a fantastic place to start. It’s clean, modern, and wonderfully forgiving for beginners.
The key to perfect straight lines is using your walking foot—it's non-negotiable for preventing puckers. I also like to lengthen my stitch a bit. A 3.0 or 3.5 mm stitch length seems to be the sweet spot; it glides over the quilt sandwich and gives the finished block a really polished, professional look.
Want to get a little more creative? Try a gentle, organic wave or a classic grid pattern. You can mark your first line with a Hera marker or a washable fabric pen, then use the guide bar on your walking foot to echo that line for perfectly even spacing. We have a ton more advice for getting it just right in our guide to mastering straight-line quilting.
This block-by-block approach has a long and storied history. By 1941, American quilters had created 4,127 distinct pieced block patterns—many based on repeatable, grid-based designs. These patterns, often passed from quilter to quilter, are the ancestors of the modern quilt as you go patterns free today, making quilting more accessible and economical for everyone.
By focusing on one block at a time, you gain an incredible amount of control. You can perfect your technique on a small scale, building the confidence to create stunning quilts without ever needing to invest in a longarm machine.
Joining Your Quilted Blocks Like a Pro
Your individual blocks are quilted and look absolutely fantastic. This is where the real magic happens. It’s time to transform that neat stack of quilted squares into a beautiful, cohesive quilt top. The final assembly is what truly brings your whole project to life.
We're going to walk through my favorite sashing method. It’s popular for a reason—it's versatile and gives a wonderfully clean, professional finish. By using fabric strips on both the front and the back, you’ll join your blocks while neatly hiding all the raw edges and batting.
Prepping Your Sashing Strips
First things first: square up your quilted blocks. Don't skip this step! No matter how carefully we sew, blocks can get a little wonky during the quilting process. Grab your acrylic ruler and trim them all to the exact same size. Taking the time to do this now is the secret to getting your points to match up later on.
Once your blocks are perfectly uniform, you can cut your sashing. Here's the simple, reliable formula I use to get it right every time:
- Front Sashing: Cut these strips 1 ¼ inches wide.
- Back Sashing: Cut these strips 2 inches wide.
That slight difference in width is the key to a stress-free finish. The wider back strip gives you just enough extra fabric to fold over and stitch down, making sure it perfectly covers the seam line on the back. No fuss, no gaps.
Assembling Your Quilt Row by Row
The most methodical way to join your blocks is to work in rows. Think of it as building your quilt horizontally, one strip at a time. This approach keeps everything organized and helps prevent your quilt from becoming distorted as you work.
Start by placing two quilted blocks right sides together. Lay a 1 ¼-inch front sashing strip on top, aligning its raw edge with the raw edges of your blocks. Now, sew through all those layers using a precise ¼-inch seam allowance.
When you open the blocks, press the seam allowance toward the sashing strip. This is a small but crucial detail that helps reduce bulk where your seams meet.
Next, flip your project over. Place a 2-inch back sashing strip over the seam line, press under one raw edge, and topstitch it down. And just like that, you’ve completed your first join! Keep going until your first row is complete.
The concept of quilting block by block isn't new; it has deep roots in making quilting accessible. During the Great Depression, quilting saw a 500% resurgence as a practical way to use scraps and create warmth. Farm journals boosted their circulation by 40% by offering free weekly patterns, and beloved designs like Grandma’s Flower Garden were often made block-by-block due to limited space and materials. You can learn more about this fascinating period in American quilt history.
Connecting the Rows
After you've pieced all your horizontal rows, you’ll use the exact same process to join them together into a full quilt top.
Lay two completed rows right sides together, add your front and back sashing strips, and sew. The trick here is to pin carefully at each sashing intersection. This ensures your corners line up perfectly for that polished, grid-like look. Go slow and take your time—this is the final step that will make your quilt look flawlessly pieced.
Answering Your Top Quilt-As-You-Go Questions
Diving into any new quilting technique is going to stir up some questions, and that's a good thing! It means you're thinking through the process. I've gathered the most common questions I hear about QAYG to give you some clear, no-fuss answers.
Getting these little details sorted out is what will give you the confidence to jump into your next project. Think of this as the inside scoop—the little tricks of the trade that make all the difference.
Can I Turn Any Quilt Pattern Into a QAYG Project?
This is a great question, and the short answer is mostly, but you have to be smart about it. Your best bet, especially when you're starting out, is to stick with patterns built around individual blocks and sashing.
Designs that are practically made for this method include:
- Classic Patchwork Squares: The original block-based design and a perfect starting point.
- Log Cabins: Since these are built from the center out, they are a dream for QAYG.
- Churn Dash Blocks: Another traditional, self-contained block that works beautifully.
Where you'll run into trouble is with patterns where the design flows across multiple blocks without a clean break. An expert might be able to tackle it, but it's not the place to start. For your first few projects, stick with quilt as you go patterns free of those complex, interlocking designs. You'll thank me later!
How Do I Deal With Bulky Seams Where the Blocks Meet?
Ah, the #1 challenge for every QAYG quilter! That lumpiness where the sashing connects the blocks can be frustrating, but it's totally manageable with a little planning. First off, choose your batting wisely. A low-loft batting, like a nice cotton or bamboo blend, is your best friend here.
When you get to pressing, always press your sashing seams open. This is a non-negotiable step. It splits the fabric bulk to either side of the seam instead of creating one big ridge down the middle. And please, use a walking foot! It keeps all those layers moving together smoothly under the needle, preventing any ugly puckers over those thicker intersections.
Pro Tip: When you're quilting over those sashing joins, lengthen your stitch to about 3.0-3.5mm. A slightly longer stitch helps the machine sail over those dense spots much more easily, giving you a far more professional-looking finish.
How Much Sashing Fabric Do I Actually Need?
Whatever you do, don't cut your sashing based on the unfinished block size listed in the pattern! This is a classic rookie mistake. You need to quilt all your blocks first, and only then trim them down to a consistent size. The quilting process always pulls the fabric in a little, causing some shrinkage.
Once your blocks are all squared up, measure a finished one. From there, you can calculate the total length needed for all your vertical and horizontal sashing strips. I always, always add at least 10% extra fabric to my final calculation. That little bit of insurance has saved me from a last-minute trip to the fabric store more times than I can count.
For the binding, it's a bit simpler. Just find the quilt’s perimeter (Length + Length + Width + Width) and add at least 20 extra inches. That gives you plenty of wiggle room for joining the ends and getting those corners perfectly mitered without any stress.
Finding the right batting is the first step to conquering seam bulk and achieving a beautifully flat quilt. At Quilt Batting, we offer a curated selection of low-loft options perfect for any QAYG project, available by the roll for convenience and value. Explore our premium batting collection at https://quiltbatting.shop.