

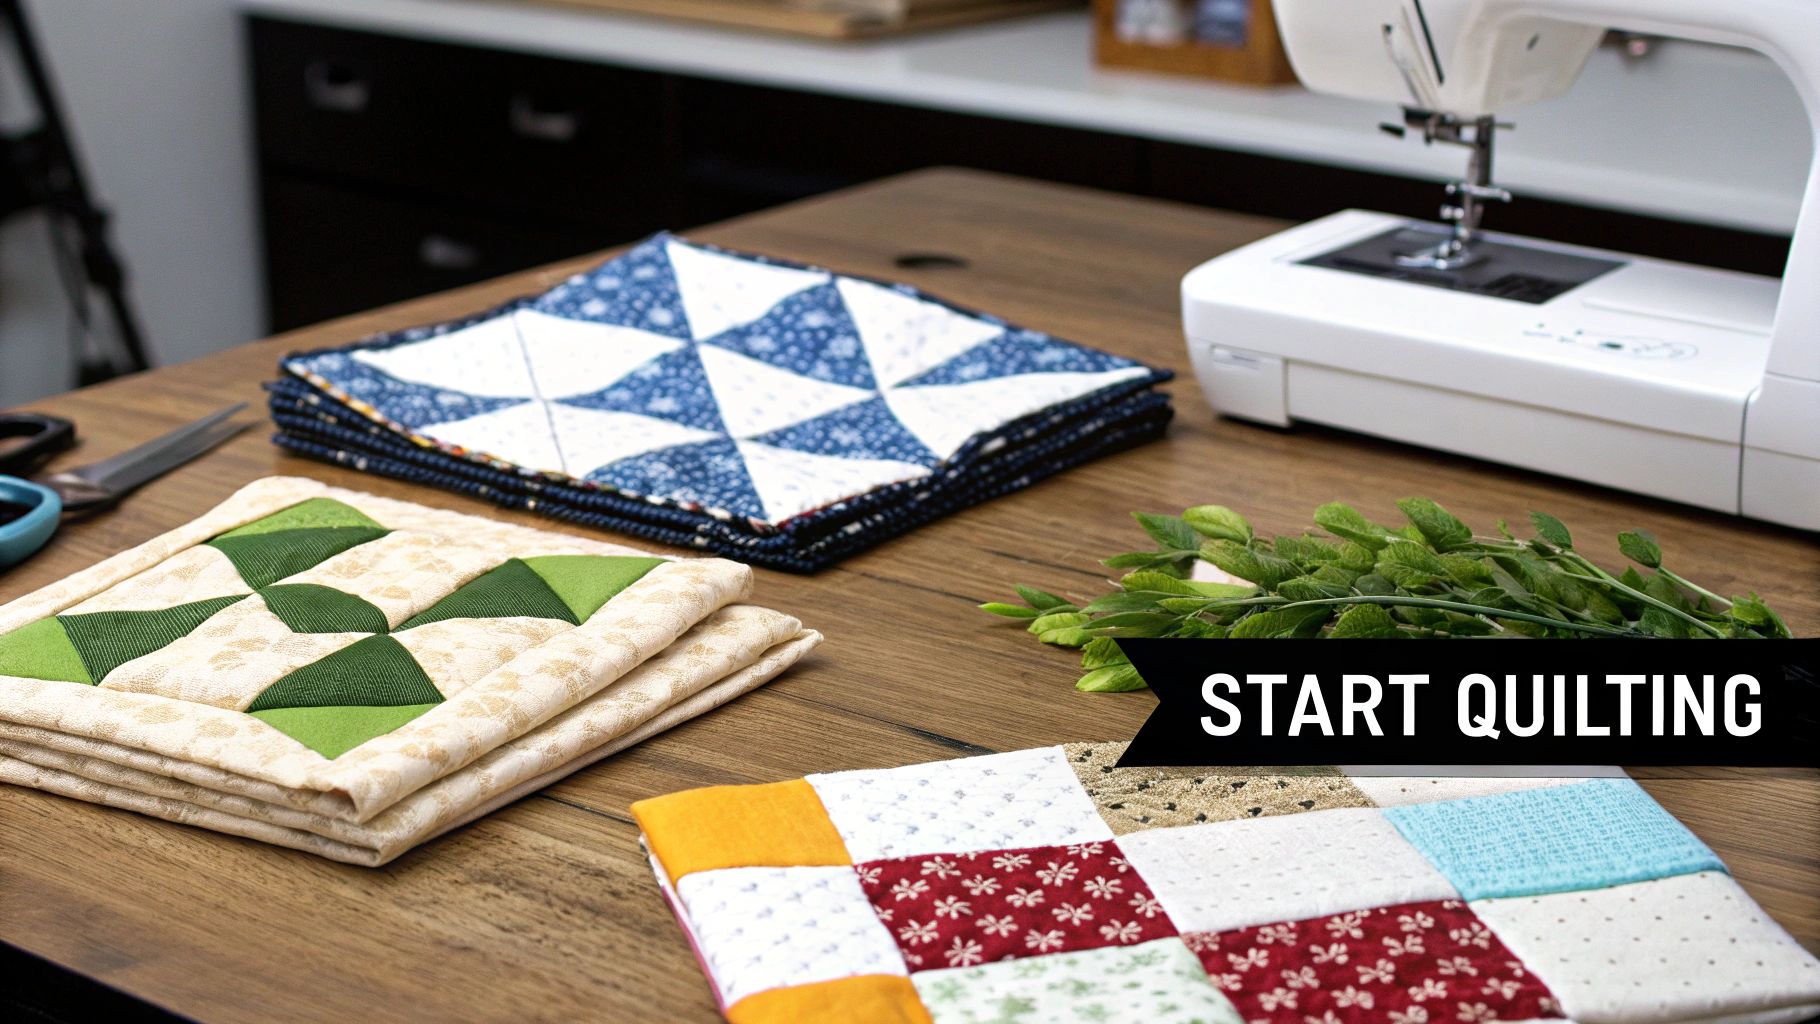
If you’re just dipping your toes into quilting, the sheer number of patterns can feel overwhelming. But here’s a little secret from those of us who have been doing this for years: some of the most beautiful and beloved quilts are built from the simplest of shapes. Two patterns that I always recommend to new quilters are the classic Nine-Patch and the charming Churn Dash.
These designs are the bedrock of quilting. They rely on basic squares and triangles, which makes them perfect for getting the hang of things without wrestling with complicated techniques.
Your Quilting Journey Starts Here
Welcome! You’re about to dive into a craft where simple, manageable shapes can become stunning heirlooms. This guide is designed to be your friendly starting point, showing you just why easy block quilt patterns are the best way to begin. My goal is to help you see quilting not as an intimidating mountain to climb, but as a fun and rewarding hobby you can start today.
We'll explore how these foundational blocks give you the power to turn that growing fabric stash into a genuine work of art. Once you master these core skills, you'll build the confidence to take on more intricate designs later on. It’s all about getting a few wins under your belt to keep that creative fire burning.
The Timeless Appeal of Simple Blocks
Simple quilt blocks aren't just for beginners—they're a treasured piece of quilting history. Their real beauty is in their resourcefulness. Think back to the Great Depression, when unemployment soared to 25% by 1933. Quilters of that era leaned heavily on patterns like the Nine-Patch to stitch tiny fabric scraps into warm, essential bedding. It was a practical solution born out of pure necessity, letting families use every last bit of material.
That spirit of making something both beautiful and functional from leftovers is still alive and well. For today's quilters, these simple patterns offer so much:
- Quick Gratification: Nothing beats the feeling of seeing a block come together fast. It’s a huge motivator!
- Skill Building: They are the perfect training ground for mastering fundamental skills like accurate cutting and sewing a consistent seam allowance.
- Creative Freedom: These blocks are a fantastic canvas for playing with color, texture, and fabric combinations. Let your personality shine through!
The secret to a truly great quilt isn't how complicated it is. It's about precision and heart. Easy block patterns let you focus on perfecting those two things, building a foundation for a lifetime of quilting.
We'll also cover the essential supplies that will really set you up for success. For example, choosing the right batting—like a versatile 80/20 cotton-poly blend—is what makes your finished quilt feel as incredible as it looks. You can learn more about these fundamentals in our guide to the basics of quilting.
Alright, let's get ready to unlock your creative potential, one simple block at a time.
Setting Up Your Quilting Workspace for Success

Before you dive in and make that first exciting cut, let's talk about setting up your creative space. Having an organized workspace is the secret ingredient to a smooth and joyful quilting process. Trust me, it saves a ton of frustration! You don't need a huge studio; even a small corner can become your perfect quilting sanctuary.
The right tools truly make all the difference. While the world of quilting gadgets is vast, there are a few essentials that you simply can't quilt without, especially when you're just starting out. These basics are the foundation for getting those crisp, accurate cuts that make your quilt blocks look professional.
Your Trio of Cutting Tools
For perfect cuts every single time, you'll rely on three key items working in harmony. Investing in good quality here will pay dividends in every single block you piece together.
- A Sharp Rotary Cutter: Think of this as your magic wand for cutting fabric. A fresh blade will glide through multiple layers like butter, giving you clean edges and perfectly straight lines.
- A Self-Healing Mat: This is non-negotiable. It protects your work surface and keeps your rotary blade from dulling too quickly. The grid lines are also a lifesaver for squaring up your fabric before you even make a cut.
- Clear Acrylic Rulers: You’ll eventually collect a few, but the one you'll reach for constantly is a 6" x 24" ruler—it’s the workhorse for cutting long strips. A square ruler, like a 12.5" x 12.5", is also fantastic for trimming your finished blocks to size.
Once you’ve got these basics covered, you can start building out your toolkit. For a complete rundown, take a look at our guide to the essential quilting supplies for beginners to make sure nothing gets overlooked.
The Great Fabric Debate: To Wash or Not to Wash?
Ah, the age-old question of pre-washing fabric. Ask ten quilters, and you might get ten different answers, but here’s my take: do it. It’s a crucial step that can save you a lot of heartache down the road.
Pre-washing does a few important things. It gets rid of any factory chemicals, pre-shrinks the cotton (so your final quilt won't get all puckered and weird after its first wash), and most importantly, it tests for color bleeding.
Don’t let a runaway red ruin all your hard work. A quick wash cycle is your best insurance against bleeding colors and shrinkage, keeping your quilt looking beautiful for years.
Pressing is your other secret weapon. As you piece your blocks, you need to press your seams. The trick is to press, not iron. Instead of dragging the iron back and forth, which can stretch your fabric out of shape, just lift and press down.
A hot, dry iron is your best friend for achieving flat, crisp seams. Many quilters press seams toward the darker fabric, which helps the seams "nest" together when you join blocks, leading to those perfectly matched points we all strive for. This is the prep work that really pays off.
Mastering the Timeless Nine-Patch Block
If there’s one block that feels like the very heart and soul of quilting, it has to be the Nine-Patch. It’s wonderfully simple, utterly classic, and it opens up a world of creative possibilities. This block isn’t just an easy project; it’s a little piece of quilting history.
The rise of block-style patterns like the Nine-Patch around 1840 was a huge turning point for quilters. It marked a shift away from whole-cloth designs, mainly because industrial textile production finally made beautiful printed fabrics affordable and easy to find. If you're a history buff like me, you can get lost for hours reading about the evolution of quilting on Wikipedia.
Even today, the Nine-Patch is a quilter’s best friend because it’s so fast and versatile. We’re going to walk through creating a perfect 9-inch finished block, but we’re going to use a game-changing method called strip-piecing. Trust me, this technique is your secret weapon for getting speedy, accurate results every time.
Cutting Your Fabric for a 9-Inch Block
Great quilts start with great cuts. For this block, you'll want two contrasting fabrics. Let's call them Fabric A (your light) and Fabric B (your dark).
Here’s exactly what you need to cut for one block:
- Fabric A (Light): Cut one strip measuring 3.5" x 21".
- Fabric B (Dark): Cut two strips, each measuring 3.5" x 21".
This cutting plan is all about working smarter, not harder. Instead of fussing with 9 individual little squares, we start with strips that we sew together first. It saves a surprising amount of time and is my go-to trick for making sure all the final squares are perfectly uniform. It's one of the best easy block quilt patterns for building your confidence.
Assembling with the Strip-Piecing Method
Now for the magic. Strip-piecing is all about sewing your long strips together, giving them a good press, and then cutting them into the segments you need. It feels a bit like an assembly line, and it’s so satisfying.
First, you’ll create two different strip sets.
- Strip Set #1: Sew a Fabric A strip right between your two Fabric B strips along the long edges. You'll end up with a Dark-Light-Dark row.
- Strip Set #2: Take one of your Fabric B strips and sew it to a Fabric A strip. This will create a Light-Dark row.
Once they're stitched, press your seams carefully. A good rule of thumb is to always press the seams toward the darker fabric. This little habit helps prevent the darker fabric from shadowing through your lighter one and reduces bulk.
Pro Tip: When sewing long strips together, I always alternate the direction I sew each seam. Sew the first one from top to bottom, then flip the whole thing around and sew the next seam from bottom to top. This one simple trick keeps your fabric from bowing and ensures your strip sets stay perfectly straight.
Now you're ready to cut your pieced strips into segments for the block.
- From Strip Set #1 (Dark-Light-Dark), cut two segments, each 3.5" wide.
- From Strip Set #2 (Light-Dark), cut one segment, also 3.5" wide.
You'll now have your three rows: Dark-Light-Dark, Light-Dark-Light, and Dark-Light-Dark.
Finally, lay out your three rows to form the classic Nine-Patch grid. The key to perfect points is nesting your seams. This is where you make sure the seams from adjoining rows are pressed in opposite directions. When you line them up, you’ll feel them lock together snugly. It’s the secret to getting those crisp, satisfying corners where everything meets perfectly.
For even more inspiration and project ideas, be sure to explore our other Nine-Patch quilt guides.
Let’s Make the Charming Churn Dash Block
Are you ready to tackle a block that looks wonderfully intricate but is actually one of the most satisfying patterns around? Let me introduce you to the Churn Dash. It's a historic block that gets its dynamic look from a simple combination of Half-Square Triangles (HSTs) and basic rectangles.
This beloved design has been a quilter's favorite for generations, and for good reason. It’s a fantastic way to play with color and contrast while mastering one of the most fundamental units in quilting: the HST. I'll walk you through creating a 12-inch finished block, a generous size that comes together surprisingly fast.
Cutting List for a 12-Inch Churn Dash Block
The secret to a perfect block starts at the cutting mat. For this design to really pop, you’ll need two contrasting fabrics—I usually think of them as a light and a dark.
-
Light Fabric (Background):
- Cut (2) squares, each 5" x 5". These are for your HSTs.
- Cut (4) rectangles, each 2.5" x 4.5". These will form the "churn" rails.
-
Dark Fabric (Main):
- Cut (2) squares, each 5" x 5" for the other half of your HSTs.
- Cut (1) square, 4.5" x 4.5". This is your center.
This cutting plan sets you up perfectly for a 12.5-inch unfinished block. That extra half-inch gives you the seam allowance you need, so it will shrink to a neat 12-inch square once it’s all sewn together.
Creating Perfect Half-Square Triangles
The magic of a Churn Dash lies in its four corner HSTs. We're going to use the popular two-at-a-time method. It's my go-to because it's efficient and, more importantly, helps prevent those tricky bias edges from stretching out of shape.
First, grab one of your 5" light squares and draw a single diagonal line from corner to corner on the back. Now, place it right-sides-together with a 5" dark square.
You'll then stitch a scant 1/4-inch seam on both sides of the line you drew. Remember, the line is just your guide—don't sew on it!
Next, carefully cut right on the drawn line. You’ll have two identical HST units. Press the seams toward the dark fabric, which helps them nest nicely later on. Repeat this with your other set of 5" squares.
You should now have four HST units. Here comes the most critical step: trim them down so they are exactly 4.5" x 4.5". This "squaring up" process is the non-negotiable secret to getting your block to fit together flawlessly.
Assembling Your Churn Dash Block
With all nine pieces cut and ready, it's time to lay them out in the iconic Churn Dash design. Think of it just like a simple Nine-Patch grid.
Arrange your pieces into three rows:
- Top Row: HST, light rectangle, HST
- Middle Row: Light rectangle, dark center square, light rectangle
- Bottom Row: HST, light rectangle, HST
Before you sew, double-check that your HSTs are oriented correctly—the dark triangles should point inward, framing that center square.
Now, sew the units in each row together. I always press the seams in the top and bottom rows inward and the seams in the middle row outward. This simple trick helps your seams "nest" together when you join the rows, giving you those sharp, professional-looking points where the corners meet. Finally, sew the three rows together.
For a quilt with this much piecing, the batting you choose really makes a difference. My go-to for most projects is a durable 80/20 cotton-poly blend. It gives the quilt a beautiful drape and just enough loft to highlight your quilting stitches without being too puffy. It’s a true workhorse batting that holds up beautifully.
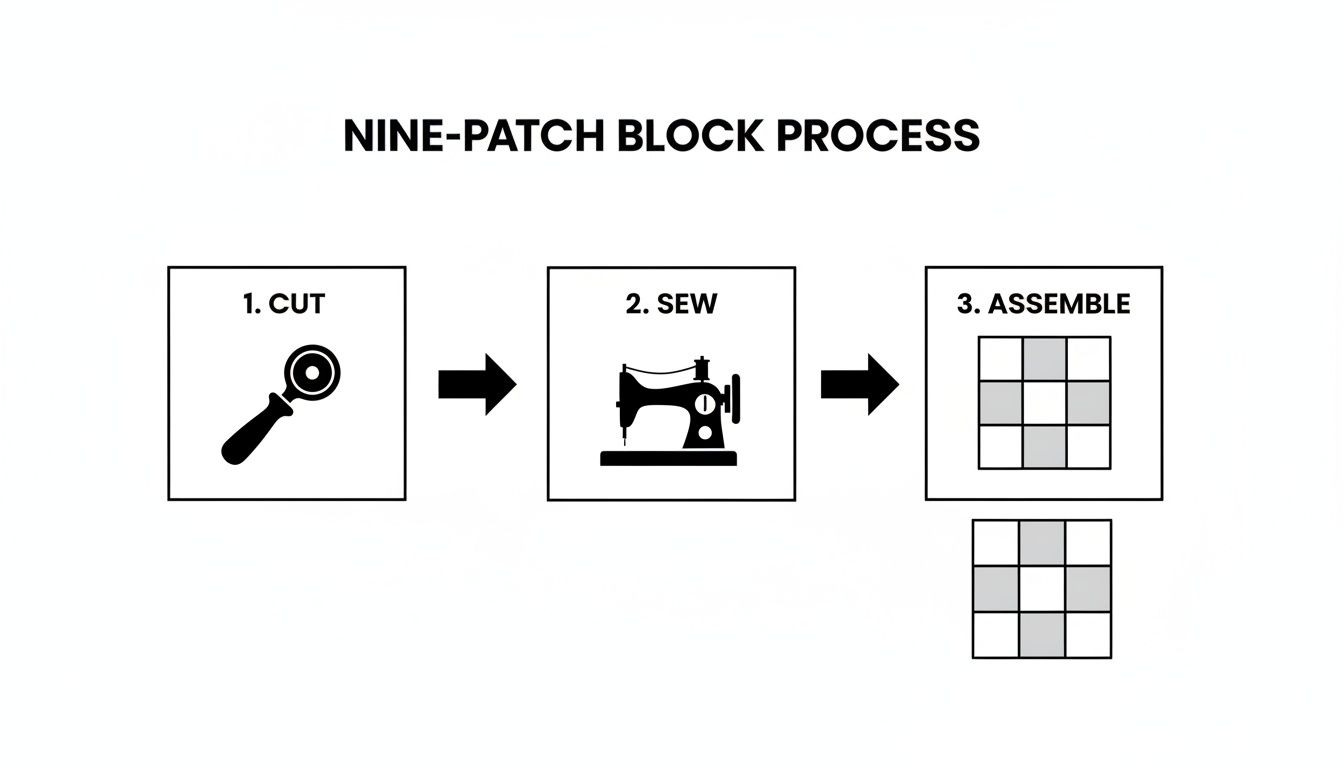
This simple visual really breaks down what we do as quilters: cut, sew, and assemble. Once you get comfortable with these three foundational steps, you can tackle just about any block out there.
Batting Recommendations for Your Quilt Projects
Choosing the right batting is what gives your quilt its final look, feel, and warmth. It's just as important as your fabric! This table compares some of the most popular batting types we carry at Quilt Batting, helping you find the perfect match for your project, whether it's a small baby quilt or a big, cozy king-sized masterpiece.
| Batting Type | Best For | Key Feature | Available Widths |
|---|---|---|---|
| 100% Cotton | Traditional quilts, breathable summer throws, baby quilts. | Soft, low-loft, natural fiber that gets softer with washing. Creates a classic flat, crinkled look. | Up to 120" |
| 80/20 Cotton-Poly Blend | All-purpose quilting, from wall hangings to bed quilts. | Combines cotton's softness with polyester's durability and strength. Drapes beautifully. | Up to 120" |
| 100% Polyester | High-loft projects, tied quilts, comforters. | Lightweight, warm, and resistant to mildew. Offers excellent loft for highlighting quilting stitches. | Up to 120" |
| Bamboo Blend | Eco-conscious projects, modern quilts, silky-soft throws. | Incredibly soft, breathable, and antibacterial. A luxurious, drapey feel. | Up to 120" |
Think about how you want your finished quilt to behave. Do you want that classic, puckered vintage look? Go with cotton. Need something that will stand up to lots of use and washing? The 80/20 blend is a fantastic choice. No matter what, picking the right foundation will make your piecing shine.
Bringing Your Quilt Top to Life
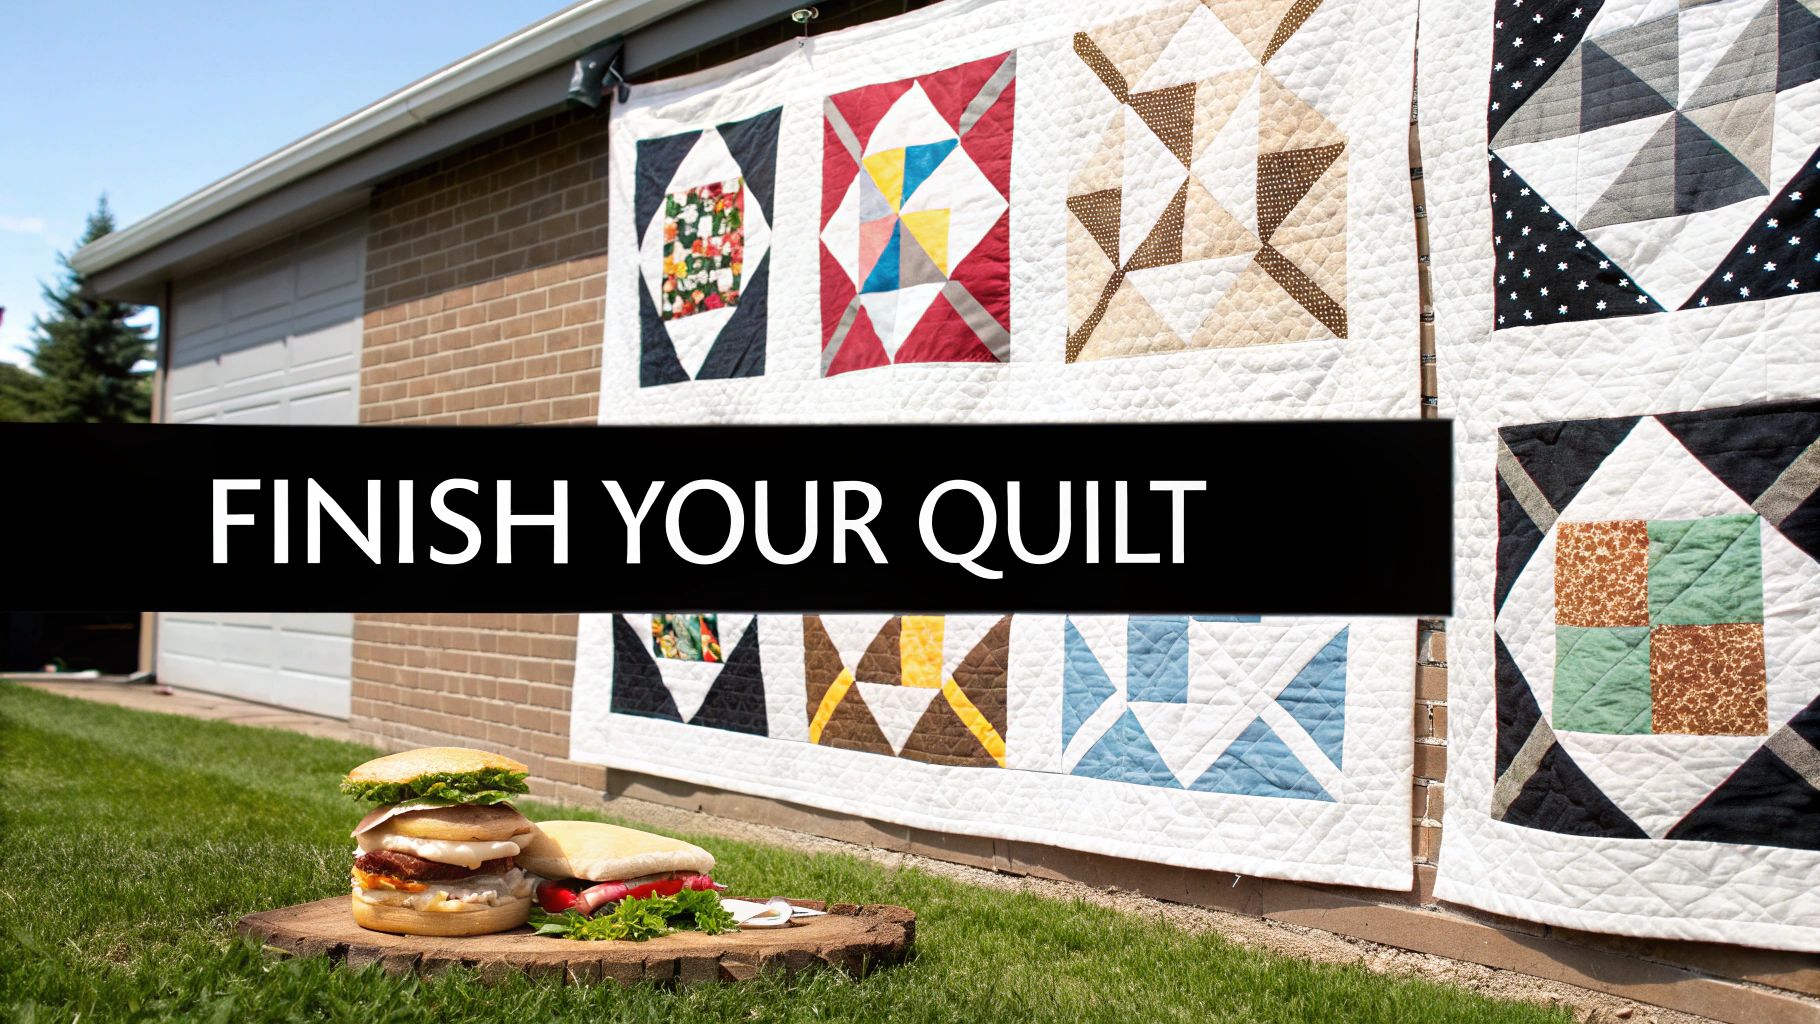
You’ve done the hard work of cutting, piecing, and pressing. Now for the truly magical part where your collection of blocks becomes an actual quilt. This is where we assemble everything and add the finishing touches that turn your project from a stack of squares into a treasured heirloom.
First things first, let's play. Find a large, clean space on the floor (or a design wall if you have one!) and start arranging your finished blocks. This is your chance to be the artist. Move things around, swap a few blocks, turn one or two on their side. Keep going until you land on a composition that just feels right. You're looking for a pleasing balance of colors and prints, creating a stunning visual flow across the whole quilt top.
Framing Your Work with Sashing and Borders
Once you’re in love with the layout, it’s time to decide if you want to add sashing and borders. Think of sashing as the picture matting between your blocks, and borders as the final frame around the entire piece.
Sure, they make your quilt bigger, but they do so much more for the design.
- Sashing gives your blocks some breathing room, especially if you're working with busy prints. It helps each block shine on its own and can create a beautiful secondary pattern, like a grid or lattice.
- Borders pull everything together. A well-chosen border provides a clean, visual stopping point for the eye and gives your quilt a polished, professional finish. It’s one of the easiest ways to elevate simple block patterns and give them a custom look.
Building the Perfect Quilt Sandwich
Alright, let's assemble the famous "quilt sandwich"—the three layers that officially make it a quilt. You'll have your finished quilt top, the batting in the middle for warmth and loft, and the backing fabric. The key here is getting these three layers perfectly smooth, flat, and secure. This is your best defense against dreaded puckers later on.
A non-negotiable rule of thumb: your batting and backing fabric should be at least 4-6 inches larger on all sides than your quilt top. This extra fabric is your safety net, giving you room to work and ensuring nothing shifts or comes up short when you start quilting.
The secret to avoiding frustrating tucks and puckers on the back of your quilt is a smooth, well-basted sandwich. Basting is simply the process of temporarily securing all three layers together so they don't shift while you quilt.
There are a few ways to do this, and every quilter has their favorite. You can use special curved safety pins, a temporary spray adhesive designed for fabric, or even a fusible batting. If you want to really get into the weeds, check out our complete guide on how to baste a quilt.
With your quilt sandwich securely basted, you're on the home stretch! The final step is the quilting itself—the stitching that goes through all three layers, holds them together, and adds that wonderful texture and dimension. For beginners, quilting straight lines with a walking foot on your home machine is a fantastic and totally achievable place to start. Or, you could explore the timeless art of hand quilting, or even send your masterpiece to a longarmer for a truly special finish.
Got Questions About Easy Block Quilts? You're Not Alone.
When you're first diving into the world of quilting, it feels like there are a million little things to learn. That's totally normal! Let’s walk through some of the questions I hear all the time from new quilters. My goal is to help you get past the sticking points and on to the fun part—creating a quilt you love.
Which Batting Should I Use?
This is easily one of the most common questions, and for good reason—the batting is the heart of your quilt! For most quilts, from baby blankets to bedspreads, my hands-down favorite is an 80/20 cotton-poly blend. It's the perfect all-rounder. You get the soft, natural feel of cotton, but the polyester gives it a little extra durability and a beautiful drape that isn't too heavy. It's incredibly forgiving and a real workhorse.
There is one major exception to this rule, though. If you're making anything that might see the inside of a microwave—think potholders, casserole carriers, or those popular soup bowl cozies—you must use 100% cotton batting. A specialty product like Wrap-N-Zap is designed for this, because polyester fibers can actually melt at high temperatures. Safety first!
How Do I Get My Blocks to Be the Same Size?
Ah, the quest for the perfectly uniform block! This is where the magic of a beautiful quilt top really happens. Getting your blocks to line up perfectly isn't about luck; it's about building a few good habits from the very beginning.
It all starts with your cutting. A sharp rotary cutter, a good self-healing mat, and a clear acrylic ruler are your best friends here. From there, your focus needs to be on sewing a dead-on, consistent 1/4-inch seam allowance. Most sewing machines come with a special foot just for this, and it is worth its weight in gold. Trust me, it makes a huge difference.
The most crucial step—the one that separates the rookies from the pros—is squaring up every single block. After you've pieced a block, use a square ruler to trim it down to its precise, unfinished size. This little bit of fussing corrects any tiny stretching or seam variations and ensures all your blocks will play nicely together.
How Many Blocks Do I Need for My Quilt?
"So, how many of these things do I actually have to make?" It’s a classic question, and thankfully, the answer is just a bit of simple math.
First, you need a target size for your finished quilt. Let's say you're making a cozy throw quilt and want it to be about 50" x 65".
Next, you need to know the finished size of your quilt block (that's its size after it's been sewn into the quilt with all its neighbors). Let's use a 10" finished block for our example.
- For the width: Divide your desired quilt width by the block size. So, 50 inches / 10 inches = 5 blocks across.
- For the length: Do the same thing. 65 inches / 10 inches = 6.5. Since you can't have half a block, you'll round up to 7 blocks down.
- To get the total: Just multiply those two numbers. 5 blocks x 7 blocks = 35 blocks needed for the quilt top.
Always remember to think about sashing or borders! If you plan to add them, you might need fewer blocks, so it's always best to sketch out your plan before you start cutting fabric. A little planning up front saves a lot of headaches later.
The right foundation is what turns a good quilt into a great one. At Quilt Batting, we believe in providing premium, reliable batting by the roll so you can create quilts that will be cherished for years. Come see our full selection of cotton, polyester, and specialty blends at https://quiltbatting.shop.