

When you're first dipping your toes into free-motion quilting, the best patterns are the ones that feel rhythmic and help you build muscle memory. I always tell beginners to start with simple, repeatable designs like meanders and loops. Think of it less like quilting and more like doodling with your sewing machine. It’s this skill that truly lets you finish your own quilts with a personal, creative touch, right from your own sewing room.
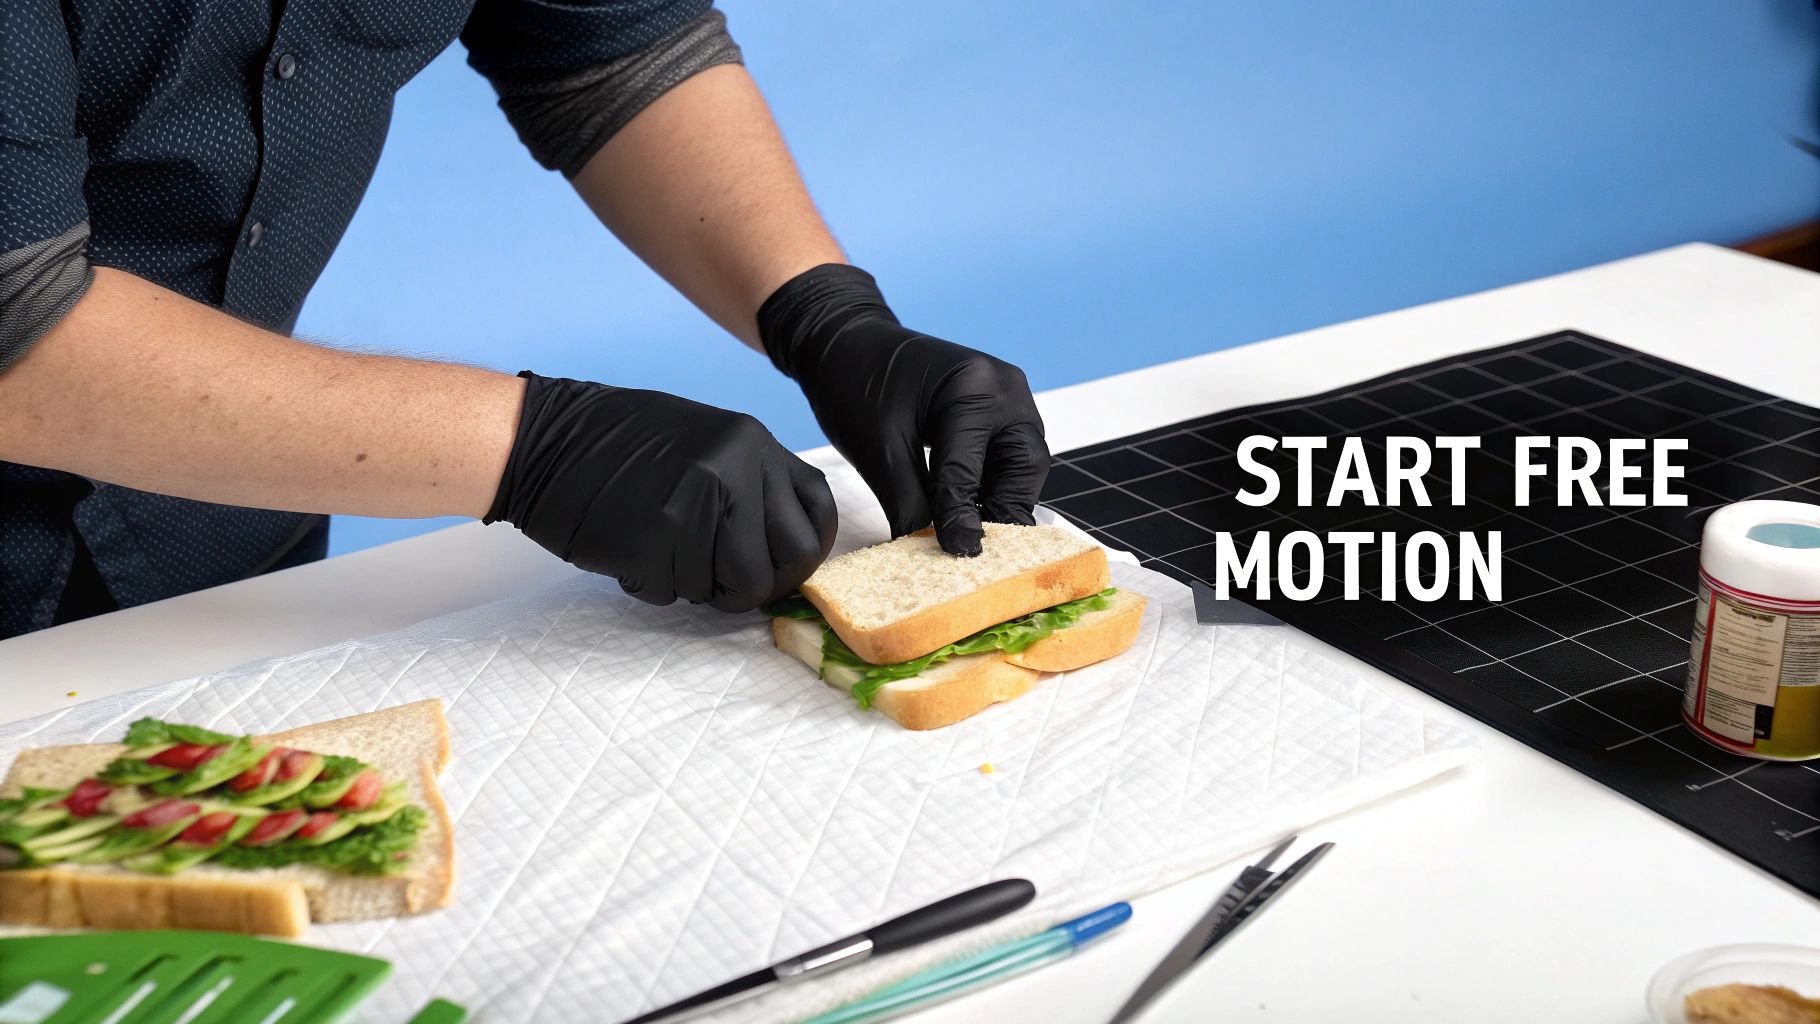
Starting Your Free Motion Quilting Journey
Taking the leap into free-motion quilting can feel a little intimidating, but it's all about getting comfortable with your machine and having the right mindset. Before you even think about patterns, it’s helpful to understand what free motion quilting is at its core. It’s not about perfection from day one; it's about learning the beautiful dance of guiding your fabric freely under the needle to create fluid designs.
Gathering Your Essential Tools
You really don't need a studio full of gadgets to get started, but a few key items will make your life so much easier. The absolute must-have is a darning foot, sometimes called a free-motion quilting foot. This foot is designed to hover just over the fabric, which is crucial because it lets you move your quilt in any direction without the feed dogs grabbing it.
I also can't recommend quilting gloves enough. They might seem like a small thing, but the grippy texture on the palms and fingertips gives you incredible control over your quilt sandwich. This means less hand fatigue and more precise movements. Another tool I consider a game-changer is a slick surface, like a Supreme Slider. It's just a thin sheet that you place over your machine bed, but it makes the quilt glide like it's on ice, allowing for much smoother stitches.
A slick surface is one of my top recommendations for beginners. It dramatically reduces the drag of the quilt, making your movements feel more natural and less like you're wrestling with the fabric.
Preparing the Perfect Quilt Sandwich
Honestly, your success with free-motion quilting starts before you even sit down to sew. It all begins with a perfectly prepared quilt sandwich—that's your quilt top, batting, and backing fabric layered together. For anyone new to this, getting the foundation right is key, and you can find some great quilting tips for beginners that walk you through these early steps.
Choosing the right batting is especially important. I always steer beginners toward an 80/20 cotton-poly blend batting. It’s the sweet spot—it has enough stability to handle easily but is soft enough to drape beautifully. It also has just enough loft to make your quilting stitches pop without being too bulky for a home sewing machine.
Finally, don't skimp on the basting! A poorly basted quilt is a recipe for puckers and shifting fabric. Whether you prefer safety pins or a spray baste, take the time to make sure all three layers are smooth, taut, and secure. Think of your basted quilt sandwich as a perfectly prepped canvas, just waiting for you to bring it to life with your first stitches.
How To Set Up Your Machine For Success
Before you can dive into those fun, swooping quilting patterns, you need to get your sewing machine properly set up. Trust me, getting your machine dialed in correctly is probably the most important thing you can do to avoid a whole lot of frustration.
Think of it like preparing a canvas before you start painting—it makes all the difference.

First things first: you have to drop your feed dogs. Those are the little metal teeth under the needle that grip and pull your fabric forward for regular sewing. For free-motion, you are in the driver's seat, so we need to get them out of the way.
Most modern machines have a simple switch or button to lower them. If you're working on an older machine, you might need to pop on a special cover plate. This single step is what unlocks the freedom to move your fabric in any direction you please—forward, backward, sideways, and in all those lovely curves.
Finding Your Tension And Speed Sweet Spot
Okay, let's talk about tension. Bad tension is the number one reason for those ugly little loops (sometimes called "eyelashes") on the back of your quilt. The goal is simple: you want the top thread and the bobbin thread to meet perfectly right in the middle of your batting.
Always start with a practice "quilt sandwich" made from scraps of the exact same fabric and batting you'll use for your real project.
- Loops on the back? That's your top thread being pulled through. You'll need to slightly increase your top tension.
- Bobbin thread visible on top? Your top tension is too tight. You need to slightly decrease it.
Make tiny adjustments and stitch a little more until the stitches look balanced and even on both sides.
Here's the big secret: your stitch length isn't set by the machine anymore—it's controlled by you. It's all about the relationship between how fast your hands move and how fast the needle is going.
This is where your machine's speed control becomes your best friend. Instead of trying to feather the foot pedal, just set your machine to a steady, medium speed. This lets you focus completely on moving your hands in a smooth, consistent rhythm.
If your stitches are tiny and tight, your hands are moving too slowly for the machine's speed. If they’re giant and galloping, your hands are moving too fast. Finding that perfect rhythm is the key.
Choosing The Right Needles And Thread
The right needle and thread combo can honestly make or break your quilting experience. A dull, bent, or wrong-sized needle is the main culprit behind shredded thread and skipped stitches—two things guaranteed to make you want to quit.
For most quilting, a size 90/14 Topstitch needle is my go-to recommendation. These needles are designed with a longer eye and a deeper groove, which really helps protect the thread from shredding as it flies through the fabric layers at high speed.
Keeping your supplies handy is also a huge part of being successful. It helps to organize your craft supplies effectively so you can grab the right needle or spool without breaking your creative flow.
To give you a head start, here's a quick reference guide I put together for pairing needles and thread.
Needle And Thread Pairings For Beginners
| Needle Type & Size | Thread Weight & Type | Best For... | Pro Tip |
|---|---|---|---|
| Topstitch 90/14 | 40-50 wt Cotton or Polyester | General purpose quilting on cotton fabric with standard batting. The workhorse of quilting needles. | The larger eye on a Topstitch needle is a lifesaver for reducing thread breaks and making threading easier. |
| Microtex/Sharp 80/12 | 50-60 wt Cotton or Silk | Densely woven fabrics like batiks or for detailed, fine-line quilting. | The sharp point creates a clean, precise hole, which is perfect for preventing puckering on tight weaves. |
| Quilting 90/14 | 40 wt Cotton, Polyester, or Variegated | All-purpose quilting, especially with thicker batting or multiple layers. | These needles have a slightly tapered point designed to pass through layers smoothly without damaging the fabric. |
| Topstitch 100/16 | 30-40 wt Decorative or Metallic | Using thicker decorative threads or quilting through heavy layers like denim or canvas. | Always slow down your machine speed when using metallic threads to prevent them from snapping. |
Choosing the right combination might feel like a small detail, but it prevents so many headaches down the line. For a more detailed breakdown, you can check out our comprehensive guide on https://quiltbatting.shop/blogs/blog/machine-quilting-thread for an even deeper look into your options.
Getting Started with Five Foundational FMQ Designs
Alright, let's get to the fun part—actually stitching on your quilt! This is where you really get to "draw" with your machine. To build your skills and confidence, it’s best to start with a few basic, forgiving designs.
Forget those wildly complex patterns you see on award-winning quilts for now. We’re going to focus on five foundational patterns that are simple to learn, easy to master, and surprisingly versatile. Once you get these down, you'll have the muscle memory to tackle just about anything.
The Simple Meander
Think of the simple meander as the classic puzzle-piece or brain-like stitch you see on so many quilts. It's an all-over design that wanders across the fabric without ever crossing over itself, making it perfect for filling any space, big or small.
Your goal here is to create soft, rounded curves. No sharp points or straight lines. The real trick is to look ahead of the needle, planning your next curve, instead of staring right at the stitch being made. If you get too close to another line, just curve away and find a new path.
The Loopy Meander
Once the simple meander starts to feel natural, throwing in some loops is the next logical step. The loopy meander is playful, fast, and an amazing way to develop smooth, fluid motions with your hands. You'll still be stitching in gentle curves, but every so often, you'll toss in a circular or oval loop before meandering on.
- Vary your loop sizes: Try mixing big, open loops with smaller, tighter ones to create more visual texture.
- Switch up the direction: Don't get stuck making all your loops clockwise. Practice making them go counter-clockwise, too.
- Keep it clean: Just like the simple meander, you want to fill the space without letting your lines touch or cross.
Honestly, this pattern is just a joy to stitch. There’s really no right or wrong way to do it—it’s all about finding a fun, flowing rhythm that feels good to you.
Basic Paisley
The paisley is where we introduce a crucial new skill: travel stitching. It’s an elegant teardrop shape that looks fantastic, but its real value is teaching you how to intentionally stitch back over a previous line of stitching.
To form a paisley, you stitch a curved hook shape. Then, you "travel stitch" right back down its spine for a short distance before branching off to start the next one. This technique is a building block for so many advanced patterns, which makes the paisley a really important one to practice.
My Two Cents: When you travel stitch, slow your machine down just a bit. Try to sew directly on top of your previous stitches. Don't stress about getting it perfect—nobody will notice a tiny deviation—but the closer you get, the cleaner your design will look.
Echo Quilting
Echo quilting isn't so much a filler pattern as it is a way to highlight parts of your quilt top. The idea is simple: stitch a line that "echoes" the outline of a pieced shape in your quilt block, usually about a ¼ inch away. You can then add another echo line around that one, and another, creating a beautiful ripple effect.
This is a fantastic way to make your piecing pop and gives you incredible practice for controlling your spacing and stitching smooth, consistent curves that follow a guide.
Simplified Feathers
I know, feathers can look incredibly intimidating! But a simplified version is surprisingly easy for beginners. We're not aiming for those intricate, overlapping show quilt feathers just yet. Instead, we’ll work on a basic "bump-back" feather.
- First, stitch a long, gentle curve to create the spine.
- Next, come off the spine with a teardrop or "C" shape to form one side of the plume.
- Then, travel stitch right back down that shape until you hit the spine again.
- Repeat on the other side to create a symmetrical plume.
You just keep repeating this bump-back motion all the way up the spine. The result is a gorgeous design that looks way more complicated than it really is. It’s a huge confidence booster and a great pattern to have in your back pocket. You can learn more about how to apply these ideas in our guide on border quilting patterns.
Building Muscle Memory with Practice Drills
When it comes to free-motion quilting, the secret isn't a relentless chase for perfection. It’s all about finding your rhythm. Great quilting is built on repetition and developing a strong connection between your hands, your eyes, and your machine—what we call muscle memory.
Think of this as your personal training plan. Before you ever bring a treasured quilt top near your needle, you need to warm up. We’re going to get comfortable on scrap fabric first, taking all the pressure off and just focusing on the movement. The whole point is to find that "sweet spot" where the speed of your hands syncs up perfectly with the speed of your machine to create those lovely, even stitches.
Start by Doodling on Paper
Believe it or not, the best way to get ready for quilting is to put the fabric away and grab a pen and paper. Doodling the patterns you want to quilt helps your brain internalize the flow of the design. You're learning the path before you have to worry about the machine, the thread, or the fabric.
Try filling a page with some of these simple shapes:
- Continuous Loops: Just fill a page with non-stop, evenly spaced loops, like you're writing the letter 'e' in cursive over and over again.
- Five-Pointed Stars: Practice making sharp, clean pivots by drawing a series of connected stars without ever lifting your pen from the paper.
- Rolling Waves: Draw gentle, flowing lines across the page. The goal here is to focus on making your transitions smooth, not jerky or abrupt.
This isn't about creating a masterpiece. It's about making the motion feel so natural that you stop thinking about it.
You’re aiming for automatic. The goal is to make the movement so comfortable and familiar that you aren’t second-guessing every curve when you finally sit down at the machine.
Once you feel good with pen and paper, it's time to move to a practice quilt sandwich. Try to recreate those same doodles with thread. Again, don't judge the results! Just pay attention to the feeling of guiding the fabric under the needle. You'll quickly see how one simple motion builds into the next.

This little visual really shows how a basic meander can easily become a loopy design, which can then evolve into a more complex shape like a paisley. It all starts with mastering that one smooth, foundational movement.
Set Yourself Up for Success
How you sit at your machine has a massive impact on your quilting. I’m not just talking about comfort; proper ergonomics are crucial for control and for being able to quilt for more than ten minutes without your back screaming at you.
Make sure you're sitting with your feet flat on the floor. Your arms should form a rough 90-degree angle from your elbow down to the machine bed. Adjust your chair so you can rest your hands flat on the quilt sandwich without hunching your shoulders up to your ears.
Seriously, relax your shoulders! Tension is the enemy of smooth quilting. It travels right down your arms and into your hands, leading to jerky, wobbly stitches. Taking just a moment to check your posture before you start is one of the single best things you can do to improve your quilting, right from the get-go.
Troubleshooting Common Beginner Frustrations
Let's be honest—at some point, you’re going to deal with shredded thread, skipped stitches, and the dreaded fabric puckers. Every single quilter I know, myself included, has been there. It’s practically a rite of passage! But these little roadblocks don't have to ruin your day or your quilt top.
Think of it as learning the language of your sewing machine. Once you know what to look for, you can solve most issues in minutes and get right back to the fun part.
Becoming a good troubleshooter is a skill you'll use forever on your creative journey. And what a journey it is! You're joining a passionate global community that's part of a quilting market valued at around $5.3 billion. Discover more insights about the quilting market on precisionbusinessinsights.com.
So, when a problem pops up, put on your detective hat. If your top thread keeps shredding or breaking, don't just re-thread and hope for the best. Take a moment to investigate.
- First, check your needle. Is it old? Bent? The wrong type? A dull or damaged needle is the number one culprit behind shredded thread. I change mine after every 8-10 hours of quilting.
- Next, re-thread the entire machine. Seriously, take the thread completely out and start over. Make sure the presser foot is up so the tension discs are open, and double-check that you haven't missed a single guide.
- Finally, look at your top tension. If it’s cranked up too high, it puts way too much strain on the thread, causing it to snap.
Trust me, running through these simple checks will solve 90% of your thread headaches without you having to touch your machine’s deeper settings.
Pinpointing Common Problems
Let's talk about puckering fabric, which is almost always a sign that the issue started before you even took your first stitch. An unevenly basted quilt sandwich is an invitation for puckers and tucks.
The secret to a pucker-free finish often lies in your preparation, not your stitching. A securely basted quilt provides the stable canvas you need for smooth, flat quilting.
If you’re seeing those frustrating little wrinkles appear, it’s a good time to revisit your basting technique. If you need a refresher, you can check out our guide on how to baste a quilt to get those layers perfectly smooth and secure. Sometimes, just adding more safety pins or using a quality basting spray makes all the difference.
To help you out when you're in the middle of a project, I’ve put together a quick-reference table. Think of it as your go-to cheat sheet for solving the most common FMQ hiccups.
Quick Fixes for Common FMQ Issues
| Problem | Potential Cause | How to Fix It |
|---|---|---|
| Skipped Stitches | - Dull or incorrect needle - Needle inserted incorrectly - Sewing too fast |
- Replace with a new needle (Microtex or Topstitch) - Re-insert the needle, ensuring the flat side is to the back - Slow down your hand movements to match the machine speed |
| Thread Shredding | - Old, burred, or dull needle - Poor quality thread - Top tension is too tight |
- Always start with a fresh needle! - Switch to a high-quality quilting thread (e.g., Aurifil, Superior) - Lower the top tension dial by one number at a time |
| Fabric Puckering | - Quilt sandwich isn't basted securely - Pushing or pulling the fabric too hard - Top tension is too tight |
- Add more pins or spray baste; ensure layers are taut - Relax your grip; guide the quilt, don't force it - Loosen the top tension slightly |
| "Eyelashes" on Back | - Top thread tension is too loose - Not threaded correctly |
- Increase the top tension dial by one number at a time - Completely re-thread the top of the machine |
| Thread Nests Underneath | - Machine not threaded with the presser foot up - Bobbin inserted incorrectly |
- Always re-thread with the presser foot up - Remove and re-insert the bobbin, checking the thread direction |
With this table handy, you can spend less time feeling frustrated and more time mastering those free motion quilting patterns beginners love to stitch
Got Questions? Let's Talk Free-Motion Quilting
Alright, you've done the drills, you've filled up a few practice sandwiches... now what? It's totally normal for a bunch of questions to pop up the second you think about quilting a real project. That's the exciting part! Let's dive into some of the most common things every new free-motion quilter wonders about.
And trust me, you're in good company. There are somewhere between 9 and 11 million of us quilters in just the US and Canada, so you've joined a huge, creative community. We've all been there! You can learn more about the quilting community size over at craftindustryalliance.org.
What's the Best Batting When You're Just Starting Out?
When friends ask me this, my answer is almost always the same: go for an 80/20 cotton-poly blend batting. Seriously, it’s the sweet spot for learning.
Why? It gives you just enough loft for your stitches to look great, but it’s stable and not too puffy to wrestle through your home machine. Your needle will glide through it, and it's incredibly forgiving when it comes to puckers, which is a lifesaver while you're still getting the feel for moving the quilt.
How Do I Stop My Stitches From Being All Over the Place?
Ah, the speed question! The secret to nice, even stitches is finding a rhythm between your hands and the machine. It’s a dance, really.
My best advice is to set your machine to a steady, medium speed and leave it there. Don't touch that foot pedal. Your only job is to move your hands at a consistent pace.
Think of it like this: the machine's speed setting is your cruise control. Your hands just do the steering.
If you notice your stitches are teeny-tiny, it means your hands are moving too slow for the machine. If they look like giant leaps, your hands are flying too fast. It just takes a bit of practice. I sometimes tell people to put on some music with a good beat and try to stitch along to it—it's a fun way to find your groove.
Are Quilting Gloves Really Necessary?
You can absolutely quilt without them, but I’ll be honest, I think they’re a game-changer, especially for beginners. For a small investment, you get a massive upgrade in control and comfort.
Those little grippy dots on the fingers do all the work for you. You can guide the quilt with a much lighter touch, which means your hands, shoulders, and back won't get nearly as tired. More importantly, that extra grip translates directly into smoother curves and cleaner lines—giving you those beautiful free motion quilting patterns beginners dream of making.
Feeling ready to give it a go? The right foundation makes all the difference. At Quilt Batting, we're all about high-quality, reliable batting by the roll, including those beginner-friendly 80/20 blends that make learning so much more fun. Find the perfect roll for your quilting journey at https://quiltbatting.shop.